
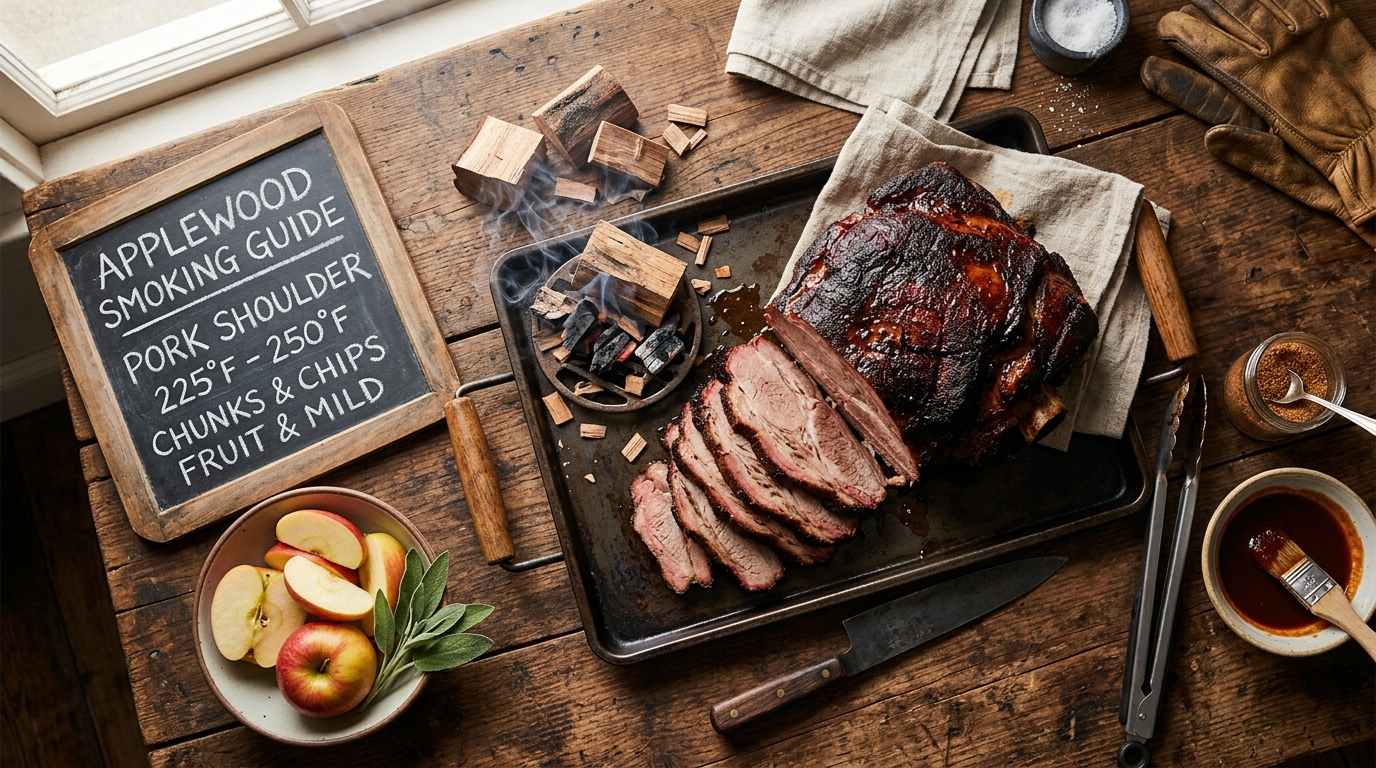
This applewood smoking guide is your complete roadmap to mastering one of the most beloved and versatile smoking woods in all of BBQ culture. Applewood burns clean, produces a mild to medium smoke density, and delivers a naturally sweet, fruity flavor profile that complements just about any protein you care to throw in the smoker. Whether you are working a classic offset smoker at 225 degrees Fahrenheit or dialing in a pellet rig for a long weekend cook, applewood is forgiving enough for beginners yet complex enough to satisfy the most seasoned pitmaster.
When you fire up the grill or smoker with applewood chunks, you are not just adding heat – you are building layers of flavor that develop over hours of cooking. The sugars in apple wood combust at a slightly lower temperature than hickory or mesquite, which means you get a thinner, more delicate smoke that does not overpower delicate meats like chicken, turkey, or pork loin. That said, applewood holds its own on a full rack of spare ribs or a bone-in pork shoulder when you run your smoker low and slow in the 225 to 250 degree Fahrenheit range for six to twelve hours. The result is a deep mahogany bark, a vivid smoke ring that runs a full quarter inch into the meat, and flavor that keeps people coming back for seconds.
One of the most important things to understand before you start is the difference between applewood chunks, chips, and splits. Chunks are golf-ball to baseball-sized pieces best suited for charcoal smokers and kettle grills, where you nestle them directly into the charcoal bed. Chips are thin shavings that ignite fast and are ideal for short cooks or gas grills equipped with a smoker box. Splits are full logs used in offset and stick-burning smokers where you manage a live fire. Each form delivers the same signature applewood sweetness, but the way you use them changes dramatically depending on your setup. This guide will walk you through all three scenarios so you can get the most out of this incredible smoking wood no matter what equipment you are working with.
Applewood Smoking Guide: Master Sweet Smoke BBQ
This applewood smoking guide covers everything from choosing the right wood chunks to nailing that perfect smoke ring on pork, poultry, and more. Learn the low and slow techniques that pitmasters swear by, and discover why applewood is the secret weapon in championship BBQ. Fire up the smoker today and taste the difference.
Ingredients
| AMOUNT | INGREDIENT | NOTES |
|---|---|---|
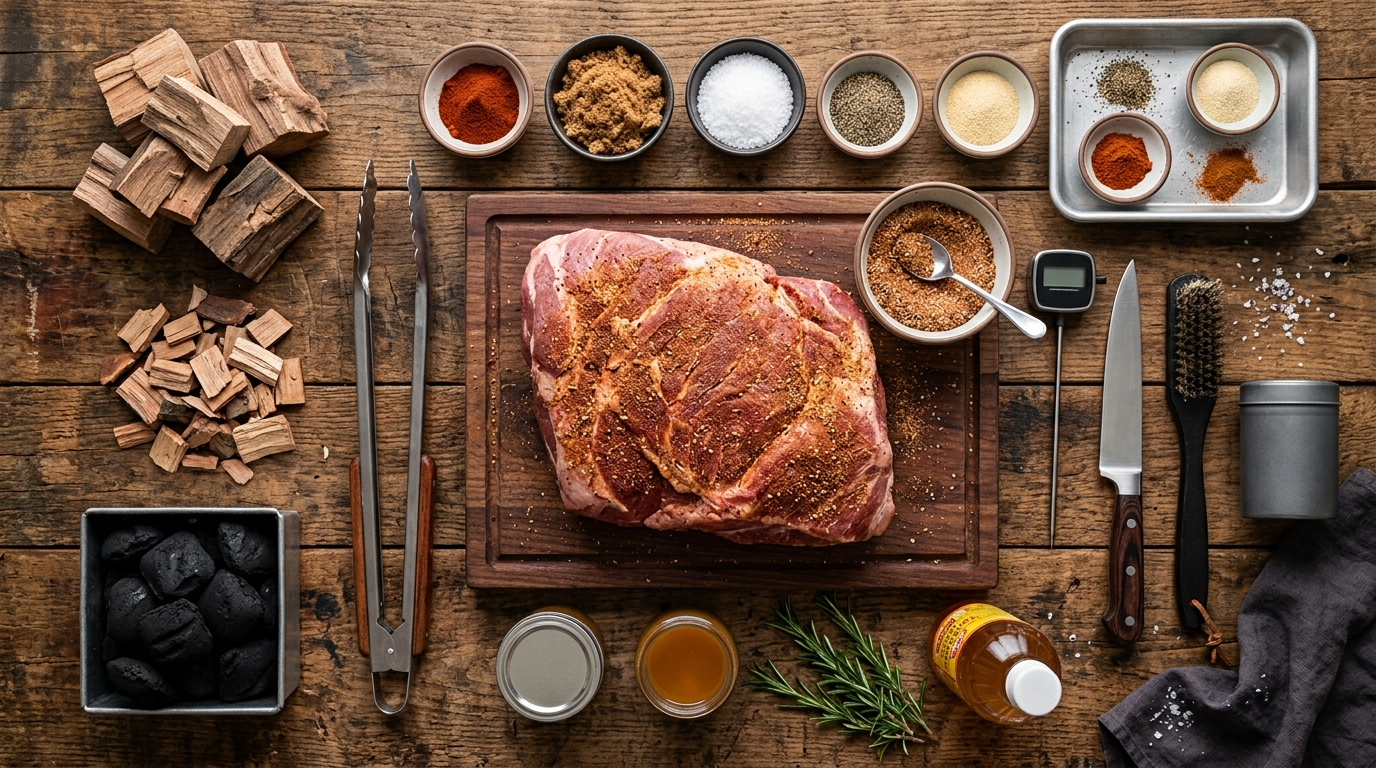
| 4 to 6 chunks | applewood smoking chunks | baseball-sized, dry and seasoned for at least six months for cleanest smoke |
| 4 pounds | bone-in pork shoulder or pork butt | primary demonstration protein – fat cap on for moisture and bark development |
| 3 tablespoons | yellow mustard | used as a binder for the dry rub |
| 3 tablespoons | brown sugar | packed, enhances bark caramelization and complements apple sweetness |
| 2 tablespoons | kosher salt | coarse grind for even surface coverage |
| 2 tablespoons | black pepper | coarsely ground for texture in the bark |
| 1 tablespoon | smoked paprika | adds color and a subtle secondary smoke note |
| 1 tablespoon | garlic powder | savory backbone to balance the fruity applewood smoke |
| 1 tablespoon | onion powder | rounds out the rub flavor profile |
| 1 teaspoon | cayenne pepper | optional, adds a mild heat that plays well against apple sweetness |
| 1 cup | apple juice or apple cider | for spritzing during the cook to reinforce the apple flavor and maintain bark moisture |
| 2 tablespoons | apple cider vinegar | mixed into spritz for brightness and to help tenderize the surface |
Instructions
Nutrition (per serving)
The BBQ Story Behind This Recipe
Applewood has deep roots in American BBQ history, particularly in the Northeast and Pacific Northwest where apple orchards have been part of the agricultural landscape for centuries. When apple trees aged out of fruit production, resourceful farmers discovered that the pruned branches and felled trunks burned exceptionally well and produced a smoke that made their smoked meats irresistible. Long before commercial smoking wood was packaged and sold at hardware stores, pit cooks in regions like New York, Michigan, and Washington State were sourcing applewood directly from local orchards, often trading smoked meats for fresh cuttings. This grassroots tradition gave applewood its early reputation as a regional treasure that the broader BBQ world was slow to adopt.
As American BBQ competition culture exploded through the 1980s and 1990s, pitmasters on the contest circuit began experimenting beyond the traditional southern hardwoods like hickory and pecan. Competitors noticed that applewood produced cleaner, lighter smoke that judges responded to positively, especially on chicken and pork categories where smoke can easily turn bitter or acrid if mismanaged. Championship teams from across the country started blending applewood with cherry or hickory to create layered smoke profiles, and the technique spread rapidly through BBQ associations and cook-off circuits. Today, applewood is recognized as a staple smoking wood with international appeal, featured in professional smokehouse menus, backyard competition rigs, and everything in between.
Hot Off the Grill
A Closer Look
Pitmaster Tips for Best Results
- Always use dry, fully seasoned applewood that has been cured for at least six months. Green or wet wood burns dirty, produces bitter creosote-heavy smoke, and will ruin your meat. If you are unsure, purchase commercially packaged applewood chunks from a reputable BBQ supplier.
- Keep your smoker chamber temperature in the 225 to 250 degree Fahrenheit sweet spot for low and slow cooks. Running hotter than 275 degrees Fahrenheit with applewood can cause the natural sugars in the wood to burn and produce bitter compounds rather than the sweet, fruity smoke you are after.
- Do not over-smoke your protein. Applewood is mild compared to hickory or mesquite, but you can still over-smoke if you keep adding fresh chunks throughout the entire cook. For most proteins, two to three hours of active smoke exposure is sufficient – after that, the meat surface becomes saturated and additional smoke does not penetrate further.
- Applewood pairs exceptionally well with cherry wood in a 70 to 30 ratio – applewood as the primary and cherry as a complement. The cherry deepens the color of the smoke ring and adds a subtle tartness that makes the sweetness of the applewood pop even more. Try this blend on competition-style ribs or whole chicken.
- For gas grill users, fill a smoker box or homemade foil pouch with applewood chips that have been lightly moistened and place it directly over a lit burner. Preheat on high until the chips begin smoking, then lower the heat and set up indirect cooking. Replace the chips every 45 to 60 minutes as they burn out to maintain consistent smoke flavor throughout the cook.
🔧 Pitmaster Equipment
Offset Smoker or Charcoal Kettle: Provides the live fire environment and indirect heat necessary for true low and slow applewood smoking at 225 to 250 degrees Fahrenheit.
Instant Read Thermometer: Critical for verifying internal temp on all proteins – never guess when you can confirm a perfect 165 degrees Fahrenheit on poultry or 203 degrees Fahrenheit on pork shoulder.
Long Tongs and Heat Resistant Gloves: Keep your hands protected when managing applewood chunks in a hot charcoal bed or adjusting meat position during long cooks.
Water Pan or Drip Pan: Placing a water pan in the smoker maintains humidity, helps regulate chamber temperature, and prevents the bark from drying out during extended cooks.
Wireless Probe Thermometer: Monitor internal temp and smoker chamber temp simultaneously without opening the lid, preserving heat and smoke throughout the cook.
Chimney Starter: Lights charcoal evenly and quickly without lighter fluid, keeping your applewood smoke pure and flavor-forward from the first moment.
Applewood Chunks or Chips: The star of the show – use chunks for charcoal or offset rigs and chips for gas grills with a smoker box for consistent sweet smoke throughout the cook.
🔥 Variations
Pellet Grill Version: Load your hopper with 100 percent applewood pellets or an apple-cherry blend and set your pellet grill to 225 degrees Fahrenheit. Follow all the same steps for rubbing and cooking the pork shoulder, monitoring internal temp with your wireless probe. Pellet grills deliver very consistent, mild smoke so you may want to add a smoke tube filled with applewood pellets during the first two hours to boost smoke intensity and develop a more pronounced smoke ring.
Gas Grill Version: Set up a two-zone indirect heat configuration by lighting only one or two burners on one side of your gas grill and targeting 250 degrees Fahrenheit inside the closed lid. Place a smoker box loaded with applewood chips directly over the lit burner and allow it to start smoking before placing your meat on the unlit side. Replenish chips every 45 minutes. Results will have a lighter smoke profile than a charcoal or offset rig, but the applewood sweetness still comes through beautifully.
Apple-Brined Poultry Version: For chicken or turkey, brine your bird overnight in a solution of apple juice, kosher salt, brown sugar, and fresh thyme before applying a simple rub and smoking over applewood at 275 degrees Fahrenheit until the breast hits 165 degrees Fahrenheit and the thigh hits 175 degrees Fahrenheit internally. The apple brine and applewood smoke create an intensely apple-forward flavor profile that is outstanding for holiday table presentations.
Applewood Smoked Salmon Version: For a shorter, lighter cook, set your smoker to 180 degrees Fahrenheit and use applewood chips for a cold-to-warm smoke on skin-on salmon fillets. A simple brine of brown sugar, salt, and dill for four hours before smoking creates a beautiful sweet-savory contrast with the applewood. Smoke until the salmon reaches an internal temp of 145 degrees Fahrenheit, which typically takes 90 minutes to two hours depending on fillet thickness. The mild apple smoke is gentle enough not to overpower the delicate fish.
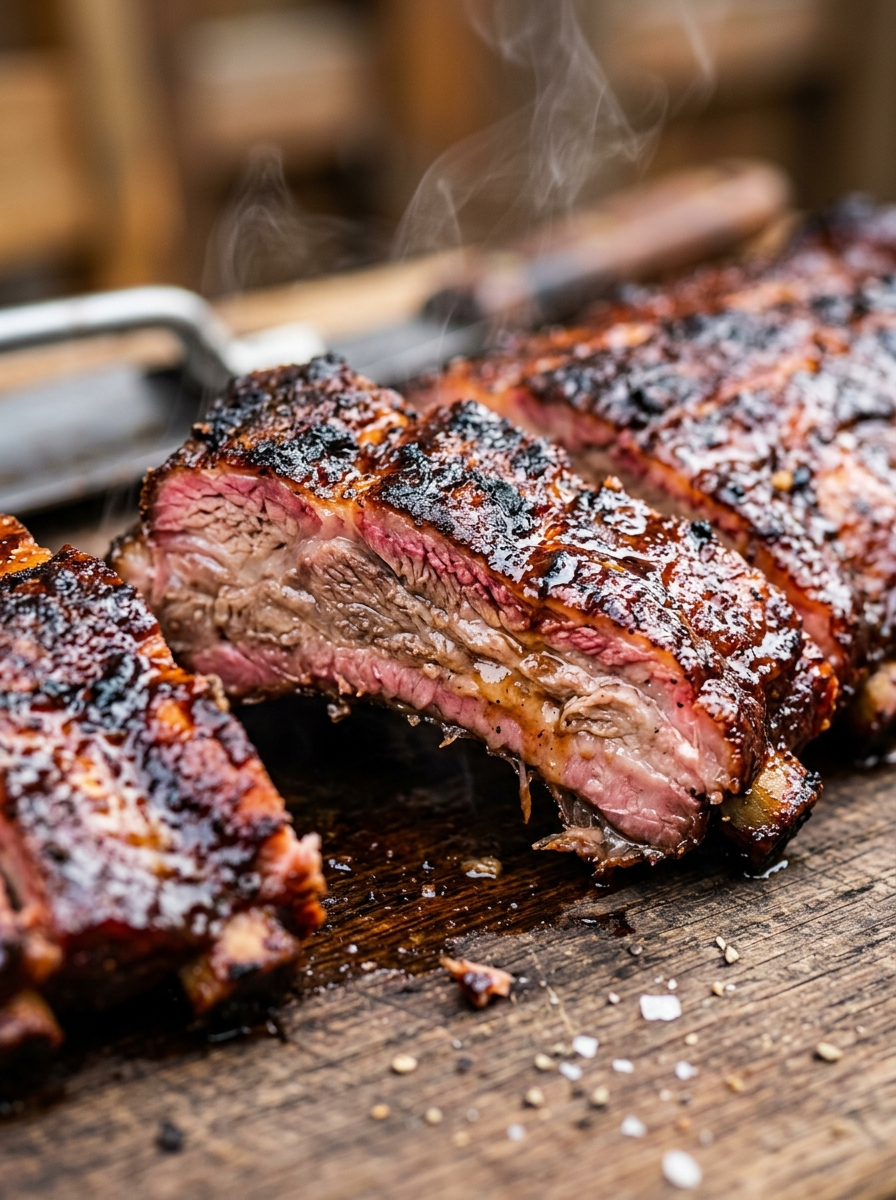
Competition Pork Ribs Version: Apply a competition-style rub heavy on brown sugar and paprika to a full rack of St. Louis cut spare ribs. Smoke over applewood at 225 degrees Fahrenheit using the 3-2-1 method: three hours unwrapped in smoke, two hours wrapped tightly in foil with brown sugar and apple juice, and one hour back on the smoker unwrapped to set the glaze. The applewood smoke produces a stunning mahogany color and a smoke ring that competition judges notice immediately.
❓ Pitmaster FAQ
What meats pair best with applewood smoke?
Applewood is most commonly used with pork in all forms – pork shoulder, ribs, pork loin, and pork chops. It also excels on poultry including whole chicken, turkey, and chicken wings. The mild, sweet smoke works beautifully on fish like salmon and trout. It can be used on beef, though the flavor profile is subtle enough that beef lovers often prefer a stronger wood like hickory or oak as the primary smoke with applewood as a secondary blend.
How long should I smoke with applewood before the smoke flavor is too strong?
Most proteins reach their maximum smoke absorption in the first two to three hours of the cook. After that point, the surface of the meat becomes saturated and additional smoke exposure does not significantly increase smoke flavor – it can, however, start to build bitter notes if combustion is not clean. For best results, add your applewood chunks during the first half of your total cook time and allow the meat to finish cooking in residual heat after the active smoking phase.
Do I need to soak applewood chunks before smoking?
No. This is one of the most persistent myths in BBQ culture. Soaking wood chunks does not produce more smoke or better smoke flavor – it simply delays ignition as the water on and near the surface must evaporate before the wood can combust. During that evaporation phase you get steam mixed with early smoke compounds, which can add unwanted off-flavors. Use dry, seasoned applewood chunks directly in your charcoal bed for clean, efficient combustion from the start.
What is the difference between applewood chunks, chips, and splits?
Chunks are baseball-sized pieces best suited for charcoal grills and smokers, placed directly in the coals for sustained smoke over one to two hours. Chips are thin shavings that ignite quickly and are ideal for short cooks or gas grills with a smoker box, though they burn out in 20 to 30 minutes and need replacing regularly. Splits are full-sized logs used in offset stick-burning smokers to maintain a live fire. Choose the form that matches your cooking equipment for the best results.
Can I mix applewood with other smoking woods?
Absolutely, and blending woods is one of the best ways to build complex smoke flavor profiles. Applewood blends exceptionally well with cherry wood for added color and tartness, with hickory for deeper, more assertive smoke on pork shoulder and ribs, and with pecan for a nutty, sweet combination that works beautifully on poultry. A common ratio is 70 percent applewood with 30 percent of the secondary wood, keeping the gentle apple sweetness as the dominant note while adding complexity and depth.
What internal temperature should my pork shoulder reach when smoking with applewood?
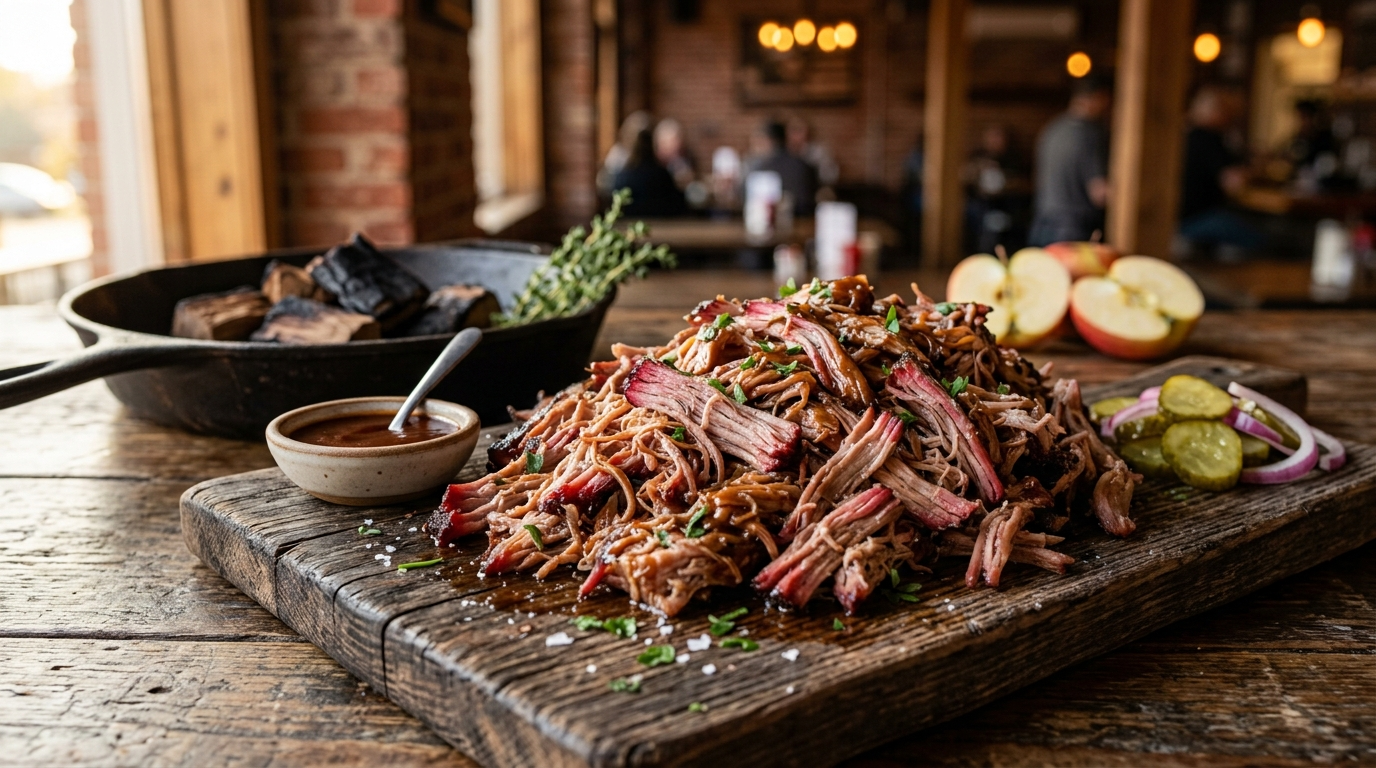
For pulled pork, you want your pork shoulder to reach an internal temp of 200 to 203 degrees Fahrenheit. At this temperature the collagen has fully converted to gelatin, giving you that moist, tender, pull-apart texture. Use an instant read thermometer or wireless probe to monitor temp continuously, and verify doneness by the probe test – the thermometer should slide into the thickest part of the meat with almost zero resistance. Always rest the meat for at least one hour after pulling it from the smoker before serving.