In this video by Kitchen Alpha, you will learn the basics of using a charcoal grill. The video features a Weber 22-inch kettle grill, which is considered the standard for all other kettle grills. From setting up the grill to choosing the right charcoal and necessary accessories, this video covers it all. The presenter also provides options for different types of charcoal and discusses the importance of using the right cooking utensils. The video concludes with a demonstration of how to start the charcoal, create a two-zone fire, and properly clean the grill. Whether you’re a beginner or looking to improve your grilling skills, this video is packed with helpful information to get you started.
A Beginner’s Guide to Using a Charcoal Grill
Setting up the Grill
Choosing the right charcoal grill
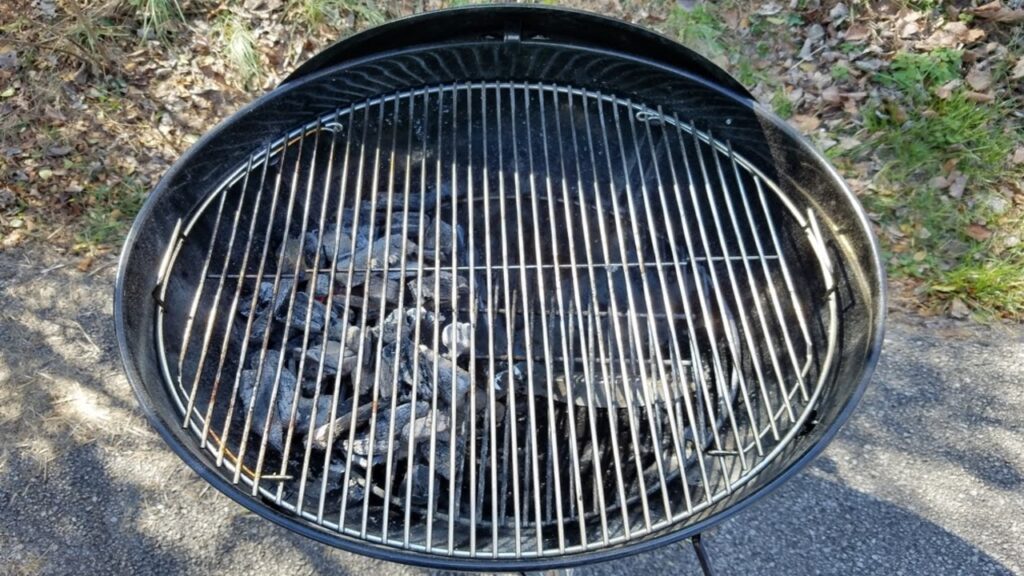
When selecting a charcoal grill, it’s important to consider the size and features that best suit your needs. The standard Weber 22 inch kettle grill is a popular choice and sets the standard for all other kettle grills. It features a hinged grate, which allows for easy access and the ability to add charcoal to either side without having to remove the food. This is especially handy during longer cooking sessions.
Understanding the different parts of the grill
To successfully use a charcoal grill, it’s essential to familiarize yourself with its different components. The charcoal grate is where you place the hot coals during the cooking process. The damper is used to regulate the airflow into the bottom of the grill, helping control the temperature. It also serves the dual purpose of allowing you to remove loose ashes. The top lid of the grill has a vent that can be opened or closed to work in conjunction with the damper in controlling airflow and temperature.
Using the damper to control airflow
The damper plays a crucial role in regulating the airflow to control the temperature inside the grill. By opening or closing the damper, you can adjust the airflow, which directly affects the intensity of the fire. Opening the damper allows more oxygen to reach the coals, resulting in a hotter fire. Closing the damper restricts airflow, thus lowering the temperature. Experimenting with different damper positions will help you achieve the desired cooking temperature.
Using the vent on the lid
The vent on the lid of the grill works in conjunction with the damper to control the airflow and temperature. By opening or closing the vent, you can further adjust the oxygen flow to the coals. Opening the vent increases oxygen supply, creating a hotter fire, while closing it reduces oxygen flow and lowers the temperature. It’s important to find the right balance between the damper and vent settings to maintain a consistent cooking temperature.
Setting up a two-zone fire
A two-zone fire is a technique commonly used in charcoal grilling to create different heat zones on the grill. This allows for both direct and indirect cooking. To set up a two-zone fire, pour the charcoal onto one side of the grill, leaving the other side empty. The side with the charcoal will be the hot zone, ideal for searing food at high temperatures. The empty side serves as the cooler zone for indirect cooking or for moving food away from flare-ups. This setup provides versatility and control in cooking different types of food.
Choosing Charcoal
Natural lump charcoal
Natural lump charcoal is a type of charcoal made from hardwood that has been burned in the absence of oxygen. It contains no additives and comes in varying sizes, giving it an organic and natural quality. Natural lump charcoal heats up quickly and reaches high temperatures, making it suitable for searing food. However, it burns faster compared to briquettes, so it may not last as long during longer cooking sessions.
Kingsford Original briquettes
Kingsford Original briquettes are a popular choice for charcoal grilling. They are more uniform in size and shape compared to natural lump charcoal, making them easier to stack and arrange. Briquettes provide a consistent and steady heat for extended periods, making them ideal for longer cooking sessions. They also produce less ash compared to natural lump charcoal. Kingsford Original briquettes are a reliable option for achieving consistent results in your charcoal grilling.

This image is property of i.ytimg.com.
Using Wood Chips or Chunks
Adding smoky flavor to your food
Wood chips or chunks are optional additions to your charcoal grilling setup. They add an extra layer of flavor by producing smoke when they come into contact with the hot coals. Soaking the wood chips or chunks in water before adding them to the grill will help them smolder and produce more smoke. Different types of wood, such as mesquite, hickory, or fruitwood, will impart distinct flavors to your food. Experimenting with different combinations of charcoal and wood will allow you to create a variety of delicious and aromatic grilled dishes.
Essential Accessories
Charcoal chimney for starting the coals
A charcoal chimney is a useful tool for quickly and easily getting your charcoal briquettes or lump charcoal ready for cooking. Simply place the chimney on the charcoal grate inside your grill and fill it about three-quarters full with the charcoal of your choice. Wad up a couple of pieces of newspaper and place them at the bottom of the chimney. Light the newspaper, and the heat will rise, igniting the charcoal. Within 15 to 20 minutes, the charcoal will be ready to use.
Good brush for cleaning the grate
To ensure clean and hygienic grilling, it’s important to clean the cooking grate before every use. A good brush with stiff wires is essential for effectively removing any residue or food remnants. Use the brush to scrape off any stuck-on food debris from the grate. This not only improves the hygiene of your grill but also helps prevent food from sticking during cooking. Regularly cleaning the grate will prolong its lifespan and ensure better grilling results.
Cooking utensils (tongs, spatula, etc.)
Having a set of good cooking utensils is essential for successful charcoal grilling. Invest in a pair of long-handled tongs to easily handle and flip food on the grill. A sturdy spatula with a long handle is ideal for maneuvering delicate foods like fish or vegetables. Other useful utensils include a basting brush for applying marinades or sauces and a grill fork for checking the doneness of meat. Having the right tools on hand will make your grilling experience more enjoyable and efficient.
Instant-read thermometer and oven thermometer
Temperature control is key to achieving perfectly grilled food. An instant-read thermometer is essential for accurately measuring the internal temperature of meat, ensuring it reaches a safe level for consumption. Additionally, an oven thermometer can be placed on the grate next to your food to monitor the grill’s overall temperature. This helps you maintain consistency and adjust the heat as needed throughout the cooking process.
Pastry brush for basting meat
To add extra flavor and moisture to your grilled meat, a pastry brush or silicone brush is handy for basting. Basting involves applying sauces, marinades, or melted butter to the meat during cooking. This helps to enhance the taste and keep the meat juicy. Use a heat-resistant brush to avoid any melting or damage from the high heat of the grill. Basting is a technique that can take your grilled dishes to the next level.

Setting up the Charcoal
Placing the chimney on the grate
When setting up the charcoal for your grill, start by placing the charcoal chimney on the charcoal grate inside your grill. Ensure it is stable and centered to prevent any accidents or spills during the ignition process. This will allow the heat from the coals to rise evenly through the grill.
Lighting the newspapers at the bottom
The next step is to wad up two or three pieces of newspaper and insert them into the bottom of the charcoal chimney. The newspaper will serve as the ignition source for the charcoal. Light the newspaper carefully to start the ignition process.
Filling the chimney with charcoal
Filling the chimney with the appropriate amount of charcoal is crucial for achieving the desired cooking temperature. As a general rule, fill the chimney about three-quarters full. This allows enough space for the coals to ignite and create a consistent heat source.
Pouring the charcoal onto the grate
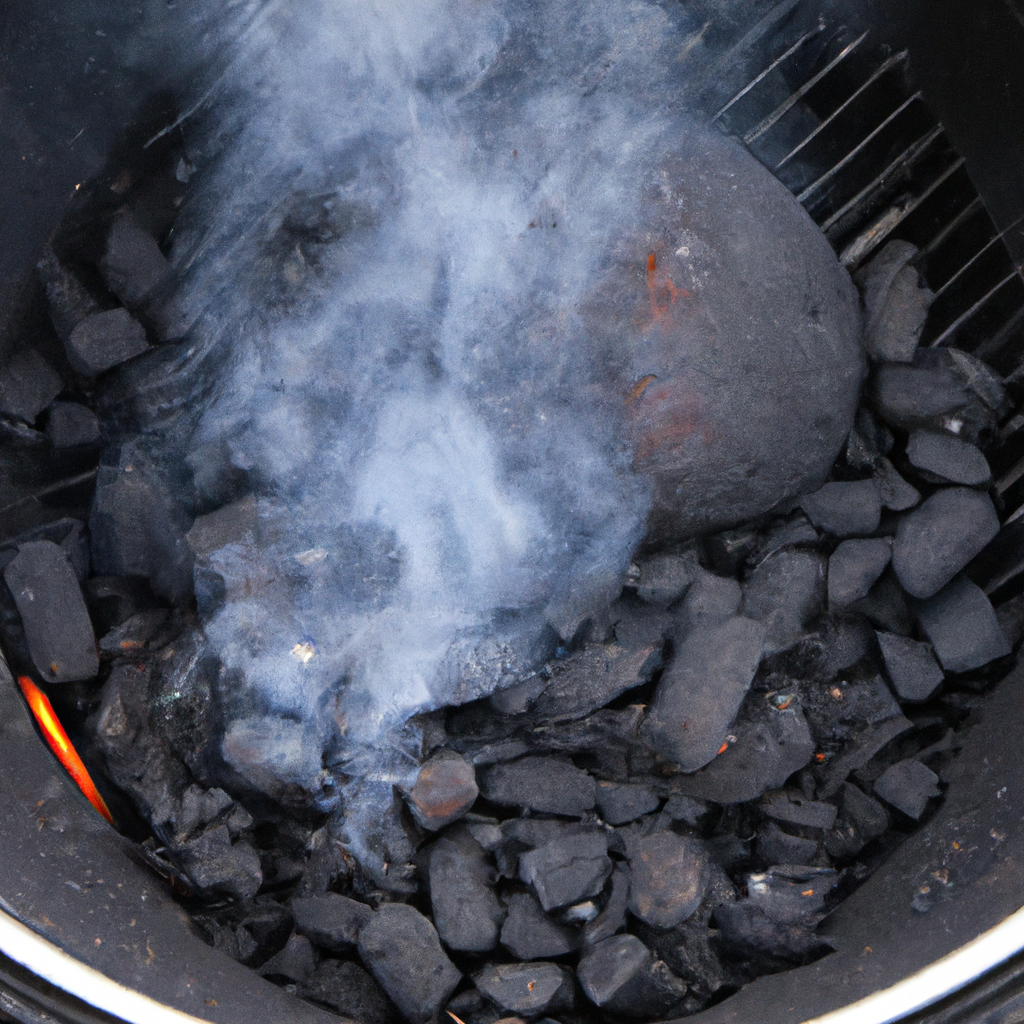
Once the charcoal has ashed over, usually after 15 to 20 minutes of being lit, carefully pour it onto the grate of the grill. Pay attention to the placement of the coals, especially if you are setting up a two-zone fire. Pouring the coals onto one side of the grill will create the hot zone, ideal for direct heat cooking. Make sure to distribute the coals evenly to ensure even heat and cooking.
Using a Two-Zone Fire
Searing food at higher temperature
A two-zone fire allows you to sear your food at a higher temperature for that coveted caramelized exterior. By placing the food directly over the coals in the hot zone, you can achieve a quick sear that creates a delicious crust on meats, vegetables, and even fruits. Searing locks in the juices and imparts a delightful charred flavor.
Indirect cooking for a safe zone
Indirect cooking is another advantage of a two-zone fire. This technique involves placing the food on the side of the grill opposite the hot coals, creating a cooler zone. This safe zone is useful for cooking delicate or larger cuts of meat that require slower, more indirect heat. It also helps prevent flare-ups and allows for more controlled cooking, particularly when recipes call for lower temperatures over longer periods of time.

Heating up the Grill
Placing the cooking grate and closing the lid
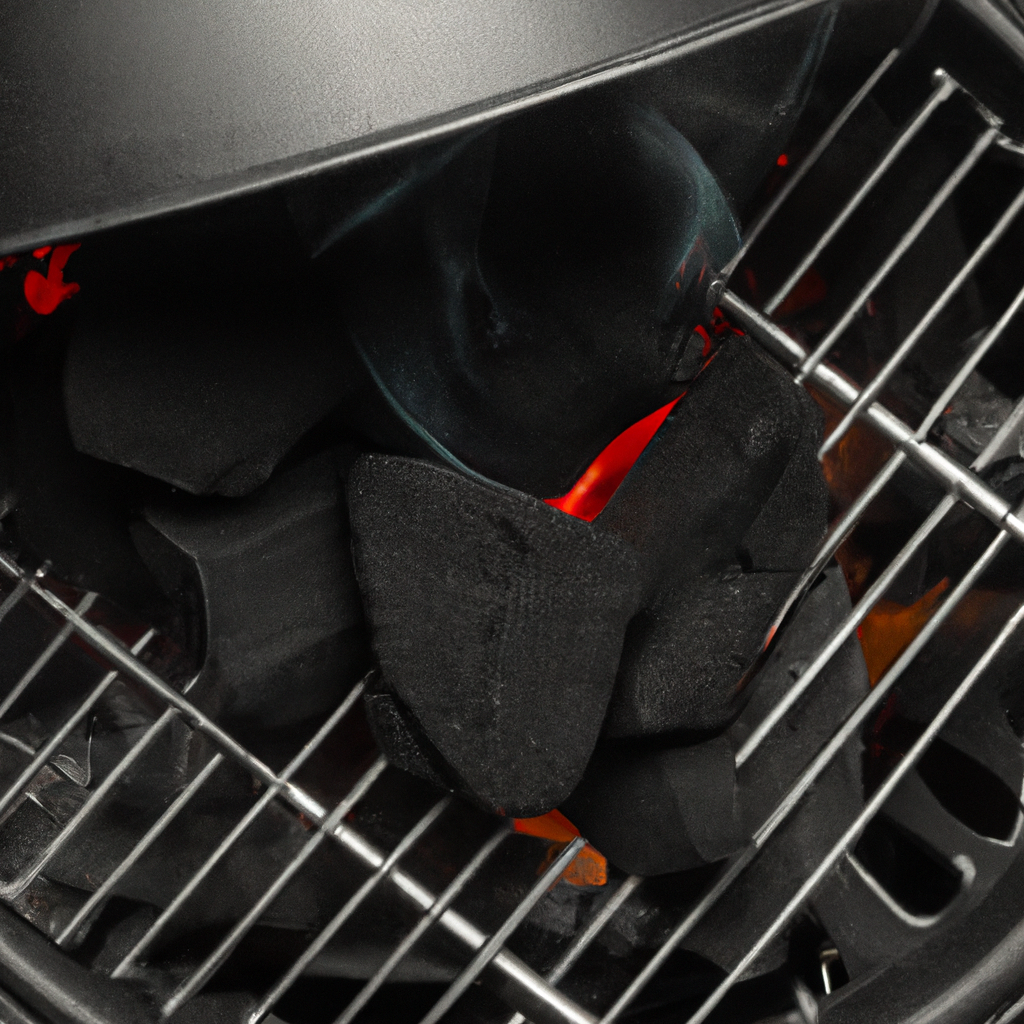
After setting up the charcoal and distributing it evenly, it’s time to put the cooking grate back on the grill. Ensure it is securely in place so that it can support the weight of the food. Then, place the lid on top of the grill. Closing the lid helps retain heat and create an oven-like environment, ensuring even cooking and allowing smoky flavors to infuse the food.
Allowing the grill to heat up to at least 400 degrees
To achieve optimal grilling results, it’s important to heat the grill to the appropriate temperature. Generally, a temperature of at least 400 degrees Fahrenheit is recommended for most grilling applications. This high heat ensures proper searing and quick cooking times. Use an oven thermometer placed on the grate to monitor the temperature and make adjustments as needed.
Cleaning the grate with a grill brush
To ensure a clean and sanitary cooking surface, it’s essential to clean the cooking grate before placing the food on it. Use a grill brush with stiff wires to scrape off any residue or stuck-on food. Cleaning the grate also removes any germs or contaminants that may be present. The high heat of the grill will help kill any remaining bacteria, ensuring safe and hygienic grilling.
Cooking on the Charcoal Grill
Placing the food on the hot side or opposite side of the coals
Depending on the desired cooking method and temperature, place the food on either the hot side or the opposite side of the coals. For direct heat cooking, such as searing steaks or vegetables, place them directly over the hot coals. For indirect cooking, move the food to the cooler side of the grill, opposite the hot coals. This allows for slower, more controlled cooking and prevents flare-ups.
Monitoring the temperature with a thermometer
Using a thermometer is key to achieving perfectly cooked food. Insert an instant-read thermometer into the thickest part of the meat to check for the desired internal temperature. This ensures that the meat is cooked to the appropriate level of doneness and eliminates the guesswork. By closely monitoring the temperature, you can prevent overcooking or undercooking your food.
Basting the meat with a pastry brush
To enhance the flavor and juiciness of your grilled meat, consider using a pastry brush or silicone brush to baste it. Basting involves applying marinades, sauces, or melted butter to the meat during the cooking process. This helps to infuse flavor and keep the meat moist. Gently brush the sauce or marinade onto the meat, taking care not to disturb the cooking process. Basting adds an extra layer of deliciousness to your grilled dishes.
Conclusion
Thank you for watching this beginner’s guide to using a charcoal grill. We hope you found the information helpful and are now ready to embark on your own grilling adventures. Remember to choose the right charcoal grill for your needs, understand its different parts, and utilize its features such as the damper and vent for temperature control. Don’t forget to select the right charcoal, consider using wood chips or chunks for added smoky flavor, and invest in essential accessories like a charcoal chimney and a good grill brush. Setting up the charcoal correctly, using a two-zone fire, and heating up the grill to the appropriate temperature will ensure optimal cooking conditions. Finally, enjoy the process of cooking on a charcoal grill, whether it’s searing food at high temperatures or using indirect heat for slow cooking. Thank you for watching, and don’t forget to subscribe to our channel for more helpful videos. Happy grilling!
