So, you’ve just finished hosting a fabulous backyard BBQ party, and now you’re faced with the not-so-fabulous task of cleaning up that greasy BBQ grill. Don’t fret! In this article, we’ll share some tried and tested tips on how to efficiently and effectively clean a greasy BBQ grill. From tackling those stubborn grease stains to restoring your grill to its sparkling clean state, we’ve got you covered. Get ready to say goodbye to the grease and hello to a spotless grill with these easy cleaning techniques.

This image is property of hips.hearstapps.com.
Preparing the Grill for Cleaning
Gathering the necessary materials
Before you begin cleaning your greasy BBQ grill, it’s important to gather all the necessary materials. You’ll need gloves to protect your hands, a wire brush to scrub the grates, a grill brush for cleaning the exterior, a degreaser or vinegar solution, hot soapy water, a drip pan, and a sponge or cloth for wiping down surfaces.
Removing ashes and debris
The first step in cleaning your greasy BBQ grill is to remove any ashes and debris. Start by emptying the grill of any leftover charcoal or wood ash. Use a grill brush or a small broom to sweep out any loose debris that may have accumulated.
Scraping off excess grease
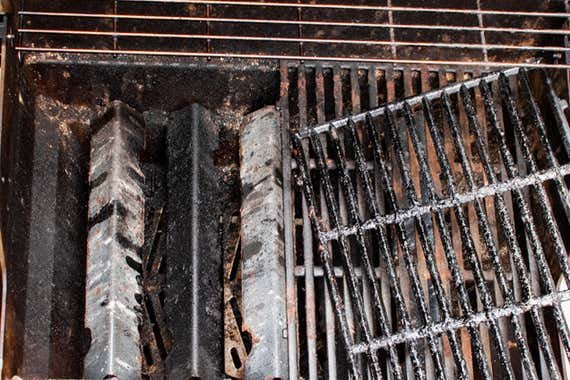
Next, scrape off any excess grease from the grates and interior surfaces. This can be done with a putty knife or a metal scraper. Be sure to remove as much grease as possible, as it can lead to flare-ups and affect the taste of your food.
Deep Cleaning Methods
Soaking the grates in hot, soapy water
To thoroughly clean your BBQ grill grates, start by soaking them in hot, soapy water. This will help to loosen and dissolve any stubborn grease or food particles. Submerge the grates in a bucket or sink filled with hot water and a generous amount of dish soap. Let them soak for at least 30 minutes to allow the grease to loosen.
Using a wire brush to scrub the grates
After soaking the grates, use a wire brush to scrub away any remaining grease or residue. Start by holding the wire brush at a 45-degree angle and scrubbing back and forth in a circular motion. Make sure to clean both sides of the grates thoroughly, as well as any hard-to-reach areas.
Cleaning the burner tubes
To clean the burner tubes, start by turning off the gas supply and disconnecting the propane tank. Once the grill is cool, remove the burner tubes by unscrewing them from the grill. Use a wire brush to clean the tubes, removing any built-up grease or debris. Ensure that the burner tubes are completely dry before reattaching them.
Cleaning the Exterior
Wiping down the exterior surfaces
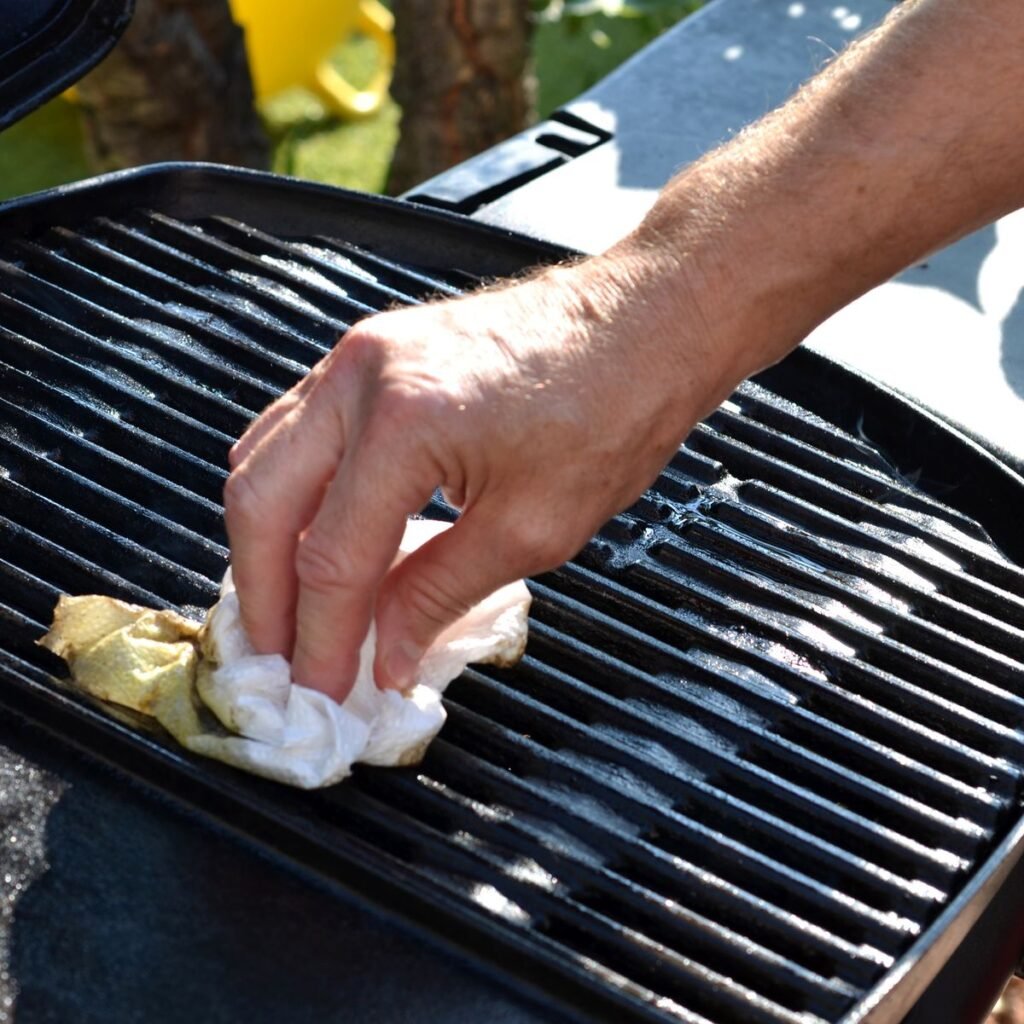
To clean the exterior of your greasy BBQ grill, start by wiping down the surfaces with a damp cloth or sponge. You can use warm, soapy water to help remove any grease or built-up grime. Be sure to clean all sides of the grill, including the lid, side tables, and control knobs.
Removing grease and stains from the lid
If your grill’s lid has grease stains or residue, it’s important to remove them for hygiene and aesthetic purposes. Mix a small amount of dish soap with warm water and use a sponge or cloth to scrub away the stains gently. Rinse the lid thoroughly and dry it with a clean cloth.
Cleaning the Grates
Brushing off loose debris
Before deep cleaning the grates, it’s important to brush off any loose debris or food particles. Use a wire brush or a grill brush to scrape away any leftover residue, making sure to remove all the loose debris.
Applying a degreaser or vinegar solution
To tackle the grease on the grates, you can use a commercial degreaser or create your own vinegar solution. Mix equal parts white vinegar and water in a spray bottle and apply it generously to the grates. Allow the solution to sit for a few minutes to break down the grease.
Scrubbing the grates with a grill brush
After applying the degreaser or vinegar solution, use a grill brush to scrub the grates thoroughly. Scrub back and forth in a circular motion, applying pressure to remove any remaining grease or residue. Rinse the grates with water to remove any leftover cleaning solution, and dry them with a cloth.

This image is property of media1.s-nbcnews.com.
Cleaning the Burner Tubes
Disconnecting the propane tank
Before cleaning the burner tubes, ensure that the grill is turned off and the propane tank is disconnected for safety. This step is crucial to avoid any potential accidents or gas leaks.
Removing the burner tubes
Once the grill has cooled down, you can remove the burner tubes for cleaning. Unscrew the tubes from the grill using a wrench or an adjustable wrench. Be careful not to damage the tubes or any other components during this process.
Cleaning the tubes with a wire brush
Using a wire brush, clean the burner tubes to remove any grease or debris. Scrub them thoroughly, ensuring that all the openings and holes are clear of any blockages. This step will ensure proper gas flow and prevent any potential flare-ups.
Cleaning the Drip Pan
Removing the drip pan
The drip pan is responsible for catching grease and food drippings. To clean it, start by removing it from the grill. Carefully slide the drip pan out from its position, being cautious of any grease or debris that may have accumulated.
Scraping off hardened grease
With the drip pan removed, you may notice that there is hardened grease or residue stuck to its surface. Use a putty knife or a metal scraper to scrape off the hardened grease. Be gentle to avoid damaging the drip pan, ensuring that it is completely clean before moving on.
Washing the pan with soap and water
After scraping off the hardened grease, wash the drip pan with warm, soapy water. Use a sponge or cloth to scrub both sides of the pan, removing any remaining grease or residue. Rinse the pan thoroughly and dry it with a clean cloth before reinserting it into the grill.

This image is property of cdn.thewirecutter.com.
Cleaning the Igniter
Disconnecting power to the grill
To clean the igniter, it’s important to disconnect the power supply to the grill. This can usually be done by turning off the gas supply and unplugging the grill from any electrical outlets.
Removing the igniter cap and electrode
Once the power is disconnected, locate the igniter cap and electrode on your grill. Carefully remove the cap and electrode, taking care not to damage any of the components.
Cleaning the igniter components
Using a soft brush or a toothbrush, gently clean the igniter cap and electrode. Be cautious not to bend or break any of the delicate parts. Remove any dirt, grease, or debris that may have accumulated, ensuring that the components are clean and free from any obstructions.
Cleaning the Bottom Tray and Wheels
Removing the bottom tray
To clean the bottom tray, start by removing it from the grill. This tray collects grease and debris that may fall through the grill grates. Carefully slide the tray out from its position, being cautious of any loose debris that may have accumulated.
Scrubbing off grease and debris
With the bottom tray removed, use a cloth or sponge to scrub away any grease or debris. Pay close attention to the corners and crevices where grease tends to accumulate. Remove any loose debris and rinse the tray with water to ensure it’s thoroughly cleaned.
Wiping down the wheels and casters
To keep your grill mobile and in good working condition, it’s important to clean the wheels and casters. Use a damp cloth or sponge to wipe down the wheels, removing any dirt, grease, or debris. This will help ensure smooth mobility and prevent any potential issues.

This image is property of cdn.apartmenttherapy.info.
Reassembling the Grill
Putting the grill components back together
Once all the individual components of the grill are clean and dry, it’s time to reassemble them. Follow the manufacturer’s instructions to properly and securely put the grill back together. Take care to ensure that each component is firmly in place to avoid any safety hazards or malfunctions.
Securing the burner tubes and drip pan
In the reassembling process, be sure to securely attach and tighten the burner tubes. This will ensure proper gas flow and prevent any potential leaks. Additionally, make sure the drip pan is properly positioned and securely inserted into its designated spot.
Reconnecting the propane tank
After reassembling the grill, it’s time to reconnect the propane tank. Ensure that the tank is safely and securely attached to the grill. Check for any potential gas leaks by conducting a soapy water test. Apply a soapy water solution to all gas connections and valves. If you notice any bubbles forming, there may be a leak, and you should address it before using the grill.
Maintenance Tips
Regularly cleaning the grill after each use
To prevent heavy grease buildup and prolong the lifespan of your grill, it’s essential to clean it after each use. Doing so will not only help maintain the grill’s performance but also ensure food safety and prevent any unwanted flavors from transferring onto your meals.
Covering the grill when not in use
When your grill is not in use, protect it from the elements by covering it with a grill cover. This will shield it from dust, dirt, and moisture, helping to preserve its appearance and functionality. Remember to wait until the grill has completely cooled before covering it.
Checking and replacing grease traps
Regularly inspect the grease traps in your grill and replace them as needed. These traps are designed to catch grease and prevent it from clogging the burner tubes or causing flare-ups. By checking and replacing the grease traps, you will ensure optimal performance and safety while grilling.
By following these comprehensive steps and maintenance tips, you’ll be able to clean your greasy BBQ grill effectively. Regular cleaning and proper maintenance will not only enhance the taste of your food but also extend the life of your grill, providing years of enjoyable grilling experiences for you and your loved ones. So grab your cleaning materials and get ready to have a sparkling clean grill that’s ready to use for your next outdoor gathering!

This image is property of media-cldnry.s-nbcnews.com.
