
Learning how to clean grill grates properly is the foundation of every great BBQ session, and it is something most backyard cooks overlook until it is too late. Built-up grease, carbonized food debris, and rust are not just unsightly – they actively ruin the flavor of your cook, cause your protein to stick to the grates, and create dangerous flare-ups that can torch the bark right off a perfectly smoked brisket. If you want clean grill marks, pure smoke flavor, and a setup that lasts for years, you need to treat grate cleaning as seriously as you treat your rub recipe.
Here at GrillMasterHQ, we have tested every method out there – from wire brushes to aluminum foil balls, from high-heat burn-offs to deep soaks in soapy water. The truth is that the best approach depends on your grate material, how long it has been since your last clean, and what kind of grill you are working with. Cast iron grates require a different touch than stainless steel, and a grate that has been neglected for a full season needs a heavy-duty approach compared to one you clean after every cook. We are going to walk you through every scenario so you know exactly what to do no matter what you are dealing with.
The good news is that once you build a solid cleaning routine into your grilling habit – think a quick brush at 500 degrees Fahrenheit before every cook and a deep clean every 3 to 5 uses – you will spend less time scrubbing and more time doing what matters: cooking incredible food over live fire. A clean grill runs more efficiently, holds temp more consistently, and produces better tasting food. Full stop. So let us fire up the grill, get those grates dialed in, and make sure your setup is ready to perform at its absolute best.
How to Clean Grill Grates: The Pitmaster Method
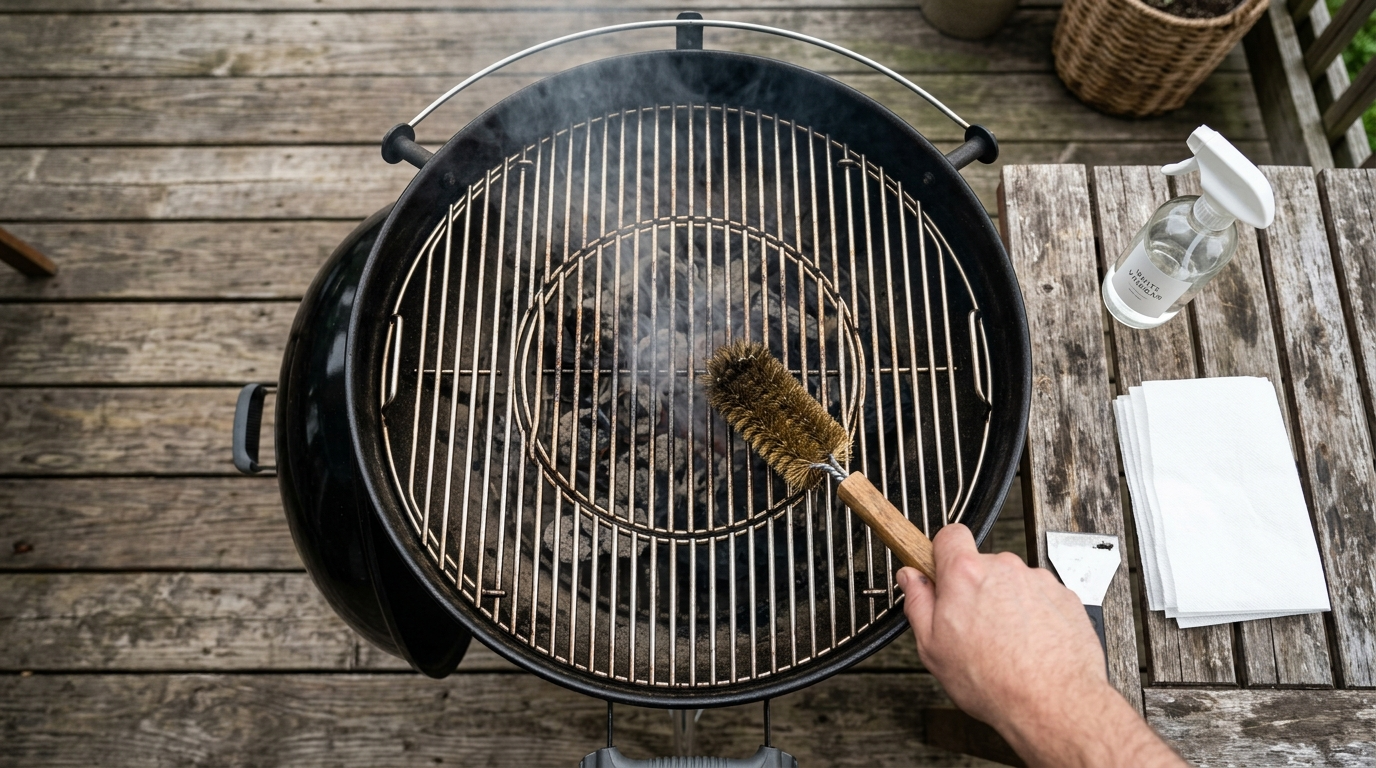
Knowing how to clean grill grates is the secret weapon every backyard pitmaster needs in their arsenal. Dirty grates ruin flavor, cause sticking, and shorten the life of your grill. Get your grates gleaming and fire up the grill tonight with confidence.

Ingredients
| AMOUNT | INGREDIENT | NOTES |
|---|---|---|
| 1 full bottle | dish soap | standard grease-cutting formula works best |
| 2 cups | white vinegar | distilled white vinegar for cutting through carbonized grease |
| 2 cups | warm water | combined with vinegar for soaking solution |
| 1 tablespoon | baking soda | optional – boosts scrubbing power on stubborn buildup |
| 2 tablespoons | high smoke point cooking oil | vegetable, canola, or flaxseed oil for re-seasoning cast iron grates |
| 4 sheets | heavy-duty aluminum foil | balled up to use as a scrubbing pad in a pinch |
| 1 piece | half onion | optional – cut side down on hot grates acts as a natural degreaser and sanitizer |
Instructions
Nutrition (per serving)
The BBQ Story Behind This Recipe
Grilling over open fire is one of the oldest cooking traditions in human history, dating back tens of thousands of years to when early humans first discovered that fire transformed raw food into something extraordinary. But the concept of a dedicated cooking grate – a metal grid suspended over heat to allow fat to drip away while food gets marked and crisped by radiant and convective heat – is a much more modern innovation. American BBQ culture, which traces its roots through Indigenous cooking traditions, Caribbean barbacoa techniques brought to the American South, and the smokehouses of the Carolinas, Texas, and Kansas City, has always been rooted in the idea that the setup is just as important as the cook. Pitmasters of old obsessed over their pits, their wood sources, and the cleanliness of their cooking surfaces because they understood that dirty equipment produces inferior results.
The backyard grilling boom of post-World War II America, fueled by the rise of suburban culture and the invention of the kettle grill by George Stephen in 1952, brought grill maintenance into the everyday household conversation. As millions of Americans began grilling in their backyards, the question of how to maintain cooking grates became a common topic in cookbooks, magazines, and eventually the internet. Regional pitmaster traditions have always passed down the wisdom that a clean grate is a mark of respect for the craft – you would never see a serious competition BBQ team show up to a cook with dirty, rusted grates. Today, that same standard applies whether you are competing on the circuit or cooking up weekend ribs for the family.
Hot Off the Grill

A Closer Look

Pitmaster Tips for Best Results
- Always brush your grates while they are hot rather than cold – debris releases 10 times more easily at 500 degrees Fahrenheit than it does at room temperature, and you will save yourself serious scrubbing effort.
- Replace your wire grill brush every grilling season or as soon as you notice bristles becoming loose or splayed – loose bristles can transfer to food and become a serious safety hazard, so do not take chances on an old worn-out brush.
- If you grill with cast iron grates, never use soap on them during routine cleaning – soap strips the seasoning layer that took months to build up. Stick to the hot scrub method and re-oil after every cook to maintain your non-stick surface.
- For porcelain-coated grates, inspect them regularly for chips or cracks in the coating. Once the porcelain is compromised, the exposed metal underneath will rust rapidly. Small chips can be managed with careful oiling, but heavily chipped grates should be replaced to avoid rust contamination in your food.
- At the start of every new grilling season, do a full deep clean of your grates and the entire grill interior, check all grate rods for structural integrity and rust, and re-season everything from scratch. A one-hour investment at the start of the season will pay dividends in performance and longevity all year long.
🔧 Pitmaster Equipment
Stiff Wire Grill Brush: The most effective tool for scrubbing carbonized debris off hot grates quickly and safely after every cook.
Grill Brush with Replaceable Head: Allows you to swap out worn bristles so your brush always performs at full strength without buying a whole new tool.
Long Tongs: Essential for safely handling hot grates and maneuvering aluminum foil balls or cleaning pads while the grill is fired up.
Heat-Resistant Grill Gloves: Protect your hands when removing grates for deep cleaning or reaching into a hot grill cavity.
Large Bucket or Deep Utility Sink: Needed for soaking grates in hot soapy water during a deep clean session for heavy buildup removal.
Dish Soap and White Vinegar: A 50-50 mix of white vinegar and water cuts through grease and carbonized buildup without damaging grate surfaces.
Nylon Scrub Pad or Stainless Steel Wool: For cast iron grates, use non-metallic scrubbers to avoid stripping seasoning; for stainless steel, steel wool works well.
Paper Towels and Cooking Oil: Used to re-season cast iron grates after cleaning to prevent rust and restore the non-stick surface.
🔥 Variations
Gas Grill Grate Cleaning: On a gas grill, fire up all burners to high and close the lid for 15 minutes to burn off residue, then brush vigorously. Gas grills often have flavorizer bars beneath the grates that collect dripping grease – remove and clean these separately during deep clean sessions as they are a primary source of flare-ups and off-flavors.
Porcelain Coated Grate Cleaning: Porcelain grates require a gentler touch than raw cast iron or stainless steel. Never use wire brushes or steel wool – use a soft nylon grill brush exclusively. Soak in warm soapy water for deep cleans and avoid abrasive scrubbing that can chip the coating. These grates do not require oil seasoning but benefit from a light oil wipe before storage.
Charcoal Grill Grate Cleaning: After every charcoal cook, let the coals die down completely, then brush the hot grates before closing the vents and letting everything cool. On charcoal grills, ash mixes with grease and creates a particularly stubborn compound on grates – a longer soak time of 1 to 2 hours during deep cleans works best to loosen this type of buildup.
Pellet Grill Grate Cleaning: Pellet grills accumulate a unique combination of wood ash, grease, and pellet dust on their grates and interior surfaces. Run the grill on high for 15 minutes before brushing, and vacuum out the firepot and interior chamber during every deep clean. Pellet grill grates are often stainless steel or porcelain-coated and respond well to the soak-and-scrub method.
Overnight Trash Bag Soak Method: For extremely neglected grates with heavy carbon buildup, place them inside a heavy-duty contractor garbage bag with 2 cups of ammonia, seal it tightly, and leave it outside overnight. The ammonia fumes loosen even the most stubborn carbonized grease without any scrubbing. Wear gloves and work in a well-ventilated area when removing and rinsing the grates the next morning.
❓ Pitmaster FAQ
How often should I clean my grill grates?
You should do a quick hot brush clean before and after every single cook – this takes less than 2 minutes and prevents buildup from accumulating. A full deep clean with soaking and scrubbing should happen every 3 to 5 cooking sessions, and a thorough seasonal clean at the start and end of grilling season is non-negotiable for grate longevity and food safety.
Is it safe to use a wire brush on grill grates?
Wire brushes are effective but carry a real safety risk if the bristles become loose and detach onto the grates and then transfer to food. Always inspect your wire brush before every use and replace it at the first sign of loose or splayed bristles. Consider using a bristle-free grill brush, a stainless steel coil brush, or a balled-up piece of aluminum foil held with tongs as a safer alternative.
How do I remove rust from grill grates?
For light surface rust on stainless steel or cast iron grates, scrub with a paste made from equal parts baking soda and white vinegar applied with steel wool or a stiff brush. For heavy rust on cast iron, soak in a 50-50 white vinegar and water solution for up to 8 hours, scrub thoroughly, rinse completely, dry immediately, and re-season multiple times. Porcelain grates with rust from chipped coating sections may need to be replaced entirely.
Can I put my grill grates in the dishwasher?
Stainless steel grates can technically go in the dishwasher, but the harsh detergents and high heat cycles will dull the finish and shorten their lifespan over time. Cast iron grates should never go in the dishwasher – it will strip the seasoning completely and cause immediate rust. Porcelain-coated grates can be damaged by dishwasher detergents. Hand washing with hot soapy water is the recommended method for all grate types.
What is the best way to clean cast iron grill grates?
The best routine for cast iron grates is the hot brush method after every cook followed by a light coating of high smoke point oil. For deep cleans, use hot water and a stiff brush without soap – the oil seasoning does the non-stick work so you rarely need harsh cleaning agents. After any deep clean, dry completely, heat on the grill at 300 to 350 degrees Fahrenheit to evaporate moisture, and apply a thin layer of oil to re-season before storing.
How do I stop food from sticking to my grill grates?
A properly cleaned and seasoned grate is the first line of defense against sticking. Beyond that, always preheat your grill to the target cooking temperature before placing food on the grates – a cold grate will cause proteins to bond to the metal immediately. Oil the grates lightly just before cooking using a folded paper towel soaked in oil held with tongs. Also make sure your proteins are at room temperature before hitting the grates rather than going straight from the refrigerator.
How do I clean grill grates without a brush?
Several brush-free methods work extremely well. The aluminum foil ball method – crumpling a sheet of heavy-duty foil into a tight ball and using tongs to scrub the hot grates – is highly effective for carbon buildup. The onion half method described in our instructions works great for routine cleaning. For deep cleans, the soak method in hot soapy water combined with a nylon scrub pad requires no brush at all and produces excellent results on all grate types.