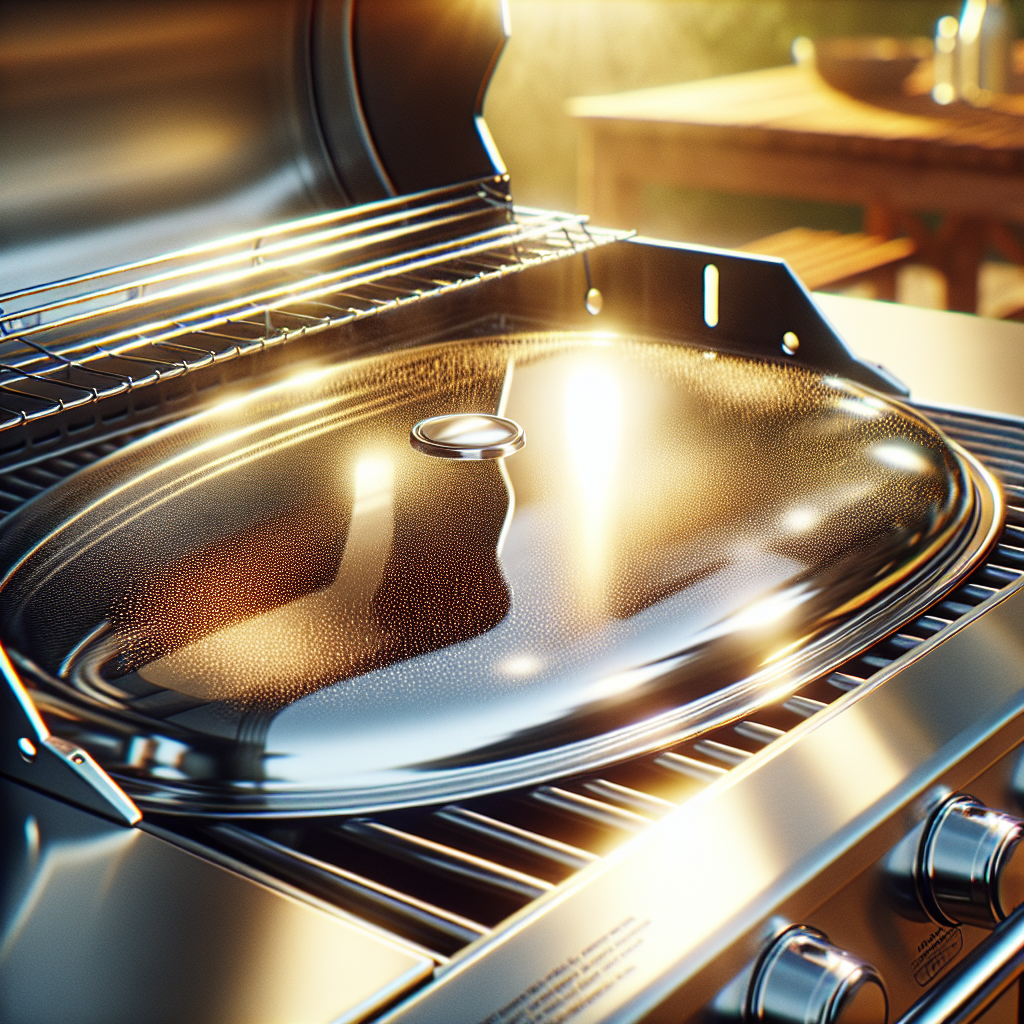
So you’ve enjoyed some great barbecue parties on your stainless steel BBQ grill, but now it’s time to tackle the not-so-enjoyable task of cleaning it. Don’t worry, we’ve got you covered! This article will guide you through the simple yet effective steps to get your stainless steel BBQ grill looking brand new again. From gathering the necessary supplies to using the right cleaning techniques, you’ll find all the tips and tricks you need to make this chore a breeze. Say goodbye to grease and grime, and hello to a sparkling clean grill that’s ready for your next backyard cookout!
This image is property of pixabay.com.
Materials Needed
To clean your stainless steel BBQ grill, you will need the following materials:
1. Cleaning solution
Select a cleaning solution specifically designed for stainless steel surfaces. This will help to remove grease, grime, and any stubborn stains without causing any damage to the grill.
2. Scrub brush or sponge
Choose a scrub brush or sponge with bristles that are suitable for use on stainless steel surfaces. Ensure that it is gentle enough to avoid scratching the grill but effective enough to remove any debris.
3. Grill brush
A grill brush with firm bristles is essential for cleaning the grill grates thoroughly. It will help to remove any stuck-on food particles or residue.
4. Microfiber cloth
A microfiber cloth is perfect for polishing the stainless steel exterior of your grill. It will leave a streak-free shine without scratching the surface.
5. Bucket of warm water
Having a bucket of warm water handy will make it easier to rinse off the cleaning solution and debris as you clean the grill.
6. Disposable gloves
Wearing disposable gloves is a good idea to protect your hands while working with cleaning chemicals and to avoid getting grease and grime on your skin.
Preparation
Before you begin cleaning your stainless steel BBQ grill, it’s crucial to take some preparatory steps to ensure your safety and make the cleaning process more efficient.
Safety precautions
Ensure that your grill is turned off and cooled down before starting the cleaning process. This will prevent any accidental burns. Additionally, make sure you are working in a well-ventilated area to avoid inhaling any fumes from the cleaning solution.
Remove the grill grates
To access the interior of the grill easily, remove the grill grates. Check your grill manufacturer’s instructions for guidance on how to remove them properly. This will allow you to clean the grates more thoroughly.
Disconnect the gas supply (if applicable)
If your grill operates on gas, remember to disconnect the gas supply before cleaning the interior to prevent any potential leaks or accidents. Safety should always be a priority.
Cleaning the Grill Grates
The grill grates are subjected to high heat and direct contact with food, making them prone to accumulating stubborn grease and debris. Follow these steps to clean them effectively:
Scrape off excess food debris
Before cleaning, use a grill brush or scraper to remove any loose food debris from the grates. This will make the cleaning process easier and more efficient.
Soak the grates in cleaning solution
Fill a bucket or sink with warm water and add the appropriate amount of cleaning solution according to the product instructions. Submerge the grill grates in the solution and let them soak for about 15-20 minutes. This will help to loosen any stubborn grease or residue.
Scrub the grates with a brush or sponge
Once the grates have soaked, use a scrub brush or sponge to clean them thoroughly. Scrub in a back-and-forth motion, paying extra attention to any areas with significant buildup. Make sure to clean both sides of the grates. Rinse off any residue with warm water.
Rinse and dry the grates
After scrubbing, rinse the grates with clean water to remove any remaining cleaning solution and debris. Ensure that all the cleaning solution is rinsed off, as it can leave a soapy residue if not properly removed. Finally, dry the grates completely with a clean cloth or paper towels before reattaching them to the grill.
Cleaning the Grill Exterior
The stainless steel exterior of your BBQ grill is exposed to various elements, including dust, grease, and outdoor elements. Follow these steps to clean and maintain the exterior of your grill:
Remove any loose debris
Before applying any cleaning solution, remove any loose debris or dirt from the exterior surface. You can use a soft brush or cloth to gently brush away these particles.
Prepare the cleaning solution
Mix the cleaning solution according to the manufacturer’s instructions. Be cautious to use a cleaning solution that is suitable for stainless steel surfaces to maintain the appearance and integrity of your grill.
Apply the cleaning solution to the exterior
Dampen a clean cloth or sponge with the cleaning solution and apply it to the stainless steel exterior of the grill. Gently scrub the surface in circular motions, focusing on any stained or soiled areas. Take care not to use excessive force or abrasive materials that can scratch the stainless steel.
Scrub the grill with a brush or sponge
For more stubborn stains or grime, use a soft-bristle brush or sponge to scrub the surface gently. Be mindful of the direction of the stainless steel grain and avoid scrubbing against it, as it may leave visible scratches.
Rinse and dry the grill
Once you have finished scrubbing, rinse the exterior of the grill with clean water. Ensure that all traces of the cleaning solution are thoroughly rinsed off. Finally, dry the grill using a microfiber cloth to prevent water spots or streaks.
This image is property of pixabay.com.
Cleaning the Interior
The interior of your grill is where grease, food particles, and residue tend to accumulate. It’s essential to clean it regularly to maintain the efficiency and performance of your grill. Here’s how you can clean the interior of your stainless steel BBQ grill:
Remove the heat deflectors and burners (if removable)
Check your grill’s instruction manual to determine if the heat deflectors and burners are removable. If they are, carefully remove them. Take caution as they may be hot, so it’s advisable to use gloves or a tool to handle them.
Scrape off excess debris
Using a grill brush or scraper, remove any excess debris, grease, or food particles from the interior of the grill. This will help make the cleaning process more manageable and effective.
Clean the burners and heat deflectors
If the burners and heat deflectors are removable, clean them separately. Use a soft brush or sponge to scrub away any grease or buildup. If necessary, soak them in warm soapy water to loosen stubborn residues before scrubbing. Rinse them thoroughly with water and ensure they are dry before reattaching them.
Scrub the interior walls
Using a non-scratch scrub brush or sponge, clean the interior walls of the grill. Apply the cleaning solution and scrub in circular motions to remove any grease or residue. Pay extra attention to corners, crevices, and any areas with heavy buildup.
Rinse and dry the interior
Once you have scrubbed the interior, rinse it with clean water to remove any remaining cleaning solution or debris. Ensure that all traces of cleaning solution are thoroughly rinsed off. Finally, dry the interior with a clean cloth or allow it to air dry before proceeding to clean the drip pan.
Cleaning the Drip Pan
The drip pan, also known as the grease tray, collects the grease and drippings from your grill. Cleaning it regularly will prevent grease buildup, reduce flare-ups, and maintain the quality of your food. Here is how you can clean the drip pan effectively:
Remove the drip pan
Refer to your grill’s instruction manual to locate and remove the drip pan. Take caution as it may contain hot grease or debris. Wearing disposable gloves is advisable during this step.
Scrape off excess grease
Using a grill brush, spatula, or scraper, remove any excess grease or food particles from the drip pan. Dispose of the grease properly to avoid any environmental or safety hazards.
Soak the drip pan in warm soapy water
Fill a sink or a bucket with warm soapy water and submerge the drip pan. Let it soak for 15-20 minutes to loosen any dried grease or residue.
Scrub the drip pan
After soaking, use a scrub brush or sponge to clean the drip pan thoroughly. Scrub off any remaining grease or residue, paying close attention to the corners and edges. Rinse it under clean water to remove any traces of soap.
Rinse and dry the drip pan
After scrubbing, rinse the drip pan with water to ensure it is clean and free from any soap residue. Dry it completely with a cloth or allow it to air dry before placing it back into the grill.
This image is property of pixabay.com.
Cleaning the Ignition System
The ignition system is responsible for starting the grill and ensuring a steady flame. Keeping it clean and free from debris will help maintain the grill’s performance. Here’s how you can clean the ignition system:
Disconnect the gas supply (if applicable)
Before cleaning the ignition system, ensure that the gas supply is disconnected to prevent any accidents. Safety should always be prioritized when working with gas-powered grills.
Clean the ignition button and surrounding area
Using a cloth or sponge dampened with warm soapy water, clean the ignition button and the area around it. Remove any dirt, grease, or residue that may affect the functionality of the ignition system.
Check and clean the electrode and wire
Inspect the electrode and wire connected to the ignition system. If there is any visible corrosion or buildup, gently clean them with a soft cloth or brush. Ensure that the wire is securely connected. If necessary, refer to your grill’s manual for specific instructions on maintaining the ignition system.
Reassemble the ignition system
After cleaning and ensuring that all components are dry, reconnect the gas supply (if applicable) and reassemble the ignition system according to your grill’s manual.
Polishing the Stainless Steel
To keep your stainless steel BBQ grill looking shiny and new, follow these steps for polishing:
Apply stainless steel cleaner or polish
Choose a stainless steel cleaner or polish that is specifically designed for grills. Apply a small amount of the cleaner or polish onto a microfiber cloth.
Buff the stainless steel with a microfiber cloth
Using the cloth, gently buff the stainless steel surfaces of your grill. Work in the direction of the grain to avoid scratching the stainless steel. Continue buffing until you achieve the desired shine and remove any water spots or fingerprints.
Remove any streaks or residue
If you notice any streaks or residue after polishing, dampen a clean cloth with warm water and wipe the surface again. Dry it with a clean cloth to ensure a streak-free finish.
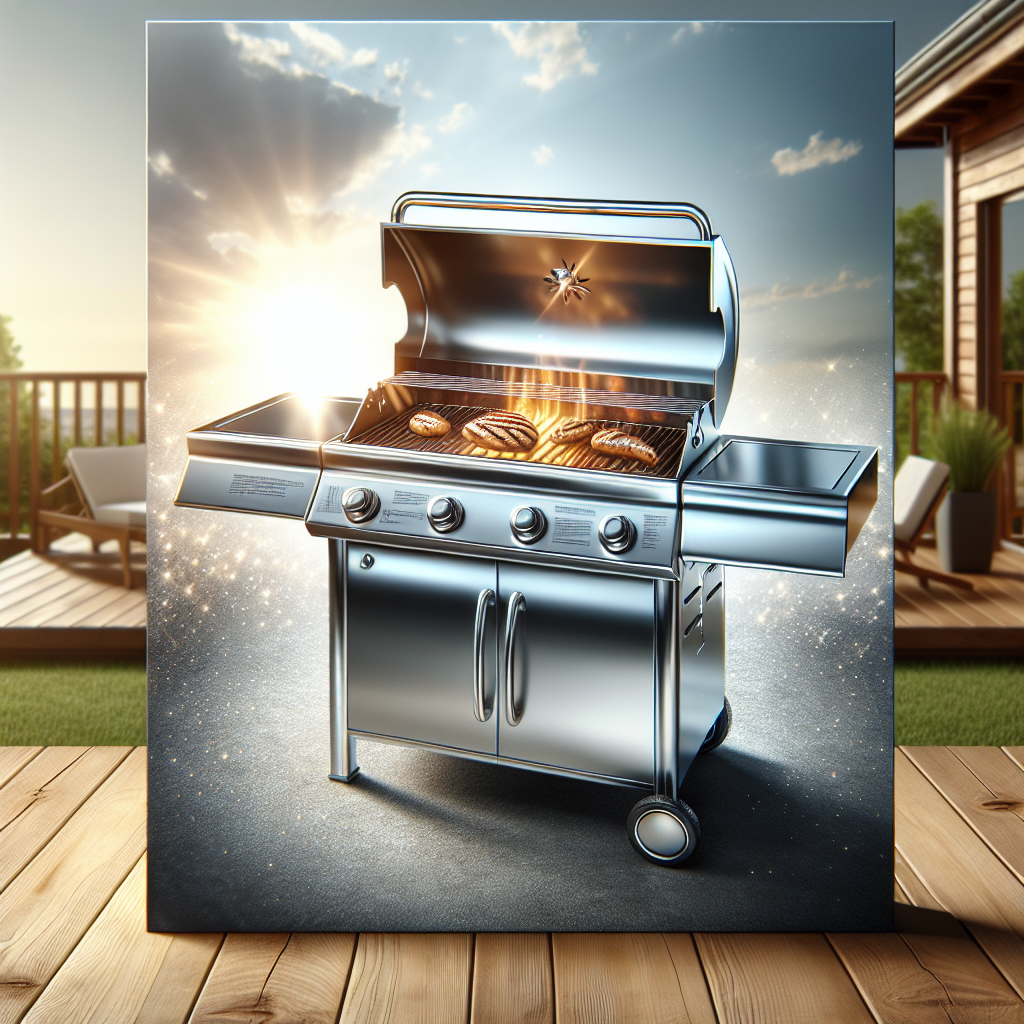
Reassembling the Grill
Once you have completed the cleaning process, it’s time to reassemble your grill for future use. Follow these steps to ensure everything is properly in place:
Place the clean grill grates back onto the grill
Take the clean grill grates and position them back onto the appropriate grooves or brackets within the grill. Ensure they are balanced and securely in place.
Reattach the heat deflectors and burners
If you removed the heat deflectors and burners, carefully reattach them according to your grill’s instructions. Make sure they are properly aligned and connected.
Secure the drip pan in place
Insert the clean and dry drip pan back into its designated position within the grill. Ensure it is securely in place and aligned with the grease collection system.
Reconnect the gas supply (if applicable)
If your grill operates on gas, reconnect the gas supply following the manufacturer’s instructions. Take care to ensure that all connections are secure before use.
Maintenance Tips
To keep your stainless steel BBQ grill in top condition and extend its lifespan, follow these maintenance tips:
Clean the grill after each use
To prevent grease buildup and make future cleaning easier, clean your grill after each use. Remove any food particles or debris from the grates, the interior, and the exterior surfaces.
Regularly inspect and clean the burners
Take a moment to inspect the burners before each use. Remove any debris or buildup using a brush or cloth. This will improve the grill’s performance and prevent flare-ups.
Cover the grill when not in use
Protect your grill from outdoor elements and minimize dirt and dust accumulation by using a grill cover. This will also help to prevent rusting and maintain its appearance.
Store grill utensils in a dry area
Ensure your utensils are cleaned and stored in a dry area to prevent rust and prolong their lifespan. Moisture can cause utensils to deteriorate quickly.
Cleaning your stainless steel BBQ grill doesn’t have to be a daunting task. By following these comprehensive steps and maintenance tips, you can keep your grill looking and performing its best for many years to come. With a little bit of effort and regular cleaning, your grill will continue to provide delicious meals and memorable experiences for you and your loved ones. Happy grilling!
