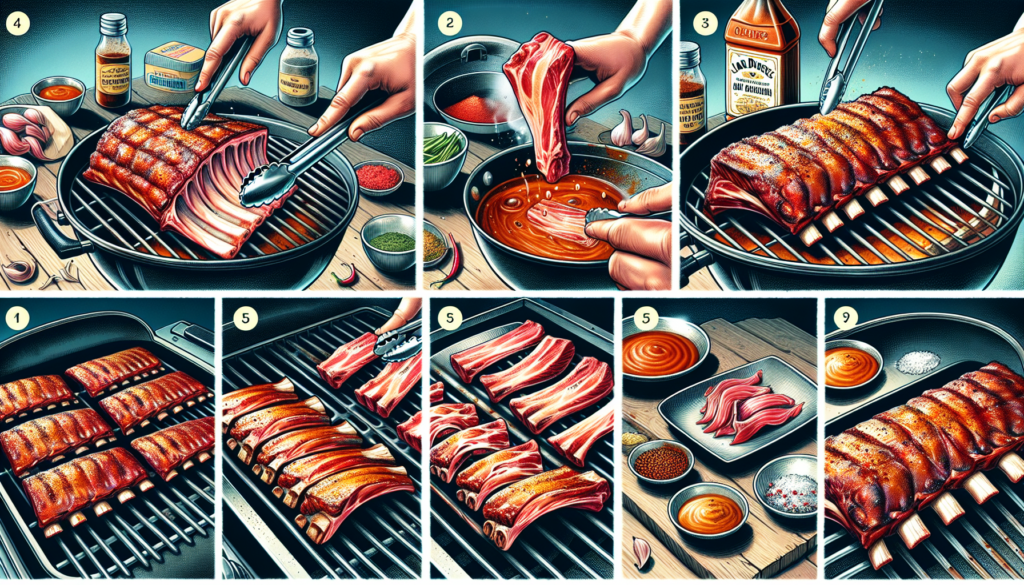
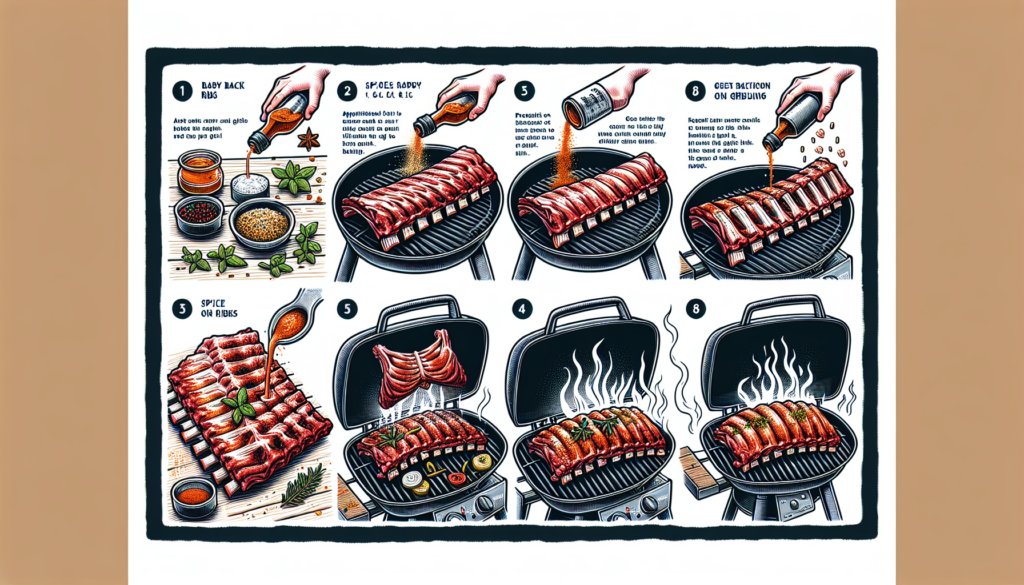
So, you’ve got a gas grill and a craving for some mouth-watering baby back ribs. Luckily, we’ve got you covered with this simple guide on how to cook baby back ribs on a gas grill. From preparation to grilling techniques, we’ll show you step-by-step how to achieve tender, smoky ribs that will have your friends and family begging for seconds. Get ready to fire up the grill and impress everyone with your barbecuing skills!
Choosing the Right Ribs
When it comes to grilling ribs, choosing the right type of ribs is essential. The two main types of ribs you’ll come across are baby back ribs and spare ribs. Baby back ribs are taken from the top of the rib cage, near the spine, and are smaller in size. These ribs are known for being tender and lean, making them a popular choice among many grill enthusiasts. On the other hand, spare ribs are larger and have more meat on them. They come from the lower portion of the rib cage and have more fat and connective tissue. Depending on your preference, you can choose the type of ribs that suit your taste.
Selecting Fresh and Quality Ribs
To ensure the best results, it’s important to select fresh and high-quality ribs. When choosing ribs, look for those that have a pinkish hue, indicating their freshness. The meat should be well-marbled, which means it has evenly distributed pockets of fat throughout. This marbling is essential for keeping the meat moist and flavorful during the grilling process. If possible, try to source your ribs from a reputable butcher or a trusted supplier to ensure their freshness and quality.

Preparing the Ribs
Before you start grilling your ribs, there are a few essential preparation steps that you should follow to get them ready for cooking. The first step is to remove the membrane, also known as the silverskin, from the bone side of the ribs. This membrane can prevent the seasoning from penetrating the meat and can create a tough texture. Gently loosen the membrane with a butter knife or your fingers and then peel it off completely.
Next, trim any excess fat from the ribs. While some fat is necessary for flavor, excessive amounts can lead to flare-ups and uneven cooking. Use a sharp knife to trim off any large chunks of fat, leaving a thin layer to enhance the flavor and juiciness.
Once you’ve removed the membrane and trimmed the excess fat, it’s time to season the ribs. This is where you can get creative and use your favorite seasoning blend or rub. Whether you prefer a sweet and smoky flavor or a tangy and spicy kick, make sure to generously coat the ribs on both sides. This will enhance the taste and create a delicious crust when grilled.
Preheating and Setting Up the Gas Grill
To ensure even and consistent cooking, it’s important to preheat your gas grill before placing the ribs on it. Begin by cleaning the grill grates thoroughly to remove any residue from previous cookouts. This will prevent any unwanted flavors from transferring to your ribs and ensure a clean cooking surface.
Once the grates are clean, preheat the grill to medium heat. This temperature is ideal for cooking ribs as it allows for a nice sear while still maintaining a gentle heat. Close the lid and let the grill heat up for about 10-15 minutes.

Indirect Grilling
When it comes to grilling ribs, indirect heat is the way to go. This method allows for slow, even cooking, resulting in tender and juicy ribs. To set up your grill for indirect cooking, you’ll need a drip pan. Place the drip pan in the center of the grill, between the burners or the heating elements. This will catch any drippings from the ribs and prevent flare-ups. Fill the drip pan with water, which will help to keep the cooking environment moist.
After setting up the drip pan, it’s time to position the ribs on the grill. Place the ribs on the grate, over the drip pan, on the side of the grill opposite the direct heat source. This positioning ensures that the ribs cook slowly and gently, allowing the flavors to develop and the meat to become tender.
Using Wood Chips for Flavor
Adding wood chips to the grill can take your ribs to a whole new level of deliciousness by imparting a smoky flavor. However, it’s important to choose the right type of wood chips to complement the flavors of your ribs. Different woods offer distinct flavors, ranging from mild to bold. Popular choices include hickory, mesquite, apple, and cherry. Experiment with different wood types to find the one that complements your preferred seasoning or rub.
Before using wood chips, it’s recommended to soak them in water for at least 30 minutes. Soaking helps the wood chips to smolder instead of burn quickly, giving off a consistent and flavorful smoke. After soaking, drain the wood chips and place them in a foil pouch, poking a few holes to allow the smoke to escape.
Grilling the Ribs
Now that the grill is preheated and set up for indirect cooking, it’s time to place the ribs on the grill. Carefully position the ribs bone side down on the grate, over the drip pan. Close the lid to trap the heat and smoke, allowing the ribs to cook slowly and absorb the flavors.
Maintaining a consistent temperature is crucial for perfectly grilled ribs. Aim for a grill temperature of around 275-300°F (135-150°C). This temperature range ensures that the ribs cook through without becoming dry or tough.
While grilling, it’s important to periodically flip and rotate the ribs to ensure even cooking on all sides. Use long grilling tongs or spatulas to handle the ribs gently and avoid puncturing the meat. Flipping and rotating the ribs also helps to prevent hot spots on the grill and promotes a uniform smoky flavor.
Basting and Sauce Application
To add extra flavor and moisture to your ribs, basting them with a sauce is a great option. You can make a simple basting sauce by combining your favorite barbecue sauce with some additional ingredients like honey, garlic, or spices. This basting sauce will help to keep the ribs moist and create a flavorful glaze.
Once your basting sauce is ready, use a brush or a basting mop to apply it to the ribs during the last hour or so of cooking. Be generous with the sauce, making sure to coat all sides of the ribs. As the sauce caramelizes, it will create a sticky and delicious glaze that enhances the overall flavor.
If you prefer a more traditional barbecue taste, you can also apply barbecue sauce to the ribs during the last 15-30 minutes of cooking. This will give the ribs a glossy finish and ensure a rich and tangy flavor.
Checking for Doneness
To ensure your ribs are cooked to perfection, there are a few methods you can use to check for doneness. One reliable method is to use a meat thermometer. Insert the thermometer into the thickest part of the meat, avoiding the bone. The internal temperature should reach around 190-205°F (88-96°C) for tender and fall-off-the-bone ribs.
Another method to check for doneness is the bend test. Using a pair of tongs, lift the ribs from one end and observe how they bend. Ideally, the ribs should have a slight give and start to crack when bent. If the ribs feel too rigid or don’t show any cracks, they may need more time on the grill.
Observing the meat pullback is another indicator of doneness. As the ribs cook, the meat will start to shrink and pull back from the bones. Look for a visible pullback of about half an inch or more, indicating that the ribs are almost ready to be taken off the grill.
Resting and Serving the Ribs
Once your ribs are cooked to perfection, it’s important to let them rest before slicing and serving. Resting allows the juices to redistribute throughout the meat, resulting in tender and juicy ribs. Simply remove the ribs from the grill and cover them loosely with aluminum foil. Let them rest for about 10-15 minutes to achieve optimal results.
When it’s time to serve the ribs, take a sharp knife and slice them between the bones. This will create individual portions that are easy to handle and eat. Arrange the sliced ribs on a platter and garnish them with some fresh herbs or a sprinkle of your favorite seasoning.
To complete your meal, serve the ribs with your favorite side dishes. Classic options include coleslaw, baked beans, cornbread, or grilled vegetables. Don’t forget to have some extra sauce on the side for dipping or drizzling.
Now that you know how to cook baby back ribs on a gas grill, it’s time to gather your ingredients, fire up the grill, and get ready to enjoy a mouthwatering barbecue feast. So put on your apron, grab your favorite seasoning, and let the grilling adventure begin!
