
Perfect grill marks tips are the foundation of every serious pitmaster’s playbook, and once you learn the science behind those beautiful crosshatch lines, your backyard grill game will never be the same. We are talking about a two-zone fire running between 450 and 500 degrees Fahrenheit on the direct heat side, clean and oiled grates, and a protein that hits the grill surface dry and ready to sear. Those caramelized lines are not just for show – they are the Maillard reaction doing its thing, creating deep flavor compounds that make every bite taste like it came off a competition rig.
The biggest mistake most home grillers make is rushing the process. They slap a ribeye down, peek at it after 60 seconds, and start moving it around out of nervousness. A proper sear requires patience and commitment. You place the meat down at a 45-degree angle to the grates, leave it completely alone for 2 to 3 minutes depending on thickness, then rotate 90 degrees for another 2 to 3 minutes before flipping. That rotation is what creates the signature diamond crosshatch pattern that separates a backyard cook from a true pitmaster.
Heat management is everything here. Whether you are firing up the grill with lump charcoal, briquettes, or working a gas setup, you need consistent, screaming-hot grates before a single piece of food touches them. Preheat your grill with the lid closed for a full 10 to 15 minutes. Surface grate temps should read 450 to 500 degrees Fahrenheit on an infrared thermometer. Clean the grates with a stiff brush, then oil them using a folded paper towel dipped in high smoke-point oil like avocado or vegetable oil held with long tongs. Now you are ready to cook with intention.
Perfect Grill Marks Tips for Steaks and Veggies
Getting perfect grill marks is part technique, part heat management, and all about knowing your fire. These pitmaster-tested tips cover everything from grate temp to the exact moment to rotate. Fire up the grill and make every cook look as good as it tastes.
Ingredients
| AMOUNT | INGREDIENT | NOTES |
|---|---|---|
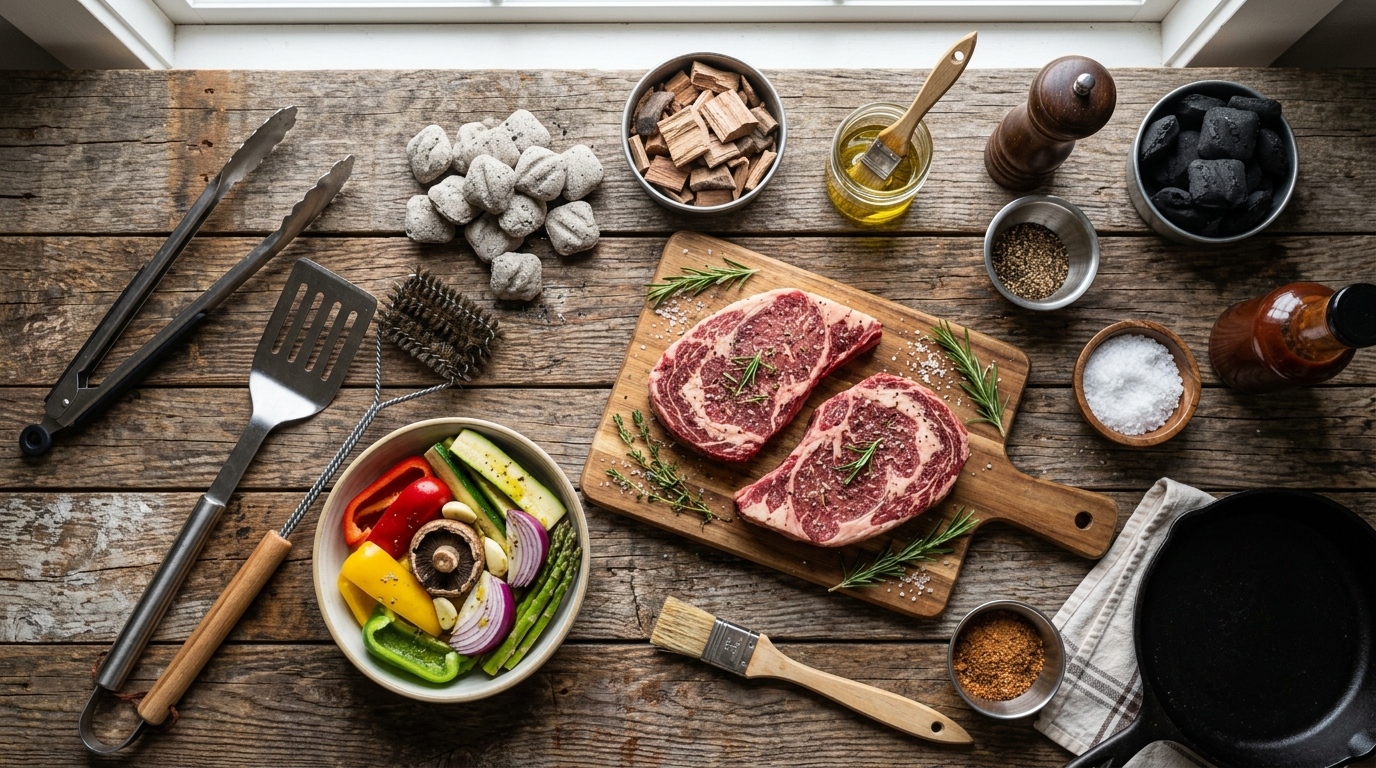
| 2 lbs | ribeye or New York strip steaks | at least 1-inch thick for best mark definition and proper cook time |
| 2 tablespoons | avocado oil or vegetable oil | high smoke-point oil for coating proteins and oiling grates |
| 1.5 teaspoons | kosher salt | applied at least 45 minutes before grilling or overnight for best crust |
| 1 teaspoon | coarse black pepper | freshly cracked for maximum bark-style crust development |
| 0.5 teaspoon | garlic powder | optional but adds depth to the sear crust |
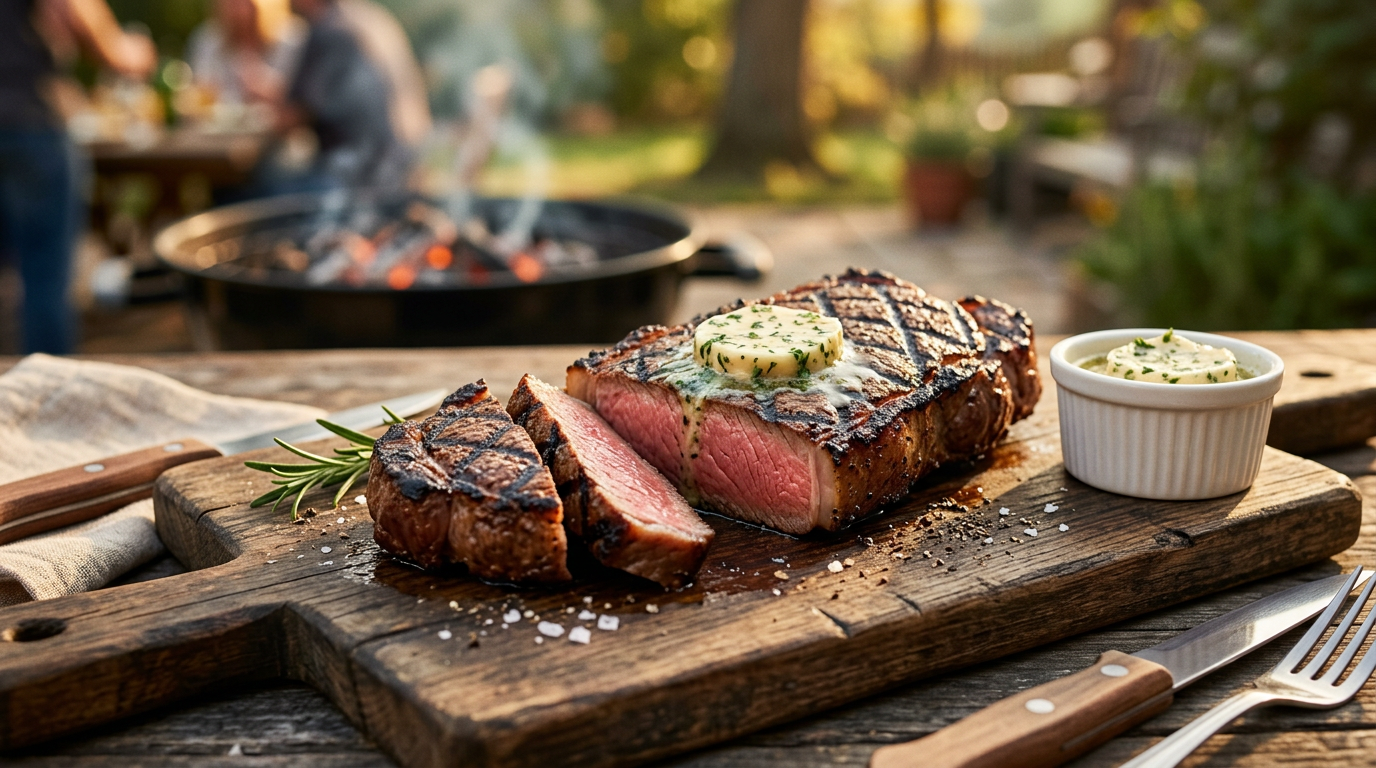
| 2 tablespoons | unsalted butter | for basting after the flip, adds color and richness to the crust |
| 2 sprigs | fresh rosemary or thyme | optional, use as a basting brush with butter for incredible aroma |
Instructions
Nutrition (per serving)
The BBQ Story Behind This Recipe
The tradition of grilling over direct fire goes back thousands of years across nearly every culture on earth, but the iconic crosshatch grill mark became a defining visual of American BBQ culture through the mid-20th century steakhouse boom. As gas and charcoal grills became fixtures in suburban backyards during the 1950s and 1960s, the grill mark became shorthand for quality, doneness, and pitmaster credibility. Restaurants began deliberately engineering their grill setups to produce dramatic diamond marks because customers equated those lines with a perfectly cooked steak, even before they took a single bite.
In regional American BBQ traditions, grill marks carry different weight depending on where you are standing. In Texas, where low and slow brisket reigns supreme, a deep bark from a long smoke is the ultimate trophy, and grill marks on a brisket would be considered almost heretical. In the Carolinas and Kansas City, grilled chicken and pork chops show off bold marks as a badge of high-heat cooking skill. On the competition circuit, judges look at presentation as a scored category, and beautiful, symmetrical crosshatch marks on chicken thighs or pork tenderloin can be the difference between a ribbon and a walk back to the trailer empty-handed.
Hot Off the Grill
A Closer Look
Pitmaster Tips for Best Results
- Never put cold meat on a hot grill – pulling proteins out of the refrigerator 30 to 45 minutes early ensures even cooking and allows the surface to sear instead of seize, which means cleaner marks and better internal temp consistency throughout the cook.
- Grate surface temperature should hit 450 to 500 degrees Fahrenheit before anything touches the cooking surface – use an infrared thermometer rather than guessing by hand height because consistent high heat is the single biggest factor in achieving deep, clean sear lines.
- Pat proteins completely dry with paper towels before oiling and seasoning – surface moisture creates steam when it contacts the grate, which prevents the Maillard reaction from firing at full speed and results in pale, streaky marks instead of deep golden-brown lines.
- Resist the urge to move the meat – the steak will literally stick to the grate until the crust has formed enough to release naturally, usually around the 2 to 3 minute mark, so if it is resisting when you gently lift a corner, give it another 30 seconds and it will let go on its own.
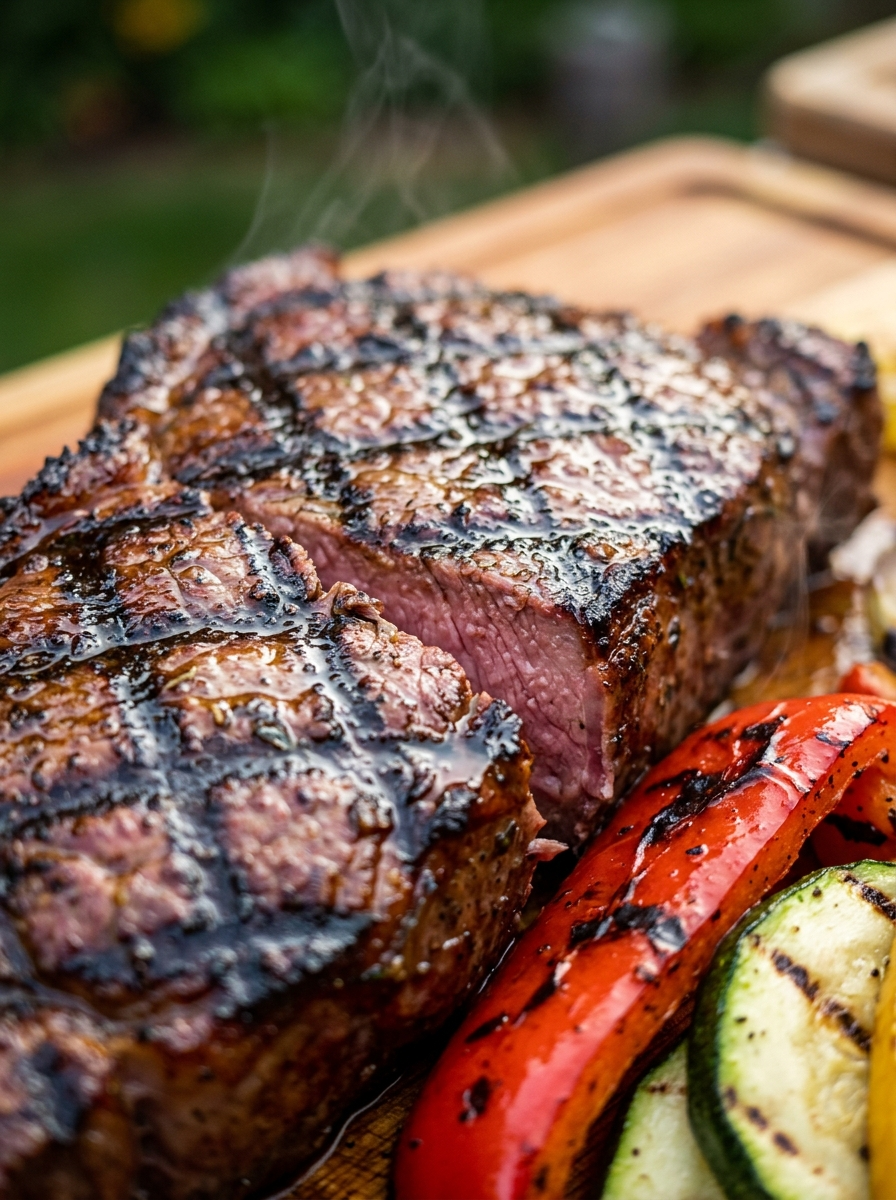
- For vegetables and fish, use a grill basket or place them directly on clean and well-oiled grates at a 45-degree angle just like steaks – thinner items like asparagus spears work best when placed perpendicular to the grates so they do not fall through while still picking up beautiful char marks in under 3 minutes per side.
🔧 Pitmaster Equipment
Charcoal Grill or Gas Grill: A high-heat capable grill that can sustain 450 to 500 degrees Fahrenheit on the cooking grate surface is essential for producing clean, deep grill marks.
Infrared Surface Thermometer: Knowing the exact surface temperature of your grates is critical – guessing leads to pale marks or burnt-on sticking instead of clean sear lines.
Instant Read Thermometer: Monitoring internal temp keeps you from overcooking while chasing grill marks – pull proteins at the right internal temp every single time.
Long Tongs: Essential for safely oiling hot grates, rotating proteins at the right moment, and flipping without losing heat or pressing out juices.
Stiff Wire Grill Brush: Clean grates are non-negotiable for perfect marks – any residue will cause sticking, tearing, and uneven sear lines.
High Smoke-Point Oil and Paper Towels: Avocado or vegetable oil applied to hot grates creates the non-stick surface that allows proteins to release cleanly at the right moment.
🔥 Variations
Pellet Grill Version: Set your pellet grill to 450 to 500 degrees Fahrenheit in direct flame mode or on the top rack closest to the heat deflector. Use hickory or oak pellets for a mild smoke ring on your sear. Follow the same 45-degree placement, no-touch timing, and 90-degree rotation technique. The automated temperature control on a pellet grill makes consistent grill marks more repeatable for newer grillers.
Gas Grill Version: Preheat all burners on high for a full 12 to 15 minutes before cooking. Use a grill grate with thicker cast iron bars if possible, as thicker metal retains more heat and produces deeper marks. Turn off one burner to create your indirect zone after preheating, then follow the same searing technique. For added smoke flavor without charcoal, place a smoker box filled with soaked wood chips over a lit burner while cooking.
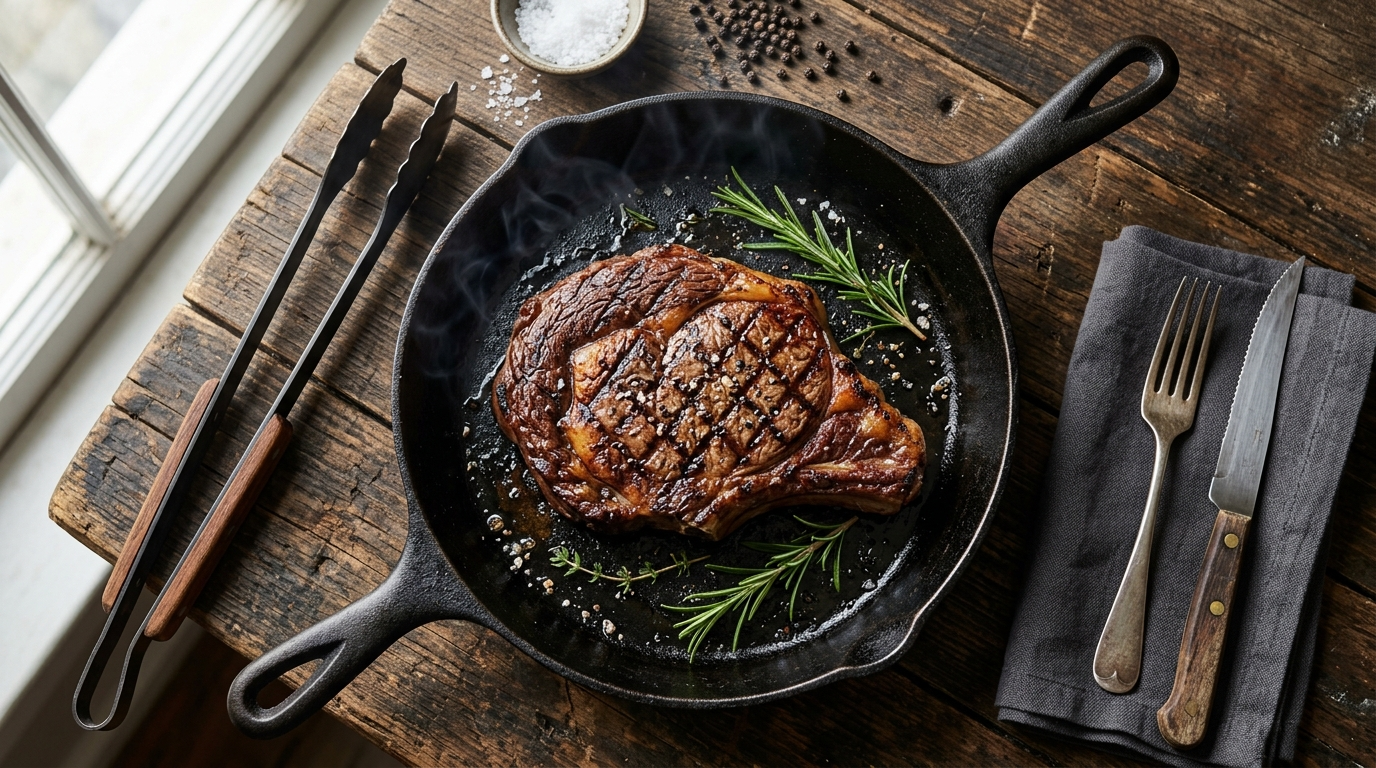
Cast Iron Skillet Indoor Version: A ridged cast iron grill pan preheated in the oven at 500 degrees Fahrenheit for 20 minutes and then transferred to a high-heat burner will produce solid grill marks when you cannot get outside. Oil the pan lightly, not the protein, and use the same 45-degree placement and 90-degree rotation timing. Open a window because this method generates serious smoke, which is actually a sign you are doing it right.
Chicken Thighs and Drumsticks Version: Bone-in skin-on chicken pieces need a two-zone fire approach – start skin-side down on direct heat at 450 degrees Fahrenheit for 4 to 5 minutes to establish marks, rotate 90 degrees for another 4 minutes, then flip and move to indirect heat to finish to an internal temp of 165 degrees Fahrenheit. Do not rush chicken on direct heat or the skin burns before the interior is done. The crosshatch pattern on golden chicken skin is one of the most visually stunning results in all of backyard grilling.
❓ Pitmaster FAQ
Why do my grill marks always look pale or streaky instead of deep brown?
The two most common causes are grates that are not hot enough and surface moisture on the protein. Your grate surface needs to read 450 to 500 degrees Fahrenheit before anything goes on. Pat every surface of your protein completely dry with paper towels before oiling and seasoning. Wet surfaces create steam, which prevents the Maillard reaction that produces those deep golden-brown lines.
Should I oil the grates or oil the meat for better grill marks?
Do both, but in the right order. Oil the hot grates first using a folded paper towel dipped in high smoke-point oil held with long tongs – this prevents sticking and creates a seasoned surface. Then lightly coat your protein with a thin layer of the same oil. This two-step approach gives you the best release timing and the deepest sear color without flare-ups from excess oil.
What internal temperature should my steak reach for food safety while keeping good grill marks?
The USDA recommends whole muscle beef reach an internal temp of 145 degrees Fahrenheit with a 3-minute rest, which corresponds to medium doneness. For medium-rare pull at 130 to 135 degrees Fahrenheit and rest the meat 5 to 8 minutes – the carry-over cooking brings it up another 3 to 5 degrees. Always use a calibrated instant read thermometer rather than relying on touch or color alone.
Can I get grill marks on fish and vegetables too?
Absolutely yes, and the same core principles apply. Make sure grates are at 450 degrees Fahrenheit and well-oiled. For fish like salmon or swordfish, place skin-side down first at a 45-degree angle and do not move for 3 to 4 minutes until it releases naturally. Vegetables like zucchini, asparagus, and bell pepper halves work great at the same temp with 2 to 3 minutes per side. Brush everything lightly with oil before it hits the grates.
How do I get the crosshatch diamond pattern and not just parallel lines?
The crosshatch comes from a 90-degree rotation while staying on the same side of the protein. Place the steak at a 45-degree angle to the grates and cook untouched for 2 to 3 minutes. Then rotate it 90 degrees using tongs so it is now diagonal the other direction, creating an X pattern relative to the grates. Cook another 2 to 3 minutes before flipping. That is it – two angles, same side, then the flip.