In the quest for the ultimate BBQ experience, achieving the perfect sear is an art worth mastering. Whether you’re a seasoned grill master or a novice backyard cook, there’s something truly captivating about that sizzling sound and the golden-brown crust that forms on your meats. But how exactly do you achieve that elusive perfection? In this article, we’ll unveil the secrets behind the art of achieving the perfect BBQ sear, so you can dazzle your guests and elevate your grilling game to new heights.

Choosing the Right BBQ Grill
When it comes to choosing the right BBQ grill, you have a few options to consider. Each type of grill offers its own unique advantages and it ultimately boils down to personal preference. Let’s take a closer look at the three most popular options: gas grills, charcoal grills, and pellet grills.
Gas Grill
Gas grills are known for their convenience and ease of use. They typically run on propane or natural gas, which means you don’t have to worry about dealing with charcoal or pellets. Gas grills are great for those who want to quickly fire up the grill and start cooking. They offer precise temperature control and even heat distribution, making it easier to cook your meat to perfection. Additionally, they tend to be easier to clean compared to charcoal grills.
Charcoal Grill
For those who crave that authentic smoky flavor, a charcoal grill is the way to go. These grills use charcoal briquettes or lump charcoal as the fuel source. They take a bit more time and effort to get started, as you’ll need to light the charcoal and wait for it to reach the desired temperature. However, the smoky flavor that charcoal grills impart to the meat is often worth the extra effort. Charcoal grills also get much hotter than gas grills, allowing for a greater range of cooking techniques.
Pellet Grill
Pellet grills are a relatively newer addition to the BBQ grill scene, and they’re rapidly gaining popularity. These grills use wood pellets as the fuel source, which adds a unique smoky flavor to the meat. The pellets are automatically fed into the grill, making temperature control a breeze. Pellet grills are great for low and slow cooking, as they maintain a consistent temperature for extended periods of time. They’re also incredibly versatile, allowing you to grill, smoke, and even bake.
Prepping the Grill
Before you start grilling, it’s important to properly prepare your grill to ensure optimal cooking conditions. This involves cleaning the grill grates and oiling them to prevent sticking.
Clean the Grill Grates
Over time, grill grates can become coated with residue and leftover food particles, which can affect the taste of your meat. To clean your grill grates, start by heating the grill to its highest temperature for about 15 minutes. Then, use a grill brush to scrub off any remaining debris. Afterward, wipe down the grates with a damp cloth or paper towel to remove any remaining residue. Regularly cleaning your grill grates will not only improve the taste of your food but also extend the lifespan of your grill.
Oil the Grill Grates
Once your grill grates are clean, it’s time to oil them to prevent your meat from sticking. Simply dip a folded paper towel into a high smoke-point oil, such as canola or vegetable oil, and use tongs to rub the oil onto the grates. This will create a non-stick surface and ensure easy flipping and removal of your meat.
Selecting the Meat
Choosing the right meat is crucial for a successful BBQ grill session. Consider both the cut of meat and its quality.
Choosing the Cut
Different cuts of meat require different cooking techniques. For quick grilling, lean cuts like steak or boneless chicken breasts are ideal. They cook relatively quickly and are best served medium-rare or medium. For slower cooking methods like smoking, fattier cuts like brisket or pork shoulder are preferred. These cuts benefit from the low and slow cooking process, allowing the fat to render and resulting in tender, flavorful meat.
Quality of Meat
The quality of the meat you select can significantly impact the flavor and tenderness of the final result. Look for well-marbled meat, as the fat throughout the meat adds moisture and flavor. Opting for organic or grass-fed meat is also a great choice, as it tends to be more flavorful and has a higher nutritional profile. Remember, investing in high-quality meat will make a noticeable difference in the taste of your grilled dishes.
Seasoning the Meat
To elevate the flavors of your grilled meat, seasoning is key. There are various methods you can employ, including dry rubs, marinades, and brines.
Dry Rubs
Dry rubs consist of a mixture of spices, herbs, and sometimes sugar, that are applied directly to the meat. This method is perfect for enhancing the natural flavors of the meat without relying on liquid ingredients. Common dry rub ingredients include paprika, cumin, garlic powder, brown sugar, and various herbs. To apply a dry rub, simply coat the meat evenly on all sides, making sure to press the rub into the surface for maximum flavor penetration.
Marinades
Marinades are liquid mixtures typically made with a combination of acids (such as citrus juices or vinegar), oil, and various spices and herbs. Marinating meat not only adds flavor but also helps to tenderize it. To marinate meat, place it in a resealable plastic bag or a shallow dish, and pour the marinade over it. Make sure the meat is fully submerged and allow it to marinate in the refrigerator for at least a couple of hours, or even overnight.
Brines
Brining involves soaking the meat in a solution of salt and water before grilling. This technique helps to enhance the moisture and flavor of the meat. The salt in the brine penetrates the meat, allowing it to retain moisture and become more tender. To make a brine, dissolve salt and any additional spices or herbs in water, and submerge the meat in the solution. Brining times can vary based on the size and type of meat, so be sure to follow a recipe or guidelines for optimal results.

Bringing the Meat to Room Temperature
Before you start grilling, it’s essential to bring your meat to room temperature. This ensures more even cooking throughout the meat. Remove the meat from the refrigerator and let it sit at room temperature for about 30 minutes to an hour. This step allows the proteins in the meat to relax, resulting in a juicier, more evenly cooked final product.
Starting the Grill
Now that your meat is prepped and ready to go, it’s time to start the grill. Depending on your grill type, there are several methods you can use to achieve the perfect cooking environment.
Using Direct Heat
Direct heat grilling involves cooking the meat directly over the flame. This method is ideal for quick-cooking foods like steaks, burgers, and fish fillets. Simply preheat your grill to high heat, and place the meat directly over the flame. Remember to keep a close eye on the meat and adjust the heat as needed to prevent burning.
Creating Two-Zone Fire
A two-zone fire is a technique used to create different temperature zones on the grill. This is particularly useful for larger cuts of meat or when using indirect heat cooking methods. To create a two-zone fire, heat one side of the grill to high heat, and leave the other side cooler or turned off completely. This allows for searing on the hot side and then moving the meat to the cooler side for more gentle, indirect cooking.

Perfecting the Searing Technique
Searing is a popular cooking technique that creates a flavorful crust on the outside of the meat. Follow these steps to achieve the perfect sear.
Patting the Meat Dry
Before placing the meat on the grill, make sure to pat it dry using a paper towel. Excess moisture can hinder the searing process, as it creates steam instead of a caramelized crust. Ensuring the surface of the meat is dry promotes better browning and enhances the flavors.
Applying High Heat
To achieve a good sear, it’s crucial to use high heat. Depending on your grill, this could mean preheating it to its highest setting or placing the meat directly over the flame. Searing at high heat helps to develop the Maillard reaction, which is responsible for the delicious, complex flavors and golden-brown color of seared meat.
The Sear and Rest Method
To achieve optimal results, it’s recommended to use the sear and rest method. Start by searing the meat on high heat for a short period of time on each side. Then, reduce the heat or move it to the cooler side of a two-zone fire to finish cooking. Resting the meat after searing allows the juices to redistribute throughout the meat, resulting in a more tender and flavorful final product.
Managing the Grill Temperature
Maintaining a consistent grill temperature is crucial when it comes to achieving perfectly cooked meat. Here are a couple of tips to help you manage the grill temperature effectively.
Keeping the Heat Consistent
To ensure consistent heat throughout the cooking process, it’s important to keep the grill lid closed as much as possible. Opening the lid frequently can cause temperature fluctuations, which can result in uneven cooking. Additionally, avoid overcrowding your grill, as this can cause the temperature to drop. Allow enough space between each piece of meat to promote proper airflow and heat circulation.
Using Grill Vents
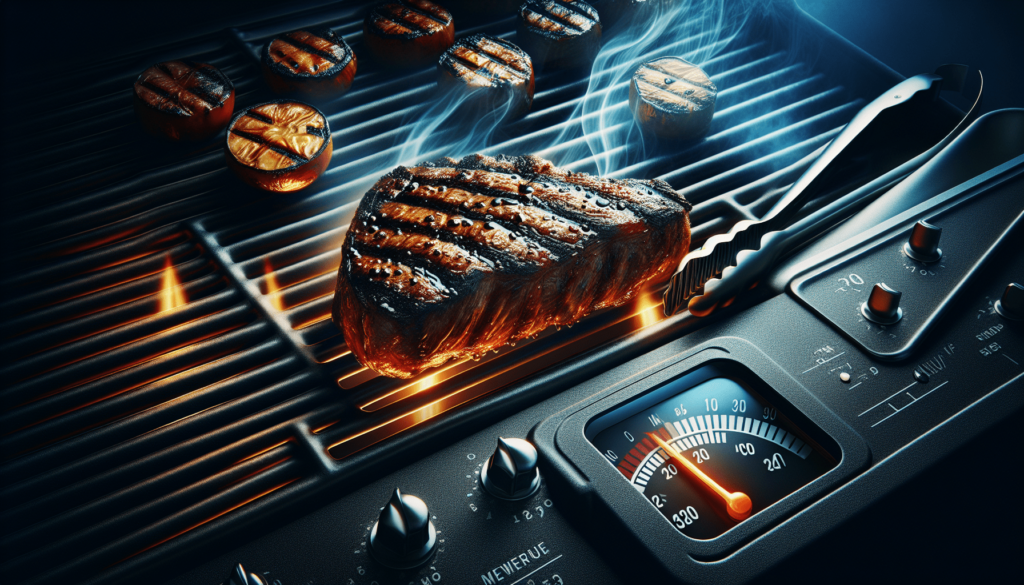
Many grills have vents that can be adjusted to control the airflow and temperature. The lower vent is typically located at the bottom of the grill, while the upper vent is located on the lid. Opening the vents allows more oxygen to flow into the grill, increasing the heat. Closing the vents partially or completely can help reduce the temperature. Keep an eye on the temperature gauge on your grill and make adjustments to the vents as needed to maintain your desired cooking temperature.

Monitoring Internal Meat Temperature
While grilling, it’s essential to monitor the internal temperature of your meat. This ensures that it is cooked to the desired level of doneness and will help prevent overcooking or undercooking.
Using a Meat Thermometer
Investing in a reliable meat thermometer is a game-changer for achieving perfectly cooked meat. There are several types of meat thermometers available, including instant-read thermometers and leave-in thermometers. Insert the thermometer into the thickest part of the meat, avoiding any bones, and check the temperature. Different types of meat have different recommended internal temperatures for various levels of doneness, so be sure to consult a meat temperature guide for accurate results.
Letting the Meat Rest
After removing your meat from the grill, it’s crucial to let it rest before cutting into it. This allows the juices to redistribute, resulting in a more tender and flavorful end result.
Resting Time
The resting time will depend on the size and type of meat. As a general rule, let smaller cuts rest for about 5-10 minutes, while larger cuts may require a longer resting period of 15-20 minutes. Resting allows the meat to reach its final internal temperature and ensures that it retains its juices when sliced.
Tenting with Foil
To keep the meat warm during the resting period, you can tent it loosely with aluminum foil. This helps to retain the heat and prevents the juices from evaporating. Avoid sealing the meat tightly with foil, as this can create steam and affect the crispy exterior you worked so hard to achieve.
By following these tips and techniques, you will be well on your way to becoming a BBQ grill master. Remember, practice makes perfect, so don’t be afraid to experiment with different cuts of meat, seasonings, and grilling methods. With time and experience, you’ll be able to achieve that perfect sear and create mouthwatering grilled dishes that will impress family and friends. Happy grilling!
