Ingredients
Method
- Dry brine the wings the night before: Pat your 3 lbs of split chicken wings completely dry with paper towels - moisture is the enemy of crispy skin. Lay them out on a wire rack set over a sheet pan and sprinkle evenly with 1 tablespoon of kosher salt. Do not stack them. Slide the whole setup into the refrigerator uncovered and let them sit for at least 8 hours and up to 24 hours. You will notice the skin looks dry and almost papery when you pull them out - that is exactly what you want.
- Mix your dry rub: In a small bowl, combine 2 tablespoons smoked paprika, 1 tablespoon garlic powder, 1 tablespoon onion powder, 1 tablespoon packed brown sugar, 1 teaspoon cayenne, 1 teaspoon black pepper, 1 teaspoon dried oregano, and 1 teaspoon baking powder. Whisk everything together until fully combined. The baking powder is not a typo - it raises the pH of the skin and helps it crisp up beautifully in the smoker.
- Season the wings: Remove wings from the refrigerator and let them sit at room temperature for 30 minutes - cold meat straight onto the smoker causes uneven cooking. Toss the wings in 2 tablespoons of neutral oil until lightly coated, then apply your dry rub generously on all sides. Press the rub in with your hands so it adheres well. Every surface should be coated with that beautiful red-orange spice blend.
- Fire up the smoker: Get your smoker or charcoal grill running at a steady 225 degrees Fahrenheit using the indirect heat method. Add 3 cherry or hickory wood chunks to your coals or smoker box. Wait until you see clean, thin blue smoke coming out of the vents rather than thick white smoke - thick white smoke means your fire is not fully established and will give your wings a bitter flavor. Patience here pays off on the plate.
- First smoke phase - low and slow: Arrange your seasoned wings on the smoker grates skin-side up over indirect heat. Close the lid and let them smoke undisturbed at 225 degrees Fahrenheit for 60 minutes. Resist the urge to open the lid repeatedly - you lose precious heat and smoke every time you peek. After 60 minutes your wings should have a beautiful smoke ring forming just under the skin and a rich mahogany color developing on the surface.
- Crank the heat for crispy skin: After the first smoke phase, open all your vents and add additional lit coals if needed to bring your smoker up to 375 degrees Fahrenheit. If you are using a charcoal kettle, move the wings directly over the coals briefly to achieve direct heat. At this higher temp, cook the wings for an additional 20 to 25 minutes, flipping once halfway through, until the skin is crackling and deep golden brown. This is where patience and fire management separate good wings from great ones.
- Check internal temp: Use your instant read thermometer to probe the thickest part of the wing, avoiding the bone. You are looking for an internal temp of 165 degrees Fahrenheit minimum per USDA guidelines, though many pitmasters prefer pulling chicken wings at 175 to 185 degrees Fahrenheit as the higher temp renders the connective tissue and produces a more tender, pull-away bite. If you are not there yet, keep cooking and check every 5 minutes.
- Optional finishing glaze: If you want sticky, sauced wings, now is the time. Mix your BBQ sauce with hot sauce if desired, then brush it onto the wings during the final 8 to 10 minutes of cook time. The sugars in the sauce will caramelize against the heat and create a gorgeous, sticky lacquer over that smoky bark. Do not apply sauce too early or the sugars will burn before the wings finish cooking.
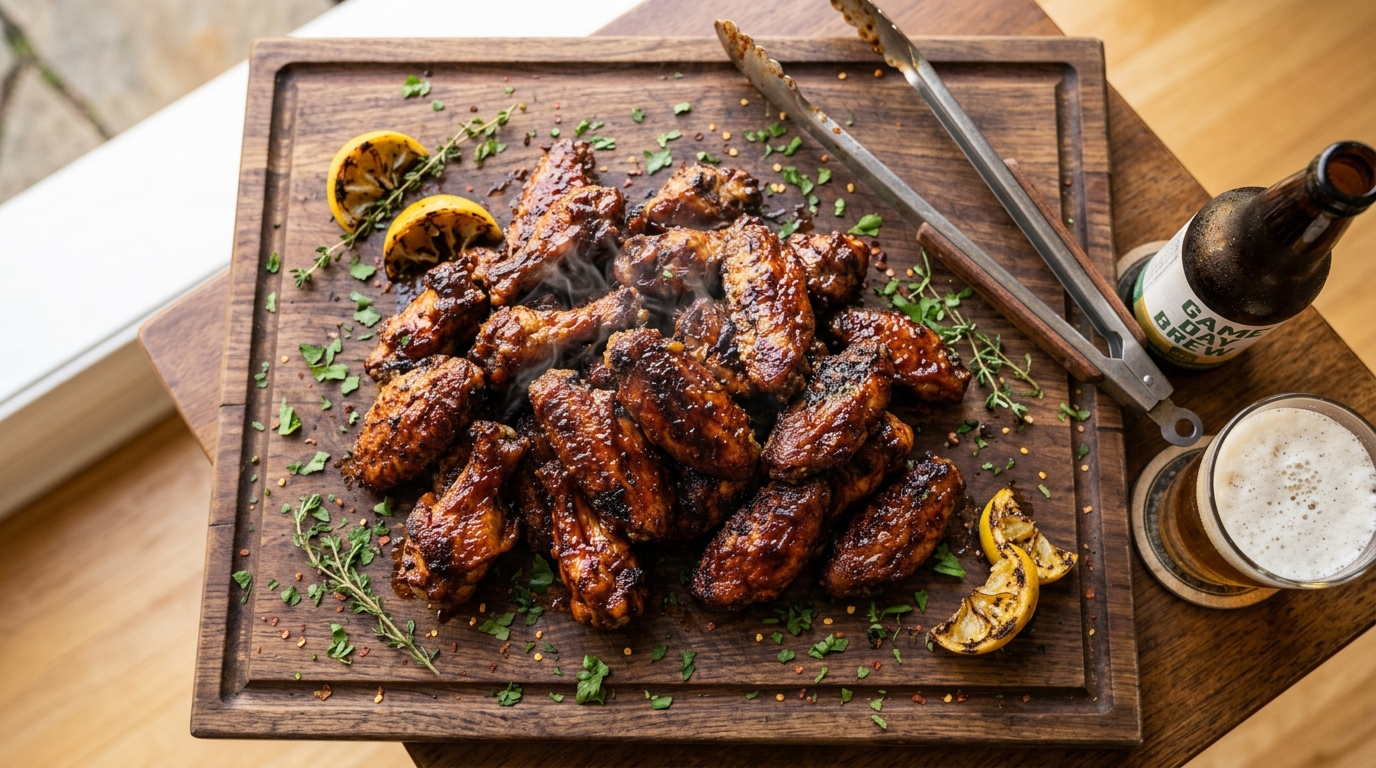
- Rest the meat and serve: Pull your wings off the smoker and let them rest the meat on a wire rack for 5 minutes before serving. This brief rest allows the juices to redistribute throughout the meat so they do not all rush out the moment your crew takes a bite. Plate them up on a wooden board or cast iron skillet, hit them with a pinch of flaky sea salt, and watch them disappear before the first quarter is over.
Nutrition
Calories: 385kcalCarbohydrates: 6gProtein: 31gFat: 26gFiber: 1gSugar: 4g
Tried this recipe?Let us know how it was!