
Beer Can Chicken Recipe: Juicy Grilled Whole Chicken
Ingredients
Method
- Fire up your grill for two-zone indirect cooking. For charcoal, push your lit coals to one side of the grill, leaving the other side empty. For gas, light the burners on one side only. You are targeting a steady grill temperature between 350 and 375 degrees Fahrenheit with the lid closed. While the grill comes up to temp, add two or three chunks of apple or cherry wood directly onto the coals, or load your smoker box with wood chips if you are on gas. That smoke is going to build serious flavor on the exterior of this bird.
- While the grill heats up, mix together your dry rub in a small bowl: kosher salt, black pepper, smoked paprika, garlic powder, onion powder, cayenne, dried thyme, and brown sugar. Give it a good stir to combine everything evenly. This blend is going to form the bark on your chicken, so do not be timid with it.
- Pat your whole chicken completely dry with paper towels. This is one of the most important steps for achieving crispy skin. Any surface moisture will steam the skin instead of crisping it, and we are not in the business of soggy skin here. Get every surface dry including inside the cavity.
- Coat the entire bird with olive oil or melted butter, working it all over including under the skin over the breasts if you can get your fingers in there. That fat layer is your key to both browning and moisture. Now apply your dry rub all over, pressing it into the skin firmly. Season the inside of the cavity as well. If you have time, you can let the seasoned bird rest uncovered in the refrigerator for 1 to 4 hours for even deeper flavor penetration, but this step is optional if you are ready to cook now.
- Crack open your beer and drink or pour out about half of it. Do not skip this step. A full can is too heavy and will make the setup unstable, and you need room in the can for the steam to work properly. Drop your smashed garlic cloves and rosemary sprig into the open can. The aromatics will ride up with the steam and perfume the interior of the chicken as it cooks.
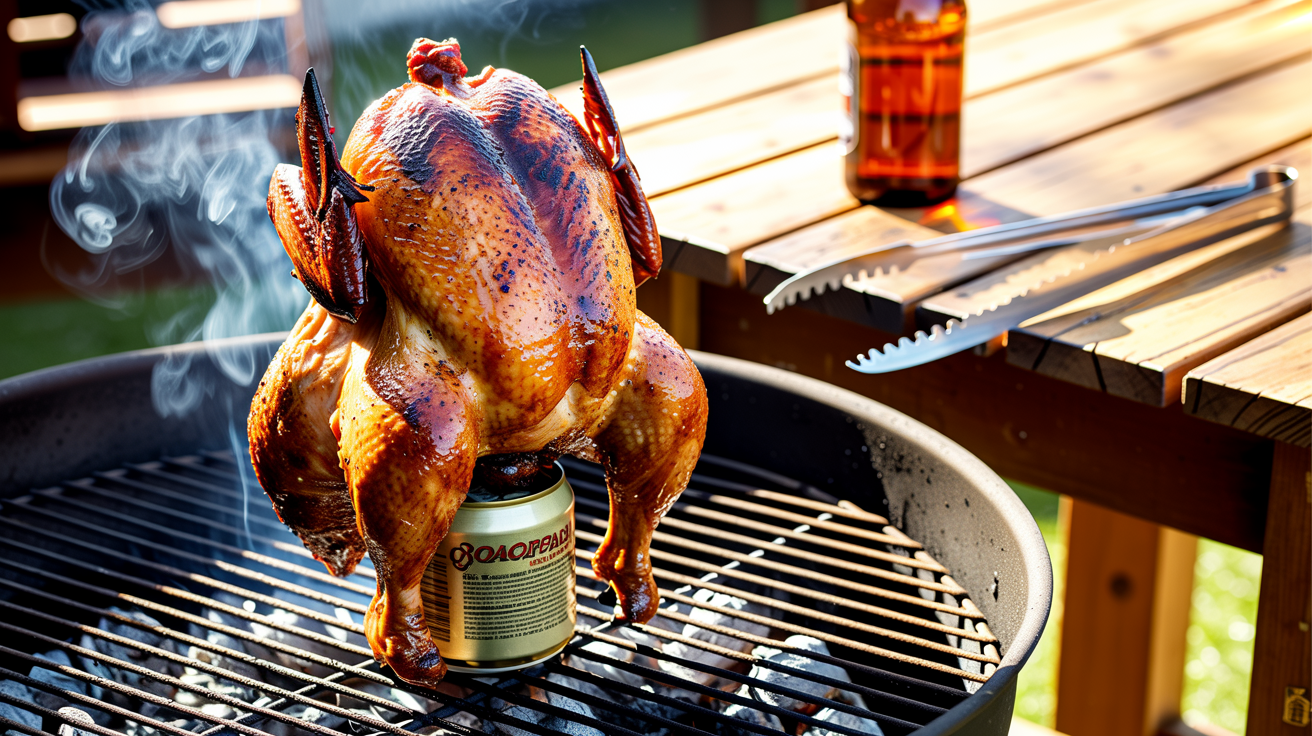
- Carefully lower the chicken cavity-down over the beer can so the bird is sitting upright on it like a throne. The can should be firmly inside the cavity and the chicken should stand on its own with the two legs and the can acting as a tripod. If you are using a beer can chicken stand, seat the can into the stand first before placing the bird on top. This is much more stable and highly recommended.
- Transfer the whole setup to the indirect heat zone of your grill. The chicken should not be directly over the flames or lit burners. Place your drip pan on the grate beneath the bird or on the charcoal grate below. Close the lid and let the grill do its work. Resist the urge to open the lid constantly. Every peek drops your temperature and adds time to your cook. Check in around the 45-minute mark.
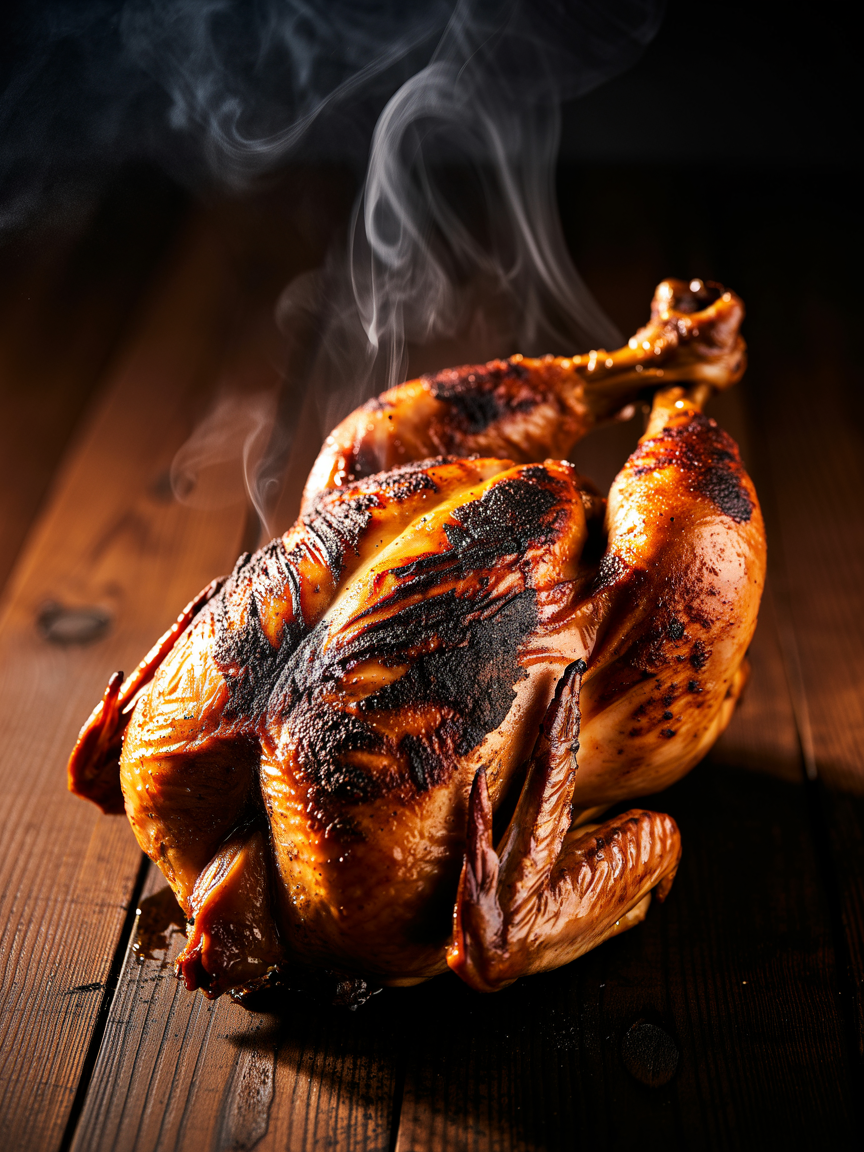
- After 45 to 50 minutes, probe the thickest part of the thigh with your instant read thermometer, making sure you are not touching bone. You are looking for an internal temp of 165 degrees Fahrenheit in the thigh and 160 degrees Fahrenheit in the breast. The skin should be a deep golden brown to amber color with visible bark developing. If you are not there yet, close the lid and check again in 10 to 15 minutes.
- Once you hit your target internal temp, carefully remove the chicken from the grill using heat resistant gloves and long tongs. The beer can and all that liquid inside will be extremely hot, so handle it with serious respect. Transfer the whole setup to a sheet pan or cutting board. Let the chicken rest the meat for a minimum of 10 to 15 minutes before removing it from the can and carving. This resting period lets the juices redistribute throughout the meat instead of running all over your cutting board the moment you cut in.
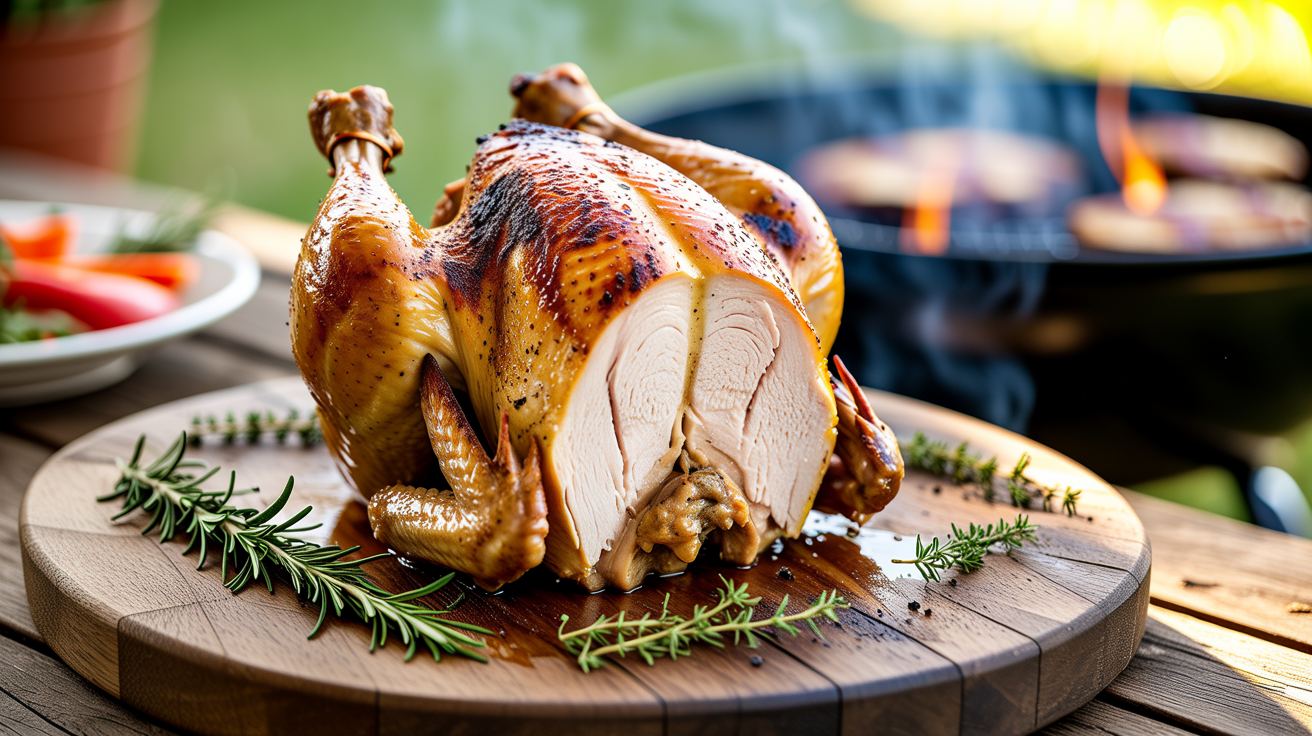
- To remove the chicken from the can, grip the can firmly with a folded towel or gloves while using tongs to slide the bird straight up and off. Discard the can safely as the liquid inside is scalding. Transfer the chicken to a cutting board and carve it up: separate the thighs and drumsticks, slice the breast meat, and plate it all up. Look at that gorgeous bark on the skin, the juicy meat pulling away cleanly, and if you added smoke wood, you should see a beautiful pink smoke ring just beneath the surface. That is the mark of a proper backyard cook.
Nutrition
This beer can chicken recipe is the kind of showstopper that turns a regular Saturday afternoon into a full-on backyard legend. The concept is beautifully simple: a whole chicken perched upright over an open can of beer, roasting low and slow over indirect heat until the skin crisps up to a deep mahogany and the internal temp hits a perfect 165 degrees Fahrenheit. The steam rising from that beer keeps the meat insanely moist while the grill does its smoky work on the outside.
What makes this method so effective is the combination of two cooking forces working in harmony. The indirect heat surrounding the bird cooks it evenly without scorching, while the beer vapor infuses the cavity with moisture and a subtle malty flavor that you simply cannot replicate in an oven. Set your grill up for two-zone cooking at around 350 to 375 degrees Fahrenheit and you are giving that bird the ideal environment to go from raw to ridiculously good in roughly 60 to 75 minutes depending on size.
At GrillMasterHQ, we have cooked hundreds of whole chickens and we keep coming back to this method because it is consistent, forgiving, and absolutely crowd-pleasing. Whether you are a weekend warrior who grills burgers on Saturdays or a seasoned pitmaster chasing the perfect bark on every cook, beer can chicken belongs in your rotation. Grab your tongs, crack open a cold one for the bird, and let us get after it.
Beer Can Chicken Recipe: Juicy Grilled Whole Chicken
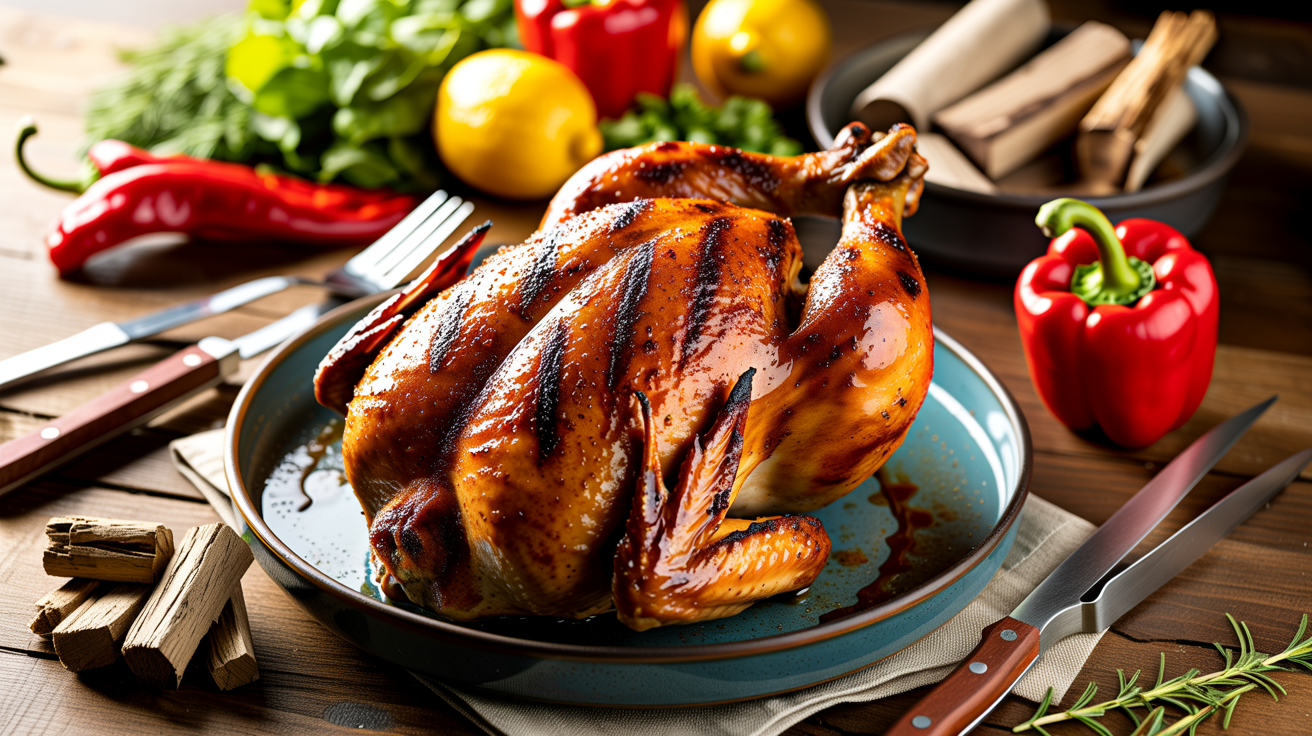
This beer can chicken recipe delivers the juiciest, most flavorful whole chicken you will ever pull off a grill. Steam from the inside, smoke from the outside, and crispy skin all around. Fire up the grill today because your backyard BBQ will never be the same.
Ingredients
| AMOUNT | INGREDIENT | NOTES |
|---|---|---|
| 1 whole | whole chicken (3.5 to 4.5 lbs) | patted completely dry with paper towels before seasoning |
| 1 can (12 oz) | beer | a lager or ale works best, drink half before placing on the grill |
| 3 tablespoons | olive oil or melted butter | coat the entire exterior of the bird generously |
| 2 tablespoons | kosher salt | do not be shy, this is a big bird |
| 1 tablespoon | black pepper freshly cracked | |
| 1 tablespoon | smoked paprika | adds color and a subtle smoky depth to the bark |
| 1 tablespoon | garlic powder | |
| 1 teaspoon | onion powder | |
| 1 teaspoon | cayenne pepper | optional, adds a nice background heat |
| 1 teaspoon | dried thyme | |
| 1 teaspoon | brown sugar | helps the bark develop and promotes browning on the skin |
| 4 cloves | garlic | smashed, to drop into the beer can before cooking |
| 1 sprig | fresh rosemary | optional, tuck into the cavity or drop into the can |
Instructions
Nutrition (per serving)
The BBQ Story Behind This Recipe
Beer can chicken rose to widespread popularity in the American BBQ scene during the 1990s, though backyard grillers and Southern pitmasters had been experimenting with upright roasting techniques long before it had a catchy name. The method gained serious traction after Steven Raichlen featured it in his landmark book and TV series, bringing it into the mainstream consciousness of American grilling culture. It became a staple of cookouts from Texas to Tennessee, celebrated for turning an affordable whole bird into something that looked and tasted like it came off a competition pit.
While the technique is most closely associated with Southern and Midwestern BBQ traditions, it has been embraced coast to coast because it works on virtually any grill setup. The genius of balancing a whole chicken upright on a beer can speaks to the inventive, no-rules spirit of American backyard BBQ, where pitmasters are always looking for that edge to get more flavor, more moisture, and more drama on the plate. Today it remains one of the most searched and cooked grilling recipes in the country, and for good reason: it delivers results that look impressive but require nothing more than a grill, a bird, and a beer.
Hot Off the Grill
A Closer Look
Pitmaster Tips for Best Results
- Dry brine the chicken the night before by salting it all over and letting it sit uncovered in the fridge for 8 to 24 hours. This pulls surface moisture out and then draws it back in, resulting in deeply seasoned meat and incredibly crispy skin without any extra effort on cook day.
- Keep your grill temp steady between 350 and 375 degrees Fahrenheit throughout the entire cook. Too hot and the skin will burn before the internal temp catches up. Too low and you will be cooking for two hours chasing temperature. Use your vents on charcoal to dial it in and check with a reliable lid thermometer.
- Use apple, cherry, or peach wood for a sweeter, milder smoke that complements chicken beautifully. Hickory is great but go easy on it with poultry as it can turn bitter if you overdo the smoke. Two to three small chunks or a single loaded smoker box is all you need for a 60 to 75 minute cook.
- Always rest the meat for at least 10 to 15 minutes before carving. This is not optional and it is not just a suggestion. Cutting into that chicken immediately after pulling it off the grill sends all those beautiful juices straight onto your board instead of into every bite. Tent it loosely with foil to keep it warm while it rests.
- Check for doneness with a quality instant read thermometer every single time. Color and time are useful guides but they are not reliable indicators of safety or quality. The internal temp in the thickest part of the thigh, away from the bone, must reach 165 degrees Fahrenheit. The breast can come off at 160 degrees Fahrenheit as it will carry over a few degrees during the rest.
🔧 Pitmaster Equipment
Charcoal Grill or Gas Grill: You need a grill large enough to accommodate indirect heat with the chicken standing upright, ideally at least 18 inches in diameter.
Instant Read Thermometer: Absolutely critical for confirming the internal temp hits 165 degrees Fahrenheit in the thickest part of the thigh before you pull the bird.
Long Tongs and Heat Resistant Gloves: Handling a hot upright chicken is awkward and the can will be scalding hot, so protect your hands and keep control of the bird.
Beer Can Chicken Stand (optional): A dedicated stand holds the chicken and can securely, preventing tip-overs and making the whole process much safer and cleaner.
Chunk or Chip Wood for Smoke: Adding apple, cherry, or hickory wood to the coals or smoker box brings that authentic smoke ring and depth of flavor that takes this bird to the next level.
Drip Pan: Place it under the chicken to catch drippings, prevent flare-ups, and collect flavorful liquid you can use for a quick pan sauce.
🔥 Variations
Pellet Grill Version: Set your pellet grill to 375 degrees Fahrenheit and choose apple, cherry, or competition blend pellets for a beautiful mild smoke. The pellet grill excels at maintaining steady temp so you can pretty much set it and walk away. Follow the same timing and temp targets. The skin may not get quite as crispy as over charcoal, so bump the temp to 400 degrees Fahrenheit for the last 10 minutes if needed.
Gas Grill Version: Light two of your outer burners and leave the center burner off for indirect cooking. Load a smoker box with apple or cherry wood chips and place it directly over a lit burner to get smoke going before the chicken goes on. Target 350 to 375 degrees Fahrenheit and position the chicken over the unlit center burner. You will get excellent results with this setup even without charcoal.
Spicy Sriracha and Honey Glaze Version: Use the same base dry rub but mix together 2 tablespoons of sriracha, 2 tablespoons of honey, and 1 tablespoon of butter for a finishing glaze. In the last 10 minutes of the cook, brush this glaze all over the bird and let it caramelize on the grill. The result is a sticky, sweet, spicy lacquer on the skin that is absolutely addictive.
Smoker Low and Slow Version: Set your offset smoker or drum smoker to 275 degrees Fahrenheit and use cherry and apple wood for fuel. The cook will take 2 to 2.5 hours at this lower temp but the result is incredibly juicy meat with a deep smoke ring that you just cannot rush. This is the pitmaster way. Rest for 20 minutes before carving and prepare to have your mind blown.
❓ Pitmaster FAQ
What internal temperature should beer can chicken reach before it is safe to eat?
The USDA recommends a minimum internal temp of 165 degrees Fahrenheit for whole chicken. Always insert your instant read thermometer into the thickest part of the thigh without touching the bone. The breast can read 160 degrees Fahrenheit as it will carry over during the rest period. Do not rely on color or juices running clear as these are not reliable safety indicators.
Can I use a gas grill for beer can chicken?
Absolutely. Set up your gas grill for indirect cooking by lighting the outer burners and leaving the center off. Target a grill temperature of 350 to 375 degrees Fahrenheit and place the chicken over the unlit center burner. Add a smoker box loaded with apple or cherry wood chips over a lit burner to bring in smoke flavor. You will get fantastic results even without charcoal.
Does the beer actually do anything for the chicken?
Yes and no. The primary benefit is moisture. As the beer heats up it creates steam inside the cavity which helps keep the interior of the bird moist throughout the cook. The actual flavor transfer from the beer to the meat is minimal and debatable among pitmasters, but the upright cooking position also allows fat to drain away and hot air to circulate all around the bird evenly, which is a real and significant benefit for crispy skin.
What kind of beer works best for beer can chicken?
A standard American lager like a Budweiser or Coors works perfectly fine and is the classic choice. A pale ale or amber ale will add a touch more complexity. Avoid anything too hoppy or a dark stout as those intense flavors can turn acrid under heat. At the end of the day the beer flavor is subtle, so drink what you enjoy and use whatever you have cold in the cooler.
How do I know when the skin is crispy enough?
Look for a deep golden brown to amber color all over the exterior with visible texture and tightness to the skin. If it still looks pale or soft at the 50-minute mark, your grill temperature may have dropped. You can also carefully move the chicken over direct heat for the final 5 minutes to boost crispiness. Just watch it closely so you do not burn it. The skin should look like it belongs on the cover of a food magazine when it is done right.
Can I prepare the chicken ahead of time?
Yes, and you should. Season the chicken with the dry rub and let it sit uncovered in the refrigerator for anywhere from 1 hour to overnight. This dry brining process seasons the meat deeply and pulls surface moisture away so the skin crisps up dramatically better when it hits the grill. Pull the bird out of the fridge about 30 minutes before you plan to cook to take the chill off slightly.