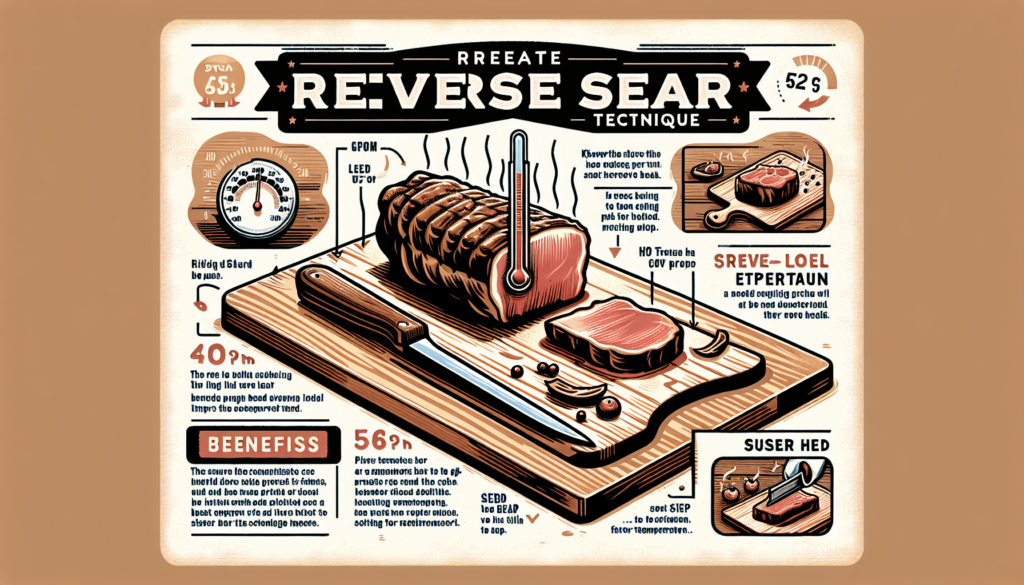
You’re about to discover the secret to achieving perfectly cooked steaks every single time – the reverse sear technique. Have you ever wondered how some people manage to cook a steak that is evenly pink from edge to edge? Well, this ingenious method involves cooking the steak low and slow to the desired internal temperature, then finishing it off with a hot sear to develop that mouthwatering crust. So, get ready to elevate your steak game and become a true master of the reverse sear technique in no time!

What is the Reverse Sear Technique?
Definition
The reverse sear technique is a method of cooking meat that involves slow cooking it at a low temperature first and then finishing it off with a high-heat sear. This method allows for even cooking throughout the meat, resulting in a tender and juicy interior with a flavorful and crispy exterior.
Benefits of Reverse Searing
The reverse sear technique offers several benefits that make it an excellent choice for cooking meat. Firstly, it ensures that the meat is cooked evenly from edge to edge, resulting in a perfect doneness throughout. This eliminates the risk of overcooked or undercooked spots. Secondly, by starting with a slow cooking process, the meat retains more moisture, resulting in a juicy and tender final product. Finally, the high-heat sear at the end creates a beautiful caramelized crust that adds depth and flavor to the meat.
Choosing the Right Cut of Meat
Best Cuts for Reverse Searing
Not all cuts of meat are suitable for the reverse sear technique. Choosing the right cut is crucial to ensure a successful outcome. Ideally, you want to select cuts that are thicker and have a good amount of marbling, such as ribeye, New York strip, tenderloin, or even a thick-cut bone-in pork chop. These cuts have enough fat content to keep the meat moist during the slow cooking process and develop a delicious crust during the searing phase.
Factors to Consider When Choosing a Cut
When selecting a cut for reverse searing, there are a few factors you should consider. Firstly, the thickness of the meat is important to ensure even cooking. Thicker cuts will require longer cooking times. Additionally, the fat content and marbling play a significant role in the overall flavor and tenderness of the meat. The more marbling present, the more flavorful and juicy the final result will be. It’s also essential to consider your personal preferences and dietary restrictions when choosing a cut of meat for reverse searing.
Preparing the Meat
Seasoning the Meat
Before cooking, it’s essential to season the meat to enhance its natural flavors. You can keep the seasoning simple with just salt and pepper or experiment with different rubs and marinades. However, it’s crucial to keep in mind that the reverse sear technique relies on the natural flavors of the meat, so be careful not to overpower it with strong seasonings. Apply the seasoning generously to all sides, ensuring an even coating.
Allowing the Meat to Rest
After seasoning the meat, it’s essential to let it rest at room temperature for about 30 minutes before cooking. This allows the seasoning to penetrate the meat and the temperature to equalize, resulting in more even cooking. Additionally, bringing the meat to room temperature helps to prevent the meat from seizing up and becoming tough when it hits the heat source.
Setting up for Reverse Searing
Using a Grill or Smoker
If you prefer the smoky flavors associated with grilling, using a grill or smoker is an excellent choice for reverse searing. To set up your grill or smoker for reverse searing, you’ll need to create indirect heat zones by only lighting a portion of the burners or placing the charcoal to one side. This setup allows for slow cooking at a lower temperature. Make sure to preheat the grill or smoker to your desired temperature before placing the meat on the indirect heat zone.
Using an Oven
An oven can also be used to achieve excellent results with the reverse sear technique. To set up your oven for reverse searing, preheat it to a low temperature, typically around 250°F (121°C). Place the meat on a wire rack set inside a baking sheet to allow for even airflow and drainage of any rendered fat. Make sure to position the rack in the center of the oven for consistent cooking.

Slow Cooking Low and Slow
Indirect Heat Method
The slow cooking phase is where the magic of the reverse sear technique happens. Whether using a grill or oven, the key is to cook the meat at a low and consistent temperature. The indirect heat method helps to achieve this by cooking the meat away from direct contact with the flames or heating elements. This allows the meat to cook slowly, gently, and evenly, resulting in a perfectly cooked interior.
Temperature and Time Guidelines
To achieve the desired doneness, it’s important to monitor the internal temperature of the meat using a probe thermometer. For a medium-rare steak, you’ll want to cook it to an internal temperature of around 130°F (54°C). Keep in mind that the cooking time will vary depending on the thickness of the meat and the cooking method used. As a general guideline, you can expect the slow cooking phase to take approximately 25-30 minutes per inch of thickness.
Resting the Meat
Why Resting is Important
After the slow cooking phase, it’s crucial to let the meat rest before searing. Resting allows the juices within the meat to redistribute, resulting in a more tender and flavorful final product. It also gives the meat time to cool slightly, ensuring that it won’t overcook during the searing phase. Resting is a critical step in achieving the perfect reverse sear.
Resting Time Recommendations
The resting time will depend on the size of the meat and personal preference. As a general guideline, allow the meat to rest for about 10-15 minutes before proceeding to the searing phase. This gives the meat enough time to rest and allows the internal temperature to stabilize before applying high heat.
Finishing with High Heat
Preparing the Grill or Broiler
To finish off the reverse sear technique, you’ll need to apply high heat to create a delicious seared crust on the meat. If using a grill, make sure to preheat it to a high temperature, around 500°F (260°C), and oil the grates to prevent sticking. If using a broiler, position the oven rack to the highest position and preheat the broiler on high.
Searing the Meat
Once the grill or broiler is preheated, carefully place the meat directly over the high heat source. Sear the meat for approximately 1-2 minutes per side, or until a beautiful crust forms. It’s essential to keep a close eye on the meat during this phase to prevent burning or overcooking. Once the desired sear is achieved, remove the meat from the heat source and let it rest for a few minutes before slicing.
Monitoring the Internal Temperature
Using a Probe Thermometer
An accurate probe thermometer is an invaluable tool when cooking meat with the reverse sear technique. It allows you to monitor the internal temperature of the meat without having to rely solely on visual cues. Insert the probe into the thickest part of the meat, avoiding any bone or fat. This will give you an accurate reading of the internal temperature and help you determine when the meat is cooked to your desired doneness.
Desired Internal Temperatures for Different Meats
The desired internal temperatures will vary depending on the type of meat and your personal preferences. Here are some general guidelines:
-
Beef:
- Rare: 125-130°F (52-54°C)
- Medium-rare: 130-135°F (54-57°C)
- Medium: 140-145°F (60-63°C)
- Medium-well: 150-155°F (66-68°C)
- Well done: 160°F (71°C) and above
-
Pork:
- Medium-rare: 145°F (63°C)
- Medium: 160°F (71°C)
- Well done: 165°F (74°C) and above
-
Lamb:
- Rare: 120-125°F (49-52°C)
- Medium-rare: 130-135°F (54-57°C)
- Medium: 140-145°F (60-63°C)
- Medium-well: 150-155°F (66-68°C)
- Well done: 160°F (71°C) and above
-
Poultry:
- Chicken and turkey: 165°F (74°C)
- Duck: 160°F (71°C)
Serving and Enjoying the Perfect Reverse Sear
Slicing and Plating the Meat
After the meat has rested, it’s time to slice and plate it for serving. Use a sharp knife to slice the meat against the grain in thin, even slices. This helps to enhance tenderness and ensure each bite is flavorful. Arrange the slices on a platter or individual plates, taking care to present them in an appealing way.
Accompaniments and Sauces
The perfect reverse sear meat can be enjoyed on its own, but it’s always fun to pair it with delicious accompaniments and sauces. Consider serving it with roasted vegetables, mashed potatoes, or a side salad. Additionally, you can add a flavorful sauce like chimichurri, peppercorn sauce, or a simple pan sauce made from deglazing the cooking juices.
Practice Makes Perfect
Experimenting with Different Meats
The reverse sear technique is versatile and works well with various types of meat. Don’t be afraid to experiment and try it with different cuts, such as lamb racks, game meats, or even fish. Each meat will require slight adjustments in cooking temperatures and times, but the basic principles remain the same.
Adapting the Technique to Personal Preferences
While the reverse sear technique provides excellent results, don’t be afraid to adapt it to your personal preferences. Play around with different seasonings, cooking temperatures, and searing times to achieve the flavors and textures that you enjoy the most. With practice and experimentation, you’ll be able to master the reverse sear technique and create your perfect meal every time.
Remember, cooking is all about having fun and enjoying the process. So grab your favorite cut of meat, fire up the grill or preheat the oven, and get ready to impress yourself and your friends with the delicious results of the reverse sear technique. Happy cooking!
