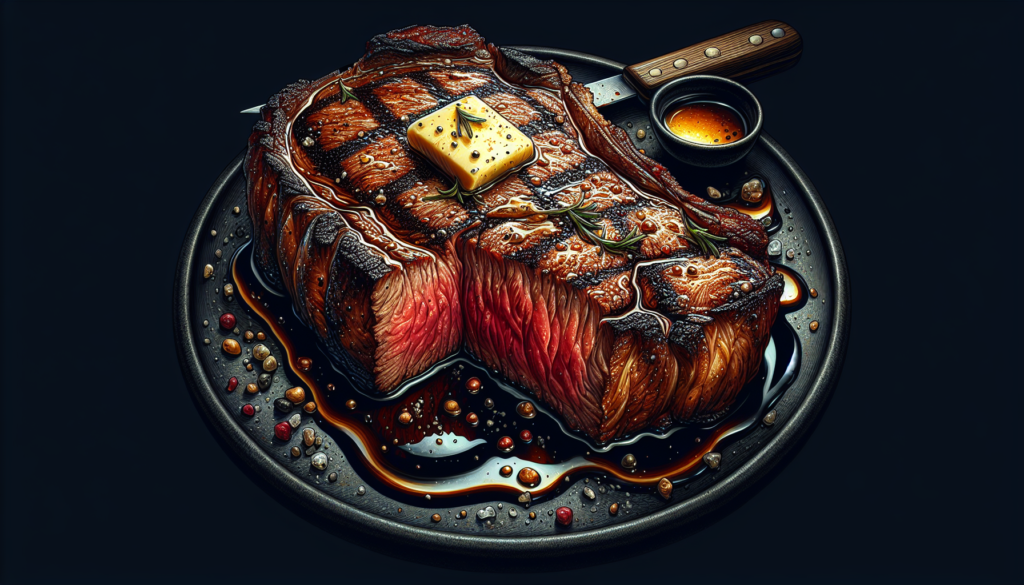
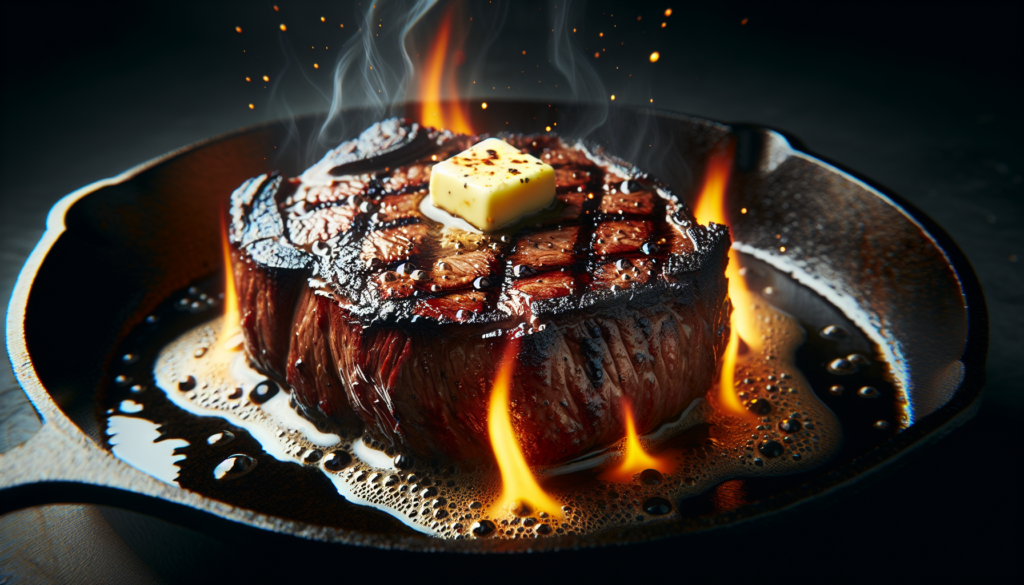
Imagine sinking your teeth into a perfectly cooked steak with a caramelized crust, tender and juicy on the inside. Sounds like a culinary masterpiece, doesn’t it? Well, you can achieve this steak perfection by mastering the reverse sear technique. By slowly cooking the steak to your desired level of doneness and then searing it at high heat, you can ensure a beautifully cooked piece of meat every time. In this article, we will unravel the secrets of the reverse sear technique and guide you on a journey to steak perfection. So, grab your apron and prepare to elevate your steak game to a whole new level.

What is the Reverse Sear Technique?
The reverse sear technique is a cooking method that involves slowly cooking a steak at a low temperature and then finishing it with a high-heat sear. This technique is the opposite of the traditional searing method, where the steak is first seared at a high heat and then cooked to the desired doneness. The reverse sear technique allows for a more even and controlled cooking process, resulting in a steak that is tender, juicy, and perfectly cooked from edge to edge.
Benefits of the Reverse Sear Technique
There are several benefits to using the reverse sear technique when cooking steak. First, the slow and low cooking method helps to preserve the natural juices and flavors of the steak. This means that you end up with a steak that is incredibly juicy and flavorful, unlike the potential dryness that can occur with the traditional searing method.
Another benefit of the reverse sear technique is the even and consistent cooking that it provides. By slowly raising the internal temperature of the steak, you ensure that it is evenly cooked throughout, resulting in a perfect medium-rare or medium steak from edge to edge. This is especially important for larger cuts of steak, where achieving an even doneness can be challenging with the traditional searing method.
Additionally, the reverse sear technique allows for better control over the cooking process. By using a low temperature to slowly cook the steak, you have more time to monitor and adjust the internal temperature. This helps to prevent overcooking and allows you to achieve the perfect level of doneness for your personal preference.
Choosing the Right Steak
Before you can master the reverse sear technique, it is crucial to choose the right steak. When it comes to reverse searing, thicker cuts of steak are ideal. A steak that is at least 1 to 1.5 inches thick will allow for a more controlled and even cooking process. Thicker cuts also benefit from the slow cooking method, as it allows the heat to penetrate the steak more evenly and results in a juicier, tenderer final product.
When selecting a steak for reverse searing, it is also essential to consider the marbling. Marbling refers to the fine patterns of fat that are distributed throughout the muscle fibers of the steak. Steaks with a good amount of marbling, such as ribeye or New York strip, tend to be more tender and flavorful. The fat in the marbling melts during the slow cooking process, infusing the steak with rich flavors and adding to its juiciness.
Prepping the Steak
Once you have selected the perfect steak, it is time to prepare it for the reverse sear technique. Start by removing the steak from the refrigerator and allowing it to come to room temperature. This step is crucial as it helps the steak cook more evenly.
While the steak is reaching room temperature, take the opportunity to pat it dry with paper towels. Removing excess moisture from the steak’s surface helps to ensure a better sear later on. After patting it dry, let the steak sit for a few minutes to allow the meat to rest.

Seasoning and Marinating Options
When it comes to seasoning a steak for reverse searing, simplicity is key. A high-quality cut of steak usually only needs a few basic seasonings to enhance its natural flavors. A generous sprinkle of kosher salt and freshly ground black pepper is often all you need. However, you can add additional herbs and spices to suit your personal taste preferences.
If you prefer a more flavorful steak, you can opt for a marinade. A simple marinade made from olive oil, garlic, herbs, and some acid (such as lemon juice or vinegar) can help tenderize the steak and infuse it with additional flavors. Just make sure not to marinate the steak for too long, as the acid can start to break down the meat’s texture if left for an extended period.
Step-by-Step Guide to Reverse Searing
Now that you have chosen the right steak and prepped it accordingly, it’s time to dive into the step-by-step process of reverse searing.
-
Preheat your oven to a low temperature, around 275°F (135°C). The low heat allows for a slow cooking process that gently raises the internal temperature of the steak.
-
Place the steak on a wire rack set over a baking sheet. The wire rack helps to promote airflow around the steak, ensuring even cooking.
-
Insert a meat thermometer into the thickest part of the steak. This will allow you to monitor the internal temperature accurately and determine when it is time to move on to the searing stage.
Slow and Low: The First Stage of Reverse Searing
-
Transfer the steak to the preheated oven and let it cook slowly until it reaches an internal temperature of about 10-15 degrees below your desired doneness. For example, if you prefer a medium-rare steak with an internal temperature of 130°F (54°C), remove the steak from the oven at around 115°F (46°C).
-
The cooking time will vary depending on the thickness of the steak and your desired level of doneness. As a general guide, you can expect the slow cooking stage to take anywhere from 30 to 60 minutes.
Crispy and Caramelized: The Final Searing Stage
-
Once the steak has reached the desired internal temperature in the slow cooking stage, it is time to achieve that beautiful crust and intense flavor with a high-heat sear.
-
Heat a skillet or grill pan over high heat until it is smoking hot. Adding a bit of oil or butter to the pan can help prevent sticking and enhance the sear.
-
Carefully transfer the steak to the hot pan and sear it for about 1 to 2 minutes per side, or until it develops a golden brown crust. Use tongs to flip the steak and sear all sides evenly.
-
Remove the steak from the heat and let it rest for a few minutes. This resting period allows the juices to redistribute throughout the meat, resulting in a more tender and flavorful steak.
Resting and Slicing the Steak
After the reverse sear process is complete, it is essential to let the steak rest before slicing into it. This crucial step ensures that the juices are retained within the meat, rather than being released all at once when cut. Resting also helps to relax the muscle fibers and results in a more tender steak.
Place the cooked steak on a cutting board and tent it loosely with foil. Let it rest for around 10 minutes, allowing the internal temperature to stabilize and the juices to redistribute.
Accompaniments and Serving Suggestions
Once your perfectly cooked reverse seared steak is ready to serve, you’ll want to pair it with some delicious accompaniments. Whether you prefer classic steakhouse sides like mashed potatoes and sautéed vegetables or more adventurous options like chimichurri sauce and roasted sweet potatoes, there are countless possibilities to enhance your steak dinner.
For an elegant and well-rounded meal, consider adding a fresh salad or a side of roasted asparagus. Don’t forget to pair your steak with a glass of your favorite red wine or a refreshing craft beer to complete the dining experience.
In conclusion, the reverse sear technique is a game-changer when it comes to cooking the perfect steak. With its slow and controlled cooking process, you can achieve a steak that is tender, juicy, and cooked to perfection from edge to edge. By following the steps outlined in this guide, you will soon be able to master the art of reverse searing and impress your family and friends with restaurant-quality steak at home. So grab a thick-cut steak, preheat your oven, and get ready to elevate your steak cooking skills to new heights!
