
Perfect grill marks tips are the foundation of every serious pitmaster’s skill set, because those dark, caramelized lines are not just about looks – they represent the Maillard reaction happening at its absolute best. We are talking about surface temperatures hitting 400 to 500 degrees Fahrenheit, a screaming hot grate making contact with a dry protein surface, and precise timing that separates a backyard cook from a competition champion. Get this right, and every steak, chicken breast, or vegetable that comes off your fire looks like it belongs on a restaurant plate.
The secret that most weekend warriors miss is that perfect grill marks start long before you ever fire up the grill. Moisture is the enemy of a clean sear. If your protein is wet, steaming, or cold from the refrigerator, you will never achieve that hard, defined contact mark no matter how hot your grates get. Pat everything bone dry with paper towels, bring your meat to room temperature for at least 30 minutes, and brush a thin coat of high smoke point oil directly onto the protein – not the grates. That combination sets you up for instant, aggressive crust formation the moment meat hits iron.
Timing is everything once you make that first contact. A 45-degree angle placement, a 60 to 90 second hold without touching, a precise 90-degree rotation for the crosshatch, and then a clean flip – that is the four-step rhythm every pitmaster burns into muscle memory. You are not moving the meat, you are not peeking, you are not pressing down with a spatula. You are letting the heat do exactly what it was built to do. Follow these steps and your grill marks will be so defined and deep you could measure them with a ruler.
Perfect Grill Marks Tips: Get Pro Results Every Time
Nothing signals a true pitmaster like those deep, caramelized crosshatch marks seared into a perfect cut of meat. These perfect grill marks tips will teach you the exact temps, timing, and angles the pros use. Fire up the grill today and make every cook look competition-worthy.
Ingredients
| AMOUNT | INGREDIENT | NOTES |
|---|---|---|
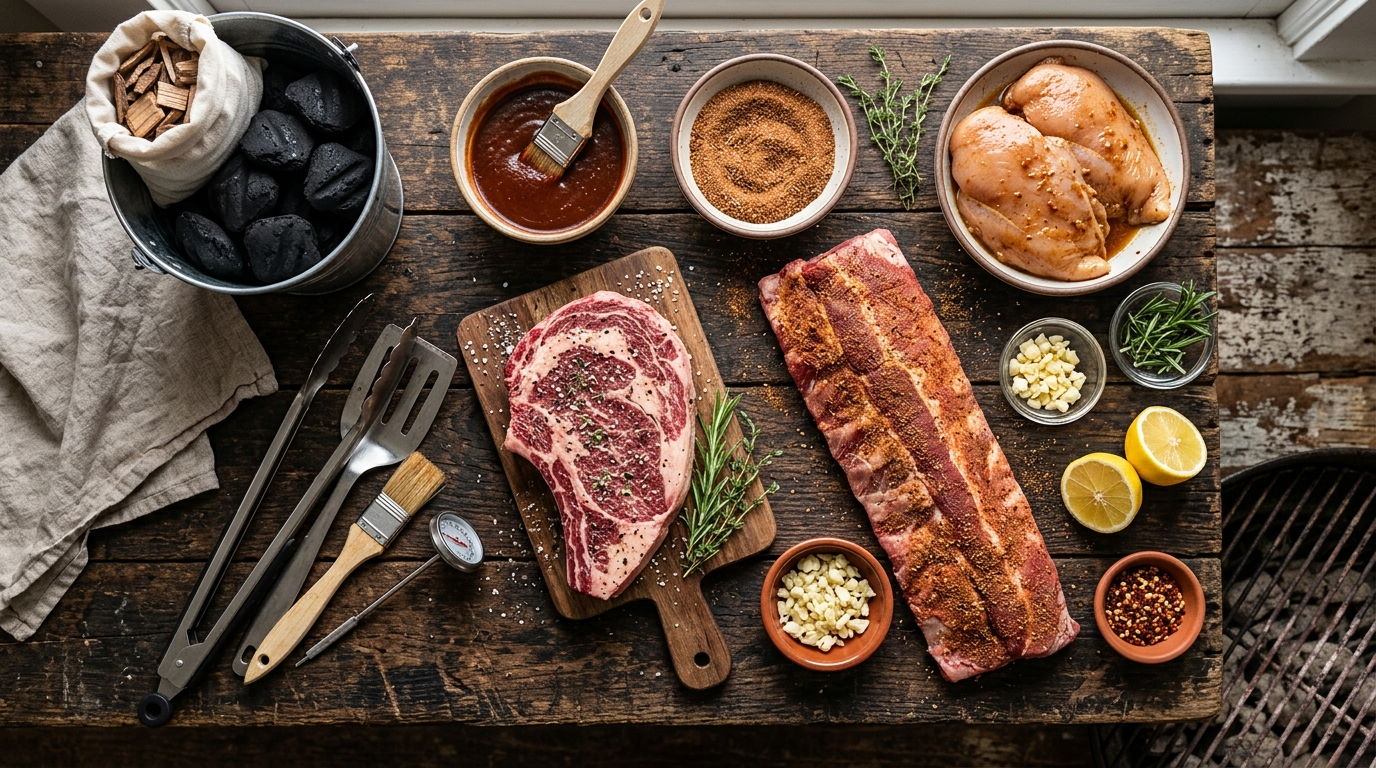
| 4 pieces | ribeye steaks or boneless chicken breasts | 1-inch thick minimum for best results – thin cuts cook through before marks develop |
| 2 tablespoons | avocado oil or grapeseed oil | high smoke point oil only – olive oil burns too fast at searing temps |
| 1 tablespoon | kosher salt | coarse grind for better surface texture and crust formation |
| 1 tablespoon | coarse black pepper | freshly cracked for maximum bark-style crust on the surface |
| 1 teaspoon | garlic powder | optional but adds deep caramelized flavor to the sear |
| 1 teaspoon | smoked paprika | optional – deepens color and adds subtle smoke flavor to the crust |
Instructions
Nutrition (per serving)
The BBQ Story Behind This Recipe
The tradition of searing meat over open flame goes back thousands of years, but the deliberate art of creating defined grill marks is a uniquely American BBQ obsession that grew out of the post-World War II backyard grilling boom. As gas and charcoal grills became household staples through the 1950s and 1960s, home cooks started chasing the steakhouse aesthetic they saw at restaurants. Those crosshatch marks became a visual shorthand for quality, doneness confidence, and cooking skill. Steakhouses from Chicago to Kansas City turned the crosshatch sear into a signature, and the techniques filtered down into backyard culture through cooking shows, butcher shop advice, and passed-down pitmaster wisdom.
Regionally, the approach to grill marks shifts depending on the BBQ tradition. In Texas, a hard sear over direct mesquite or oak heat is prized for brisket steaks and ribeyes, where the bark-like crust formed by extreme surface heat mirrors the beloved smoke bark on a low and slow brisket. In the Southeast, charcoal-grilled chicken and pork chops carry those marks as a badge of honor at church cookouts and competition circuits alike. Even the Japanese yakitori and Korean BBQ traditions share a deep respect for the caramelized grill line, proving that while the seasonings and proteins change across cultures, the universal language of fire-kissed meat speaks the same way everywhere great food is cooked.
Hot Off the Grill
A Closer Look
Pitmaster Tips for Best Results
- Preheat your grill for a full 15 minutes with the lid closed before placing any protein on the grates. Cast iron grates need to absorb and stabilize heat at 450 to 500 degrees Fahrenheit before they can deliver a proper instant sear on contact.
- Never oil your grates – oil the protein instead. Oiling grates causes flare-ups and uneven heat distribution. A thin coat of high smoke point oil brushed directly onto your dry protein surface creates the ideal crust formation layer.
- The protein will tell you when it is ready to flip or rotate – if it sticks, it is not ready. A properly seared crust releases cleanly from the grates. Forcing an early flip tears the surface and destroys the mark definition you worked for.
- For extra deep color and a competition-style bark-like crust, add a pinch of sugar to your dry rub or seasoning blend. Sugar caramelizes fast at high heat and darkens the grill marks to a rich mahogany without requiring longer cook times.
- After you rest the meat, always slice against the grain for serving. This maximizes tenderness and lets those beautiful crosshatch marks face upward on the plate or cutting board for the best visual presentation and photo opportunity.
🔧 Pitmaster Equipment
Charcoal Grill or Gas Grill: You need a grill that can sustain direct heat between 400 and 500 degrees Fahrenheit consistently across the grate surface for clean sear marks.
Cast Iron Grill Grates: Cast iron retains heat far better than stainless steel rods, delivering a more aggressive and defined contact mark in less time.
Instant Read Thermometer: Critical for hitting the correct internal temp on your protein while managing the high surface heat needed for perfect marks without overcooking.
Long Tongs: Keep your hands safe while placing, rotating, and flipping proteins at high heat without disturbing the crust prematurely.
Wire Grill Brush or Grill Scraper: Clean grates are essential – debris and residue prevent full metal-to-meat contact and ruin the definition of your marks.
Paper Towels and High Smoke Point Oil: Pat meat bone dry before cooking and use avocado or grapeseed oil to coat the protein surface, not the grates, for maximum crust formation.
🔥 Variations
Pellet Grill Version: Set your pellet grill to its highest sear setting or use a dedicated sear box attachment if available. Preheat fully, follow the same 45-degree angle and rotation method, and choose a bold pellet wood like hickory or mesquite to add a smoke ring effect beneath the surface crust for competition-level results.
Gas Grill Version: Crank all burners to high and preheat for 15 full minutes with the lid down. Gas grills often run slightly cooler than charcoal so give the grates an extra 5 minutes to stabilize. Add a smoker box loaded with soaked wood chips over one burner to introduce subtle smoke flavor while you sear for marks on the direct heat side.
Cast Iron Skillet Indoors: Heat a ridged cast iron grill pan over high heat for 5 full minutes until it is smoking. Use the same dry protein, same oil coating method, and same 45-degree angle rotation technique. You will not get smoke ring or bark from indoor cooking but the caramelized crosshatch marks will be just as visually defined and delicious.
Vegetables and Thick Portobello Mushrooms: Brush thick-cut zucchini, bell pepper halves, asparagus bundles, or large portobello mushroom caps with avocado oil and season with salt and pepper. Use the same 45-degree placement and 60-second rotation method over direct heat at 400 degrees Fahrenheit. Vegetables mark faster than meat so watch closely and pull them at a light to medium golden brown.
❓ Pitmaster FAQ
What temperature do grill grates need to be for perfect grill marks?
Your grate surface needs to be between 400 and 500 degrees Fahrenheit for clean, defined marks. Use an infrared thermometer to check grate surface temp directly, or hold your hand 6 inches above the grate – if you can only hold it there for 1 to 2 seconds, you are in the right zone. Always preheat for a full 15 minutes with the lid closed.
Why does my meat stick to the grates when I try to rotate it?
Sticking means the crust has not fully formed yet. A properly seared protein releases cleanly from clean hot grates on its own. Do not force the rotation – give it another 15 seconds and try again. The most common causes of sticking are wet meat surface, grates that were not cleaned, or grates that did not preheat long enough to reach full searing temperature.
Should I oil the grates or the meat for grill marks?
Always oil the protein, not the grates. Brushing oil onto grates causes flare-ups and uneven heat distribution that breaks up your mark definition. A thin even coat of high smoke point oil like avocado or grapeseed oil applied directly to the dry protein surface creates the ideal contact layer for instant caramelization when it hits the hot iron.
Can I get grill marks on a gas grill?
Yes – gas grills can produce excellent grill marks as long as you preheat fully for 15 minutes on high, use cast iron grates if possible, and keep the lid closed during the sear. Gas grills sometimes run slightly cooler than charcoal so give the grates extra preheat time. The technique is identical – 45-degree angle placement, hold without moving, rotate 90 degrees for the crosshatch.
What internal temp should steak and chicken reach?
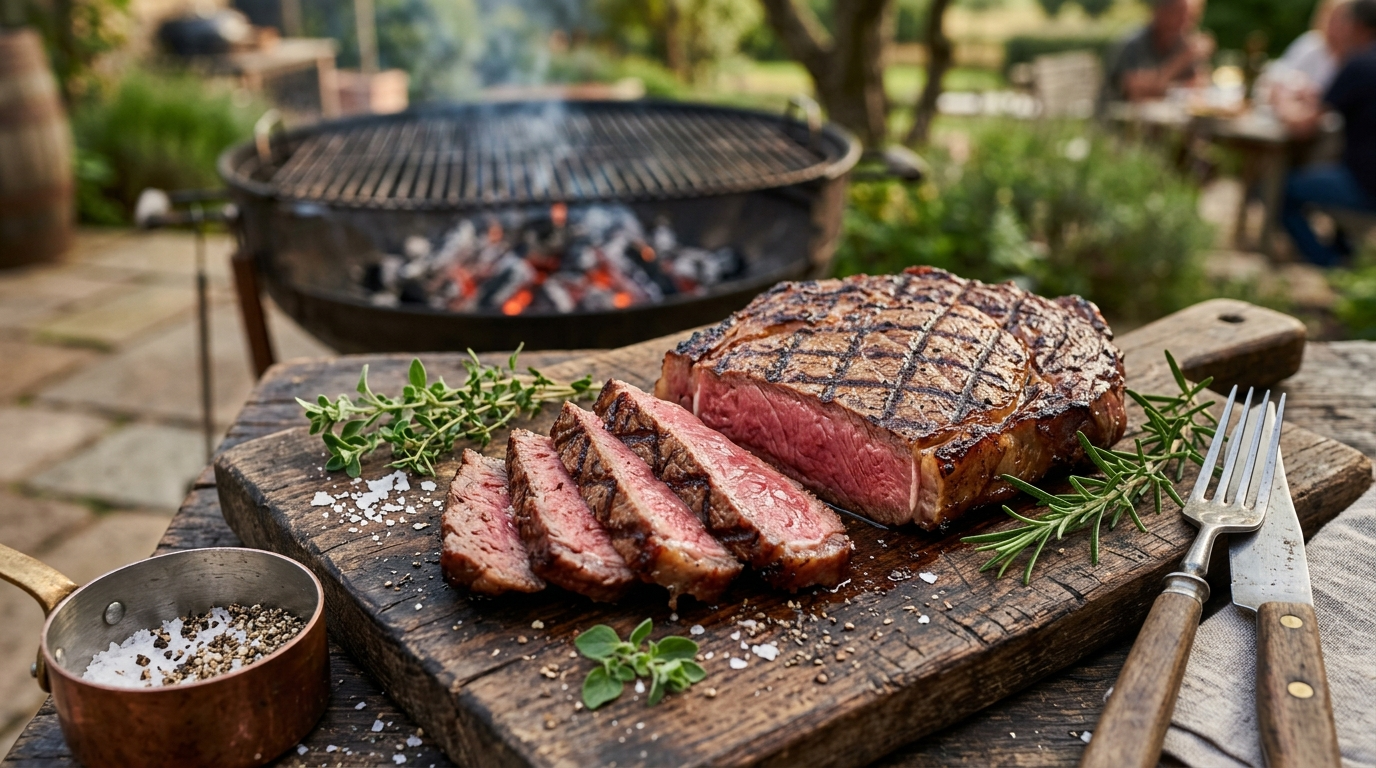
For beef steaks, pull at 130 to 135 degrees Fahrenheit for medium rare or 140 to 145 for medium using an instant read thermometer. Always rest the meat after pulling – carryover cooking will add 3 to 5 degrees during the rest. For chicken, you must reach a safe internal temp of 165 degrees Fahrenheit at the thickest point before serving. Never guess on internal temp – always use a thermometer.
Why do my grill marks look pale or faded instead of dark and defined?
Pale marks are almost always caused by one of three things – meat surface moisture that steams instead of sears, grates that did not reach full temperature before contact, or protein that was too thin to develop a crust before cooking through. Pat your protein completely dry, preheat the grill for a full 15 minutes, and use cuts that are at least 1-inch thick for the best mark definition and color depth.