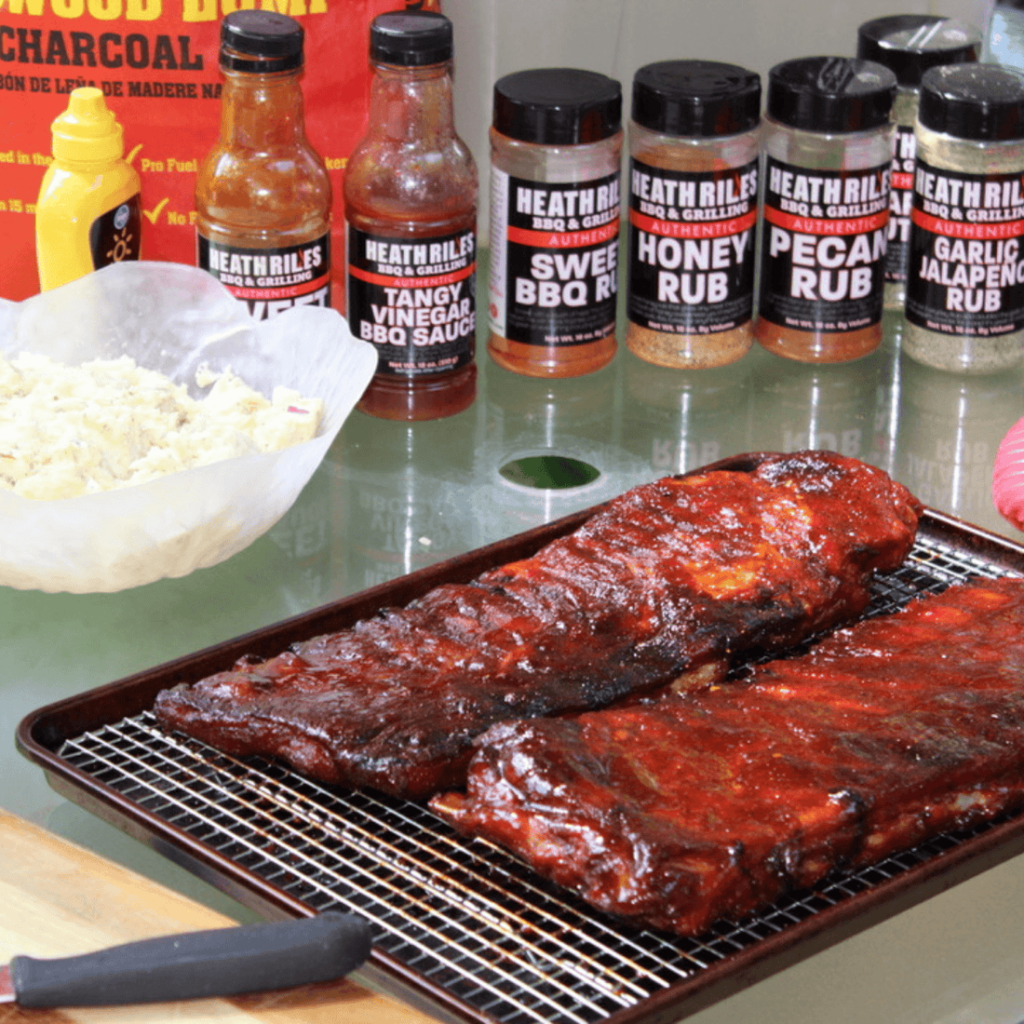
Imagine the sizzle of perfectly grilled ribs, the aroma wafting through the air, and the anticipation of sinking your teeth into tender, flavorful meat. Whether you’re a seasoned grill master or a novice looking to impress, “The Ultimate Guide to Grilling Ribs Like a Pro” is here to help you elevate your barbecue game. Packed with expert tips, tried-and-true techniques, and mouthwatering recipes, this comprehensive guide will have you grilling up juicy, fall-off-the-bone ribs with confidence and finesse. Get ready to become the go-to grill chef among your friends and family as you embark on a delicious journey into the world of rib mastery.
Choosing the Right Ribs
When it comes to grilling ribs, choosing the right type of ribs is crucial to achieving the perfect taste and texture. There are different cuts of ribs to choose from, each with its own unique qualities. Let’s take a closer look at the different options available to you.
Baby Back Ribs
Baby back ribs are one of the most popular choices for grilling. They come from the upper part of the ribcage, near the backbone of the pig. Baby back ribs are known for their tenderness and sweet flavor. They are typically smaller in size compared to other cuts, making them a great choice for those who prefer individual servings. When cooked properly, baby back ribs are moist, flavorful, and fall-off-the-bone tender.
Spare Ribs
Spare ribs are larger and meatier than baby back ribs. They come from the lower part of the ribcage, closer to the belly of the pig. Spare ribs have a higher fat content, which gives them a rich and juicy flavor. They are known for their meaty texture and can be a bit chewier compared to baby back ribs. Spare ribs are a great option if you prefer a heartier and more substantial bite.
St. Louis Style Ribs
St. Louis style ribs are essentially spare ribs with the sternum (breastbone) removed and trimmed down to a more rectangular shape. This trimming process removes the less desirable cartilage and creates a more uniform rack of ribs. St. Louis style ribs retain the same meatiness and flavor of spare ribs, but the trimming ensures a more even cooking and presentation. They are a popular choice for barbecue competitions and are often seasoned with dry rubs.
Country Style Ribs
Country style ribs are not technically ribs in the traditional sense. They are cut from the blade end of the loin, near the shoulder of the pig. Country style ribs have more meat and less bone compared to other cuts. They are known for their rich marbling and tenderness. Country style ribs are a great choice for those who prefer a meatier and less fatty option. They can be grilled to perfection and are often glazed with barbecue sauce for added flavor.
Prepping the Ribs
Before you start grilling your ribs, it’s important to prep them properly to ensure maximum flavor and tenderness. Here are some key steps to follow when prepping your ribs.
Trimming Excess Fat
Trimming excess fat from your ribs is an important step to prevent flare-ups and ensure even cooking. Too much fat can lead to excessive charring and create a greasy finished product. Use a sharp knife to carefully trim away any large pieces of visible fat from the surface of the ribs. Be sure to leave a thin layer of fat to add flavor and moisture to the meat.
Removing the Membrane
The membrane, also known as the silver skin, is a thin, tough membrane that covers the bone side of the ribs. Removing the membrane is crucial for a tender and flavorful end result. To remove the membrane, start by loosening one corner with a butter knife or your fingers. Once you have a good grip, slowly and gently pull it off the entire rack. This step allows the flavors to penetrate the meat and prevents the ribs from becoming tough.
Dry Rub or Marinade
Now that your ribs are trimmed and the membrane is removed, it’s time to infuse them with flavor. You have two main options – dry rub or marinade. A dry rub is a mixture of herbs, spices, and seasonings that is generously applied to the surface of the ribs. This method forms a flavorful crust during cooking. On the other hand, marinating involves soaking the ribs in a liquid mixture, such as a barbecue sauce or a marinade, to infuse the flavors into the meat. Whichever method you choose, be sure to let the ribs marinate or rest with the dry rub for at least a few hours, or preferably overnight, before grilling.
The Importance of Preheating
Preheating your grill is a crucial step in achieving the perfect grilled ribs. It ensures that the grill grates are hot and ready for cooking, allowing for a beautiful sear and caramelization of the meat. Let’s dive into the key aspects of preheating your grill.
Preparing the Grill
Start by cleaning the grill grates to remove any leftover debris from previous grilling sessions. Use a grill brush or scraper to remove any stuck-on food particles. Once the grates are clean, make sure the vents on your grill are open to allow for proper airflow and temperature control during the grilling process.
Using the Right Charcoal
If you’re using a charcoal grill, it’s important to choose the right charcoal for your ribs. There are two main types of charcoal – briquettes and lump charcoal. Briquettes are more consistent in shape and size, providing a more even heat throughout the cooking process. Lump charcoal, on the other hand, is made from chunks of pure hardwood and tends to burn hotter and faster. Experiment with different types of charcoal to find the one that suits your grilling preferences.
Setting Up Direct and Indirect Heat Zones
Creating direct and indirect heat zones on your grill is essential for cooking ribs to perfection. Direct heat refers to cooking the ribs directly over the hot coals, while indirect heat refers to cooking the ribs away from the heat source. This setup allows for more controlled cooking and prevents the ribs from burning or becoming overly charred. Place the hot coals on one side of the grill and the ribs on the opposite side, ensuring that there is no direct heat underneath the ribs. This setup allows for a slow and even cooking process, resulting in juicy and tender ribs.
Mastering the Charcoal Grill
Grilling ribs on a charcoal grill can be a truly rewarding experience. The smoky flavor and the charred exterior create a unique and delicious taste. Here are some tips to help you master the charcoal grill.
Lighting the Charcoal
To light the charcoal, you can use either a charcoal chimney starter or lighter fluid. A charcoal chimney starter is a metal cylinder with a handle and a grate at the bottom. Fill the chimney with charcoal and place crumpled newspaper or paraffin cubes at the bottom. Light the newspaper or cubes, and the flames will rise through the chimney, lighting the charcoal from the bottom. Once the coals are fully lit and covered with a layer of white ash, carefully pour them onto one side of the grill.
Controlling the Heat
Controlling the heat on a charcoal grill requires adjusting the air vents. To increase the heat, open the vents to allow more oxygen to reach the coals. To decrease the heat, partially close the vents to restrict the airflow. It’s important to monitor the grill temperature throughout the cooking process and make adjustments as needed. Use a grill thermometer or an instant-read thermometer to gauge the heat level and ensure a consistent cooking temperature.
Adding Smoke Flavor
One of the advantages of grilling on a charcoal grill is the ability to infuse your ribs with smoky flavors. To achieve a smoky taste, you can add wood chips or chunks to the charcoal. Soak the wood chips or chunks in water for about 30 minutes before using them. Drain the excess water and place the soaked wood directly on top of the hot coals. This will create smoke that will envelop the ribs, adding a delicious smoky aroma and flavor.
Perfecting the Gas Grill
Grilling ribs on a gas grill can be just as delicious and satisfying as using a charcoal grill. Gas grills offer convenience and ease of use while still imparting a wonderful grilled taste. Here’s how you can perfect the art of grilling ribs on a gas grill.
Setting Up the Grill
Start by preheating your gas grill to a medium-high heat, around 375-400°F (190-205°C). Simply turn on the burners and allow the grill to heat up for about 10-15 minutes. Place the ribs on the grill grates and close the lid to begin the cooking process. It’s important to properly preheat the grill to ensure even cooking and proper searing of the ribs.
Adjusting the Burner Settings
Gas grills typically have multiple burners, allowing you to create different heat zones. For indirect cooking, where the ribs are not placed directly over the flames, turn off the burner(s) directly underneath the ribs and leave the other burner(s) on. This will create an indirect heat zone, similar to the setup on a charcoal grill, resulting in slower and more controlled cooking. Adjust the burner settings as needed to maintain a consistent temperature throughout the grilling process.
Adding Smoke to Gas Grills
While gas grills may not naturally produce the same smoky flavor as charcoal grills, there are ways to add that desired smokiness to your ribs. One method is to use a smoker box or a foil packet filled with soaked wood chips. Place the smoker box or foil packet directly on top of the burners, near the flame. As the grill heats up, the wood chips will start to smoke, infusing your ribs with that delightful smoky aroma and taste. Another option is to use liquid smoke, which is a concentrated smoky flavoring. Simply add a few drops to your marinade or basting sauce for that authentic smoky experience.
The Low and Slow Method
The low and slow method is a classic technique for cooking ribs, allowing the flavors to develop slowly and the meat to become tender and juicy. This method involves cooking the ribs over indirect heat at a lower temperature for an extended period of time. Let’s delve into the key aspects of the low and slow method.
Indirect Heat Cooking
As mentioned earlier, indirect heat cooking refers to cooking the ribs away from the heat source. This setup allows for slower cooking and prevents the ribs from drying out or becoming excessively charred. Place the ribs on the grill grates, away from the hot coals or burners. Close the grill lid to create a convection effect, where the heat circulates around the ribs, ensuring even cooking.
Maintaining a Stable Temperature
The low and slow method requires maintaining a stable temperature throughout the cooking process. The ideal temperature for cooking ribs using this method is around 225-250°F (107-121°C). Monitor the grill temperature regularly and make adjustments to the burner settings or the airflow to maintain the desired temperature. An oven thermometer or a grill thermometer placed on the grill grates will help you accurately gauge the heat level.
Wood Chips or Chunks for Smoke
To enhance the flavor profile of your ribs, you can add wood chips or chunks to the grill. Soak the wood chips or chunks in water for about 30 minutes before using them. Drain the excess water and place the soaked wood directly on top of the hot coals or in a smoker box for gas grills. The smoldering wood will release aromatic smoke, infusing the ribs with delicious smoky flavors. Experiment with different types of wood, such as hickory, mesquite, or apple, to create your desired flavor profile.
The Hot and Fast Method
If you’re short on time but still want to enjoy delicious grilled ribs, the hot and fast method is perfect for you. This method involves cooking the ribs over direct heat at a higher temperature for a shorter period of time. Here’s how to master the hot and fast method.
Direct Heat Cooking
Unlike the low and slow method, the hot and fast method involves cooking the ribs directly over the heat source. Place the ribs on the grill grates directly above the hot coals or burners. This cooking technique creates a beautiful sear on the outside of the ribs while locking in the juices and flavors.
Searing the Ribs
To achieve that coveted caramelized crust, sear the ribs on high heat for a few minutes on each side. The high heat will create a flavorful char and help seal in the juices. Once the ribs are seared, move them away from the direct heat and continue cooking using indirect heat for the remaining time. This will prevent the ribs from becoming overly charred or burnt.
Shorter Cooking Time
The hot and fast method significantly reduces the cooking time compared to the low and slow method. With this technique, the ribs will typically be ready within 1.5 to 2 hours of grilling. However, it’s important to monitor the internal temperature of the ribs to ensure they reach the desired doneness. An instant-read thermometer inserted into the thickest part of the meat should read around 190-205°F (88-96°C) for tender and juicy ribs.
Mopping and Basting Techniques
Mopping and basting add an extra layer of flavor and moisture to your ribs. These techniques involve applying a liquid mixture, such as a barbecue sauce or a marinade, to the ribs at regular intervals during the cooking process. Let’s explore the ins and outs of mopping and basting.
When to Mop or Baste
Mopping or basting is typically done after the initial cooking phase. Once the ribs are partially cooked, you can start applying the liquid mixture using a basting brush or mop. This technique helps keep the ribs moist and prevents them from drying out. It also provides an opportunity to add a layer of flavor. Mopping or basting can be done at regular intervals, usually every 30 minutes, until the ribs are fully cooked.
Choosing the Right Sauce
The choice of sauce is crucial when it comes to mopping or basting your ribs. Different types of sauces, such as sweet, tangy, or spicy, can completely transform the flavor profile of your ribs. Store-bought barbecue sauces offer convenience and a wide range of flavors to choose from. However, if you prefer a homemade touch, you can experiment with creating your own signature sauce. Whichever sauce you choose, make sure it complements the natural flavors of the ribs and enhances the overall taste experience.
Brushing Techniques
When applying the sauce, it’s important to use proper brushing techniques to ensure even coverage. Dip a basting brush or mop into the sauce, and gently brush it onto the ribs, making sure to cover the entire surface. Use long, sweeping motions to avoid disturbing the crust or rub on the ribs. Applying a thin layer of sauce will allow it to caramelize beautifully during the final stages of cooking, creating a sticky and flavorful glaze.
Determining Doneness
Determining the doneness of your ribs is crucial for achieving the perfect texture and flavor. There are several methods you can use to gauge whether your ribs are cooked to perfection. Let’s explore these methods.
Bend Test
The bend test is a simple and reliable method to check the doneness of your ribs. Hold the rack of ribs with tongs and gently lift one end. If the ribs bend easily and the meat starts to crack slightly, they are likely done. The meat should pull away from the bone slightly, but still remain intact. This indicates that the ribs are tender and juicy.
Temperature Test
Using an instant-read thermometer is a more accurate way to determine the internal temperature of your ribs. Insert the thermometer into the thickest part of the meat, avoiding contact with the bone. The temperature should read around 190-205°F (88-96°C) for well-cooked ribs. This temperature range ensures the collagen in the meat has broken down, resulting in tender and succulent ribs.
Meat Probe Test
Another method to test the doneness of your ribs is by using a meat probe. A meat probe is a digital thermometer with a probe that can be inserted into the meat. Set the desired temperature on the thermometer, and insert the probe into the thickest part of the ribs. The thermometer will beep or notify you when the ribs have reached the desired internal temperature. This method provides a foolproof way to ensure your ribs are cooked to perfection.
Resting and Serving
Resting your ribs after cooking is a crucial step that allows the juices to redistribute and the flavors to meld together. Here’s what you need to know about resting and serving your grilled ribs.
Resting the Ribs
Once the ribs are cooked to perfection, it’s important to let them rest for a short period of time. Transfer the ribs to a cutting board or a platter, and loosely cover them with aluminum foil. This resting period allows the juices to settle and the meat to relax, resulting in a more tender and flavorful bite. Let the ribs rest for about 10-15 minutes before serving.
Cutting and Serving
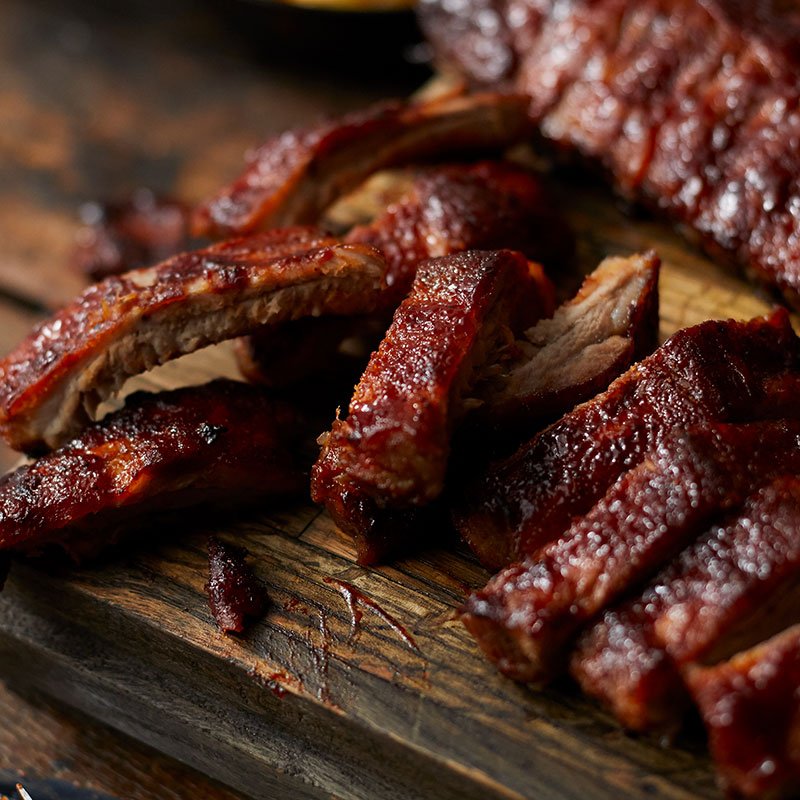
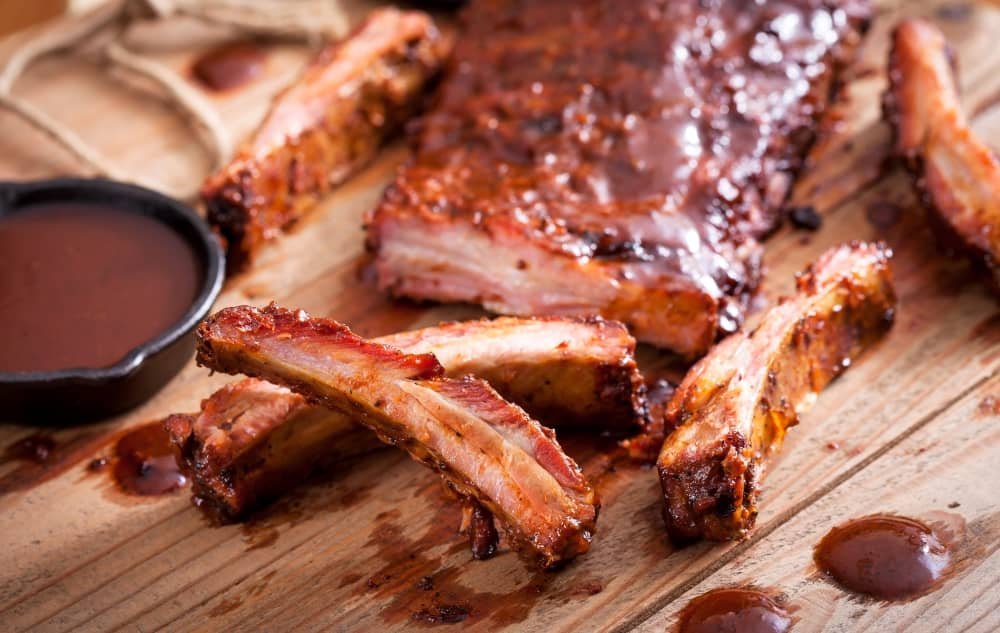
When it comes to cutting your ribs, there are two main methods – cutting between the bones, also known as individual ribs, or cutting into larger portions, known as slab ribs. Individual ribs are great for serving as appetizers or for individual portions, while slab ribs make a beautiful centerpiece for a meal. Use a sharp knife to carefully cut the ribs, following the natural lines between the bones. Serve the ribs on a platter or individual plates, and garnish as desired.
Sauce on the Side
While some people prefer their ribs slathered in sauce, others enjoy a more subtly seasoned rib. To cater to everyone’s preferences, it’s best to serve the sauce on the side. This allows each person to choose how much sauce they want on their ribs. Serve the sauce in separate bowls or squeeze bottles, allowing your guests to customize their ribs to their liking.
Grilling ribs like a pro requires attention to detail, patience, and a love for the craft. By choosing the right ribs, prepping them properly, and mastering your grill, you can achieve ribs that are tender, flavorful, and worthy of any barbecue competition. So fire up your grill, gather your friends and family, and get ready to create a memorable grilling experience with these tips and techniques. Happy grilling!
