Ingredients
Method
- Source your hardwood from a reliable origin. The most important rule in making diy smoking wood chunks is to never use wood that has been painted, stained, pressure treated, or chemically processed in any way. Safe species include oak, hickory, maple, pecan, apple, cherry, peach, pear, and alder. Avoid pine, cedar, elm, and any resinous softwood - they produce toxic compounds when burned and will ruin your food. If you do not have trees on your property, contact a local arborist, orchard, or tree service. Many will give away or sell green wood at very low cost after trimming or removal jobs.
- Cut your raw logs into rounds using a chainsaw or hand saw. You want each round to be about 6 to 8 inches long before splitting. This length gives you good control during the splitting process and results in final chunks that are the right size for a smoker firebox or charcoal setup. If the rounds are too long, chunks will be awkward to place and may produce uneven heat. Work on a stable cutting surface and wear eye protection and leather gloves throughout this step.
- Split your rounds into chunks using a sharp hatchet or splitting maul. Aim for individual chunks that are roughly 3 to 4 inches on each side. This size is ideal for most offset smokers and kettle grills - large enough to burn slowly and produce sustained smoke, but small enough to fit through a firebox door or sit comfortably on a charcoal bed. For very large rounds, split into halves first, then quarters, then down to your target size. Work with the grain of the wood for cleaner splits and less effort.
- Stack your freshly split chunks on a firewood storage rack immediately after splitting. The key to proper seasoning is airflow. Stack the wood loosely in a crisscross pattern rather than packing it tightly - this allows air to circulate between every piece. Elevating the wood off the ground on a rack prevents moisture absorption from the soil and keeps insects and rot from working their way into your stockpile. Place your rack in a sunny, wind-exposed location for the fastest seasoning results.
- Cover only the top of your woodpile with a tarp or position it under a woodshed roof. This is a mistake many beginners make - they wrap the entire pile in a tarp and trap moisture inside, dramatically slowing seasoning and encouraging mold growth. Leave the sides of the pile completely open. You want rain and snow to be shed from the top while wind continues to pull moisture out of the wood from every other direction. Think of it like a good smoke - you want controlled airflow, not a sealed environment.
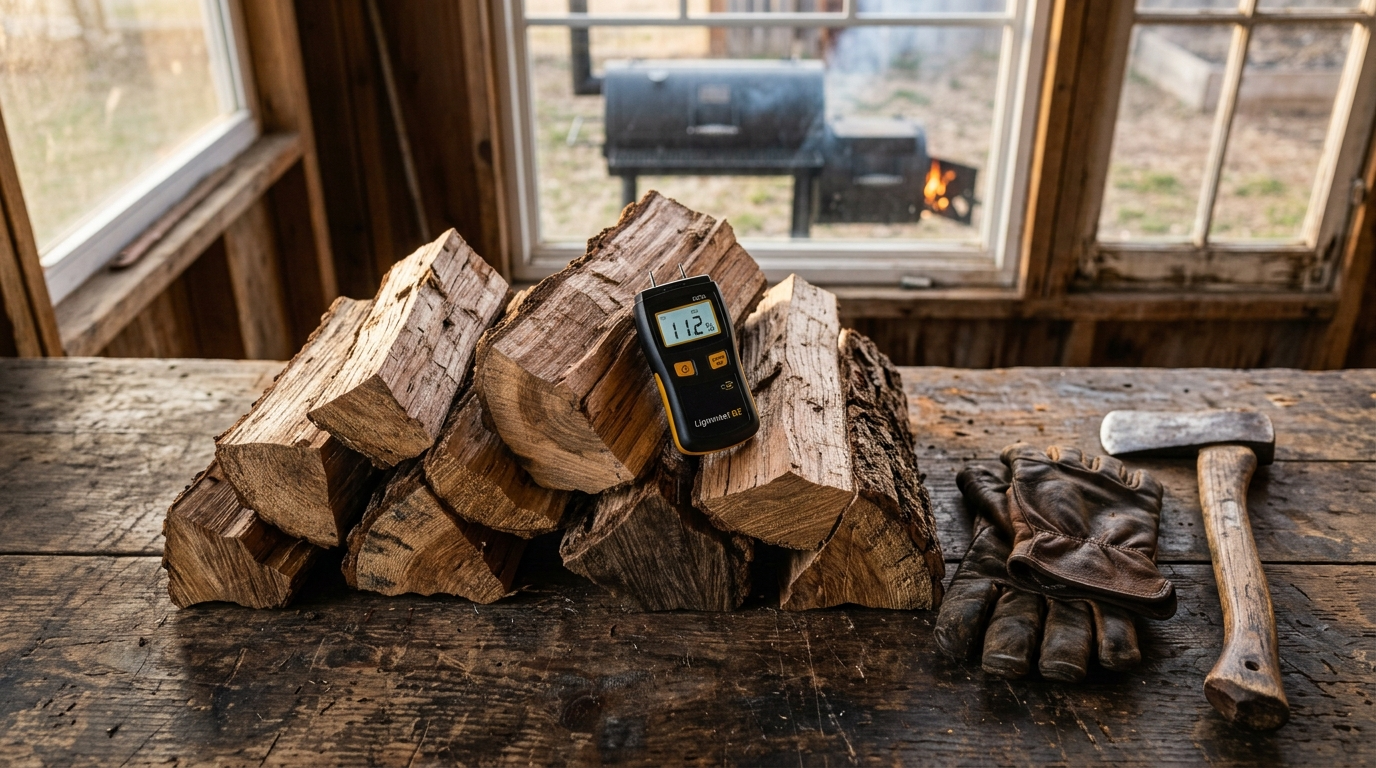
- Wait. This is the hardest step for any enthusiastic pitmaster, but it is non-negotiable. Green wood contains 50 to 60 percent moisture by weight. You need to get that number below 20 percent before the wood is ready to use as smoking chunks. Burning green wood produces thick, acrid white smoke full of creosote that will coat your food in a bitter, harsh flavor and gum up your smoker. Fruitwoods like apple and cherry typically need 6 to 8 months. Dense hardwoods like hickory and post oak need 9 to 12 months. Check every 6 weeks with your moisture meter by inserting the probes into a freshly split surface for the most accurate reading.
- Test your moisture level once you approach the 6-month mark. Insert the moisture meter probes into a fresh split surface on one of your chunks - not the outer face, which dries faster than the interior. A reading at or below 20 percent means your chunks are ready to fire up the grill. A reading between 20 and 30 percent means you need more time. Above 30 percent and you have got several months to go. Document your readings with dates so you understand how your specific wood species and local climate interact - this knowledge makes every future batch better.
- Perform a quality smoke test before relying on your homemade chunks for a major cook. Load up your smoker with a small batch of your seasoned chunks and bring the temp to 225 to 250 degrees Fahrenheit. Watch the smoke coming out of your exhaust vent. Properly seasoned wood burning efficiently produces a thin, pale blue-gray smoke that is barely visible in good lighting. That is the smoke that builds beautiful bark and a deep smoke ring without overpowering bitterness. Thick white billowing smoke means your wood still has too much moisture or your fire needs more oxygen. Adjust your airflow and give the fire time to stabilize before you declare your chunks ready for a real cook.
- Store your finished, seasoned chunks in a dry covered area. A covered porch, garage shelf, or woodshed all work well. Keep them elevated off concrete or dirt floors to prevent reabsorption of ground moisture. Properly seasoned and stored hardwood chunks will remain in excellent condition for 2 to 3 years. Label your storage by wood species so you can pair the right smoke to the right protein every time - mild apple and cherry for poultry and pork, bold hickory and oak for beef, and nutty pecan for ribs and whole hogs. Now you are ready to smoke like a true pitmaster.
Tried this recipe?Let us know how it was!