
DIY Smoking Wood Chunks: Make Your Own at Home
Ingredients
Method
- Source your hardwood from a reliable origin. The most important rule in making diy smoking wood chunks is to never use wood that has been painted, stained, pressure treated, or chemically processed in any way. Safe species include oak, hickory, maple, pecan, apple, cherry, peach, pear, and alder. Avoid pine, cedar, elm, and any resinous softwood - they produce toxic compounds when burned and will ruin your food. If you do not have trees on your property, contact a local arborist, orchard, or tree service. Many will give away or sell green wood at very low cost after trimming or removal jobs.
- Cut your raw logs into rounds using a chainsaw or hand saw. You want each round to be about 6 to 8 inches long before splitting. This length gives you good control during the splitting process and results in final chunks that are the right size for a smoker firebox or charcoal setup. If the rounds are too long, chunks will be awkward to place and may produce uneven heat. Work on a stable cutting surface and wear eye protection and leather gloves throughout this step.
- Split your rounds into chunks using a sharp hatchet or splitting maul. Aim for individual chunks that are roughly 3 to 4 inches on each side. This size is ideal for most offset smokers and kettle grills - large enough to burn slowly and produce sustained smoke, but small enough to fit through a firebox door or sit comfortably on a charcoal bed. For very large rounds, split into halves first, then quarters, then down to your target size. Work with the grain of the wood for cleaner splits and less effort.
- Stack your freshly split chunks on a firewood storage rack immediately after splitting. The key to proper seasoning is airflow. Stack the wood loosely in a crisscross pattern rather than packing it tightly - this allows air to circulate between every piece. Elevating the wood off the ground on a rack prevents moisture absorption from the soil and keeps insects and rot from working their way into your stockpile. Place your rack in a sunny, wind-exposed location for the fastest seasoning results.
- Cover only the top of your woodpile with a tarp or position it under a woodshed roof. This is a mistake many beginners make - they wrap the entire pile in a tarp and trap moisture inside, dramatically slowing seasoning and encouraging mold growth. Leave the sides of the pile completely open. You want rain and snow to be shed from the top while wind continues to pull moisture out of the wood from every other direction. Think of it like a good smoke - you want controlled airflow, not a sealed environment.
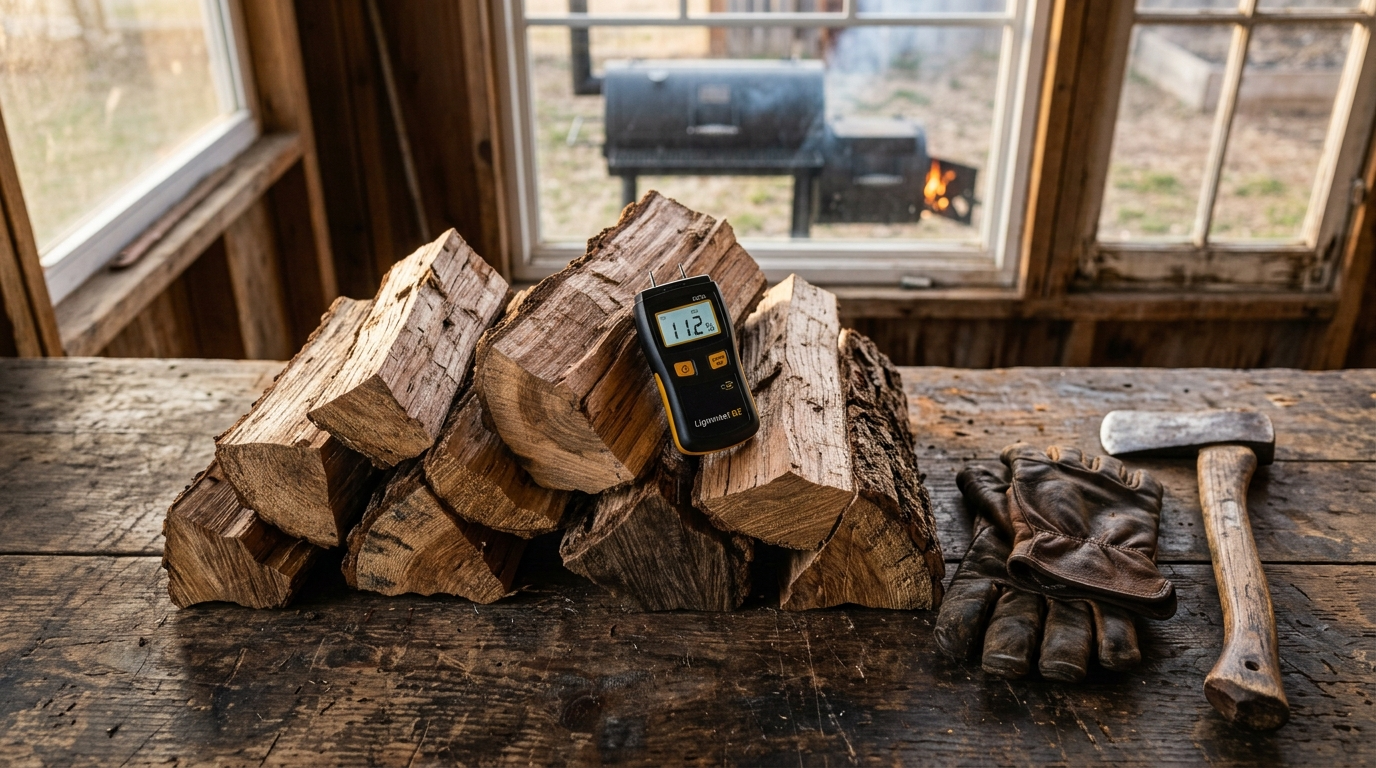
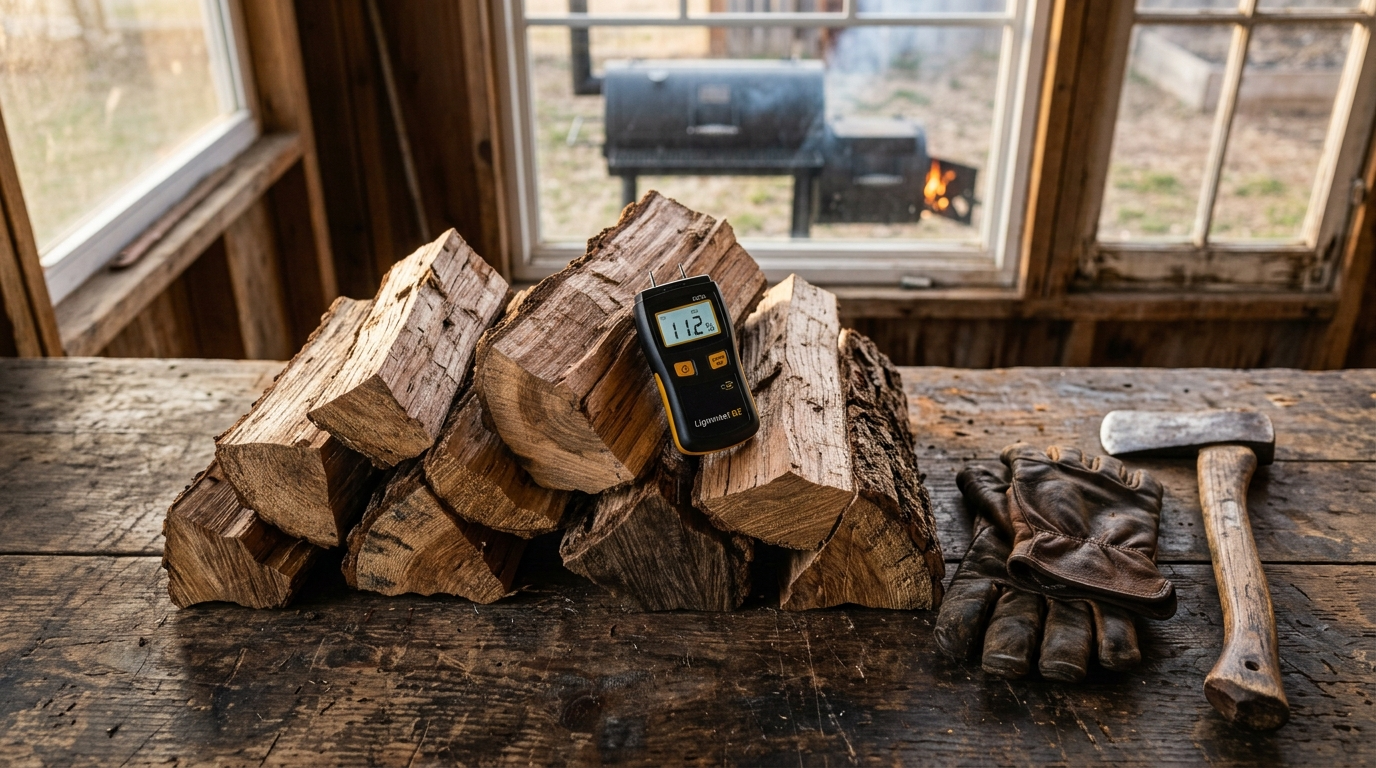
- Wait. This is the hardest step for any enthusiastic pitmaster, but it is non-negotiable. Green wood contains 50 to 60 percent moisture by weight. You need to get that number below 20 percent before the wood is ready to use as smoking chunks. Burning green wood produces thick, acrid white smoke full of creosote that will coat your food in a bitter, harsh flavor and gum up your smoker. Fruitwoods like apple and cherry typically need 6 to 8 months. Dense hardwoods like hickory and post oak need 9 to 12 months. Check every 6 weeks with your moisture meter by inserting the probes into a freshly split surface for the most accurate reading.
- Test your moisture level once you approach the 6-month mark. Insert the moisture meter probes into a fresh split surface on one of your chunks - not the outer face, which dries faster than the interior. A reading at or below 20 percent means your chunks are ready to fire up the grill. A reading between 20 and 30 percent means you need more time. Above 30 percent and you have got several months to go. Document your readings with dates so you understand how your specific wood species and local climate interact - this knowledge makes every future batch better.
- Perform a quality smoke test before relying on your homemade chunks for a major cook. Load up your smoker with a small batch of your seasoned chunks and bring the temp to 225 to 250 degrees Fahrenheit. Watch the smoke coming out of your exhaust vent. Properly seasoned wood burning efficiently produces a thin, pale blue-gray smoke that is barely visible in good lighting. That is the smoke that builds beautiful bark and a deep smoke ring without overpowering bitterness. Thick white billowing smoke means your wood still has too much moisture or your fire needs more oxygen. Adjust your airflow and give the fire time to stabilize before you declare your chunks ready for a real cook.
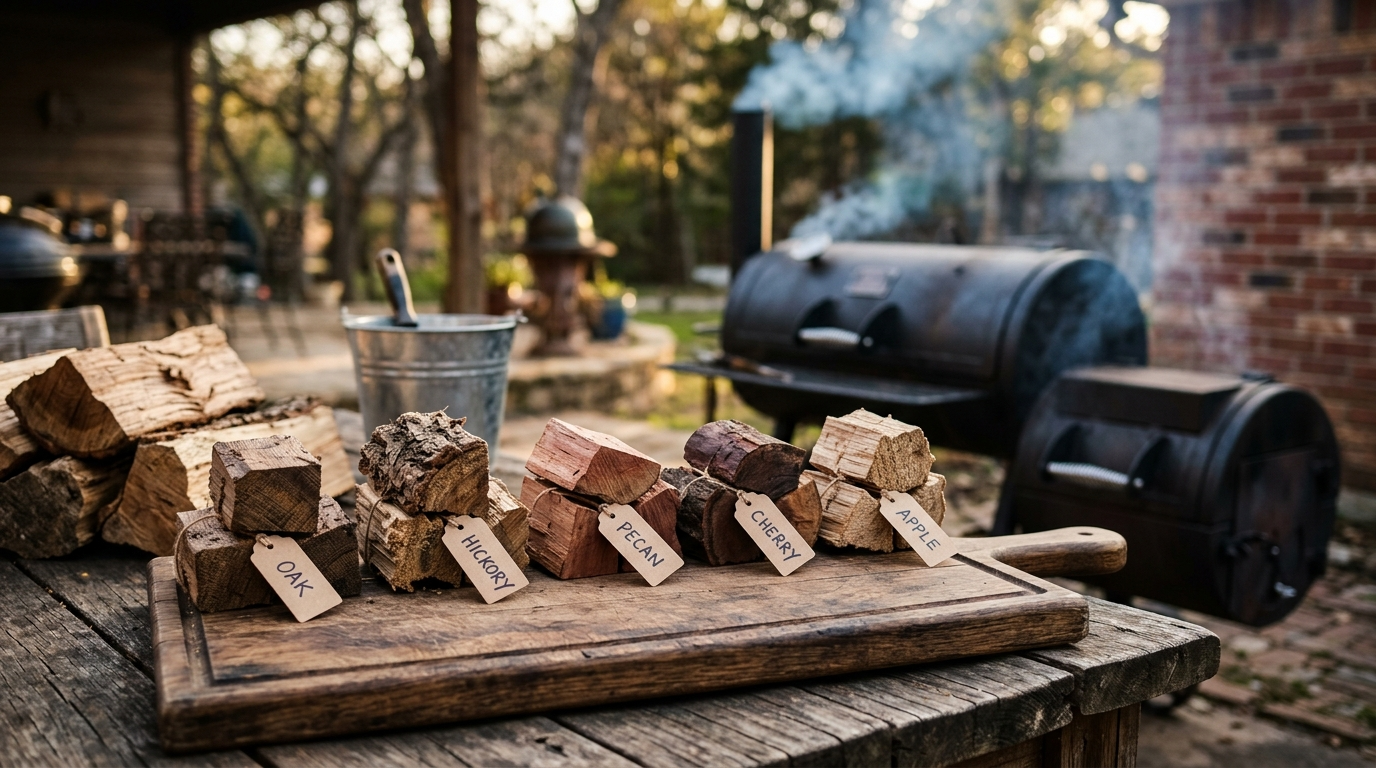
- Store your finished, seasoned chunks in a dry covered area. A covered porch, garage shelf, or woodshed all work well. Keep them elevated off concrete or dirt floors to prevent reabsorption of ground moisture. Properly seasoned and stored hardwood chunks will remain in excellent condition for 2 to 3 years. Label your storage by wood species so you can pair the right smoke to the right protein every time - mild apple and cherry for poultry and pork, bold hickory and oak for beef, and nutty pecan for ribs and whole hogs. Now you are ready to smoke like a true pitmaster.
Learning to make diy smoking wood chunks is one of those skills that separates a backyard griller from a true pitmaster. When you control the wood, you control the smoke, and when you control the smoke, you control the flavor from bark to bone. Store-bought bags have their place, but nothing beats walking out to your woodpile, grabbing a chunk of properly seasoned apple or post oak, and knowing exactly what is going into your smoker.
The process is simpler than most people think, but it does require patience. Green wood needs to season for anywhere from 6 to 12 months depending on the species and your local climate. Dense hardwoods like hickory and mesquite take longer – closer to that 12-month mark – while fruitwoods like cherry or peach can be ready in as little as 6 months. The payoff is wood that burns clean at 225 to 275 degrees Fahrenheit, producing that thin blue smoke that builds a competition-worthy smoke ring on your brisket or ribs.
At GrillMasterHQ, we believe in doing things the right way, even when it takes more time. This guide covers everything from selecting the right trees to splitting and storing your chunks so they are ready to fire up the grill whenever inspiration strikes. Whether you are running a classic offset smoker, a ceramic kamado, or a kettle grill, these homemade chunks will elevate every cook you do.
DIY Smoking Wood Chunks: Make Your Own at Home
Stop buying overpriced bags of wood chunks and start making your own at home. This pitmaster guide walks you through sourcing, splitting, and seasoning diy smoking wood chunks for maximum smoke flavor. Your best bark yet is waiting – fire up the grill today.
Ingredients
| AMOUNT | INGREDIENT | NOTES |
|---|---|---|
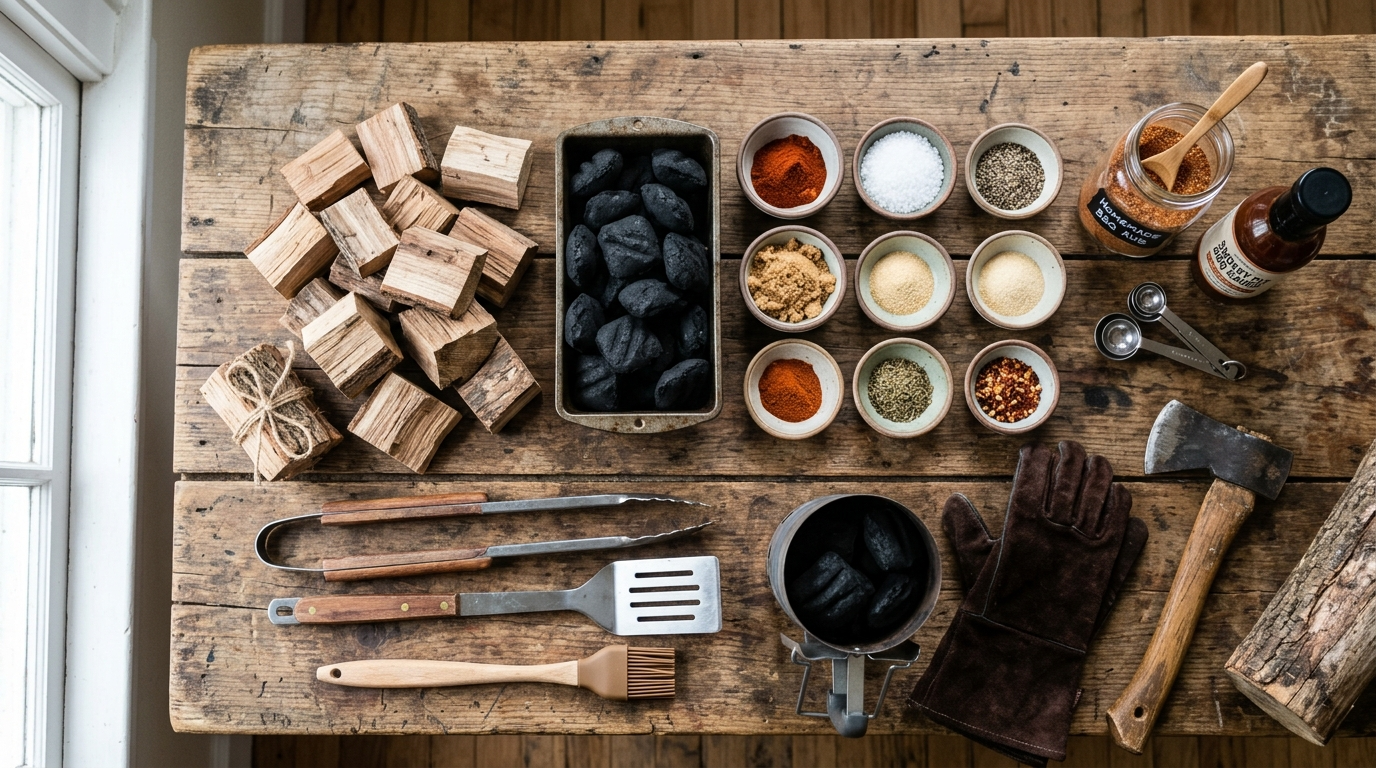
| 1 or more logs | hardwood log rounds – oak, hickory, apple, cherry, or peach | sourced from a known species, never painted, treated, or chemically processed wood |
| 6 to 12 months | seasoning time | varies by species and climate – use a moisture meter to confirm readiness |
| 1 unit | firewood storage rack | keeps wood elevated and allows airflow on all sides |
| 1 unit | tarp or woodshed roof cover | cover the top only, leave sides open for ventilation |
| 1 unit | sharp hatchet or splitting maul | well-sharpened for clean splits and reduced effort |
| 1 unit | wood moisture meter | essential for confirming wood is below 20 percent moisture content before use |
Instructions
Nutrition (per serving)
The BBQ Story Behind This Recipe
Wood smoke and meat have been inseparable since humans first discovered that hanging game over a fire not only cooked it but preserved it and made it taste extraordinary. Long before propane tanks and pellet hoppers, pitmasters across the American South relied entirely on locally sourced hardwoods to do all the work. In Texas Hill Country, post oak was king because it grew everywhere and burned low and slow with a mild, earthy smoke that let the beef speak for itself. In the Carolinas, hickory dominated the pit houses where whole hogs cooked overnight, filling the air with that bold, bacon-like smoke that defines the region to this day.
The tradition of cutting and seasoning your own smoking wood was simply how things were done for generations. A pitmaster worth their salt knew which trees on their property produced the best flavor, when to cut them, and how long to let the wood rest before it was ready for the pit. Commercial wood chunks and chips only became widely available in the late 20th century, and while they offer convenience, they pulled many backyard cooks away from this deeply rooted practice. Today, a growing number of serious enthusiasts are coming back to the old ways, sourcing local fruitwoods from orchards, splitting their own hickory, and building woodpiles that reflect a genuine connection to the craft of low and slow cooking.
Hot Off the Grill
A Closer Look
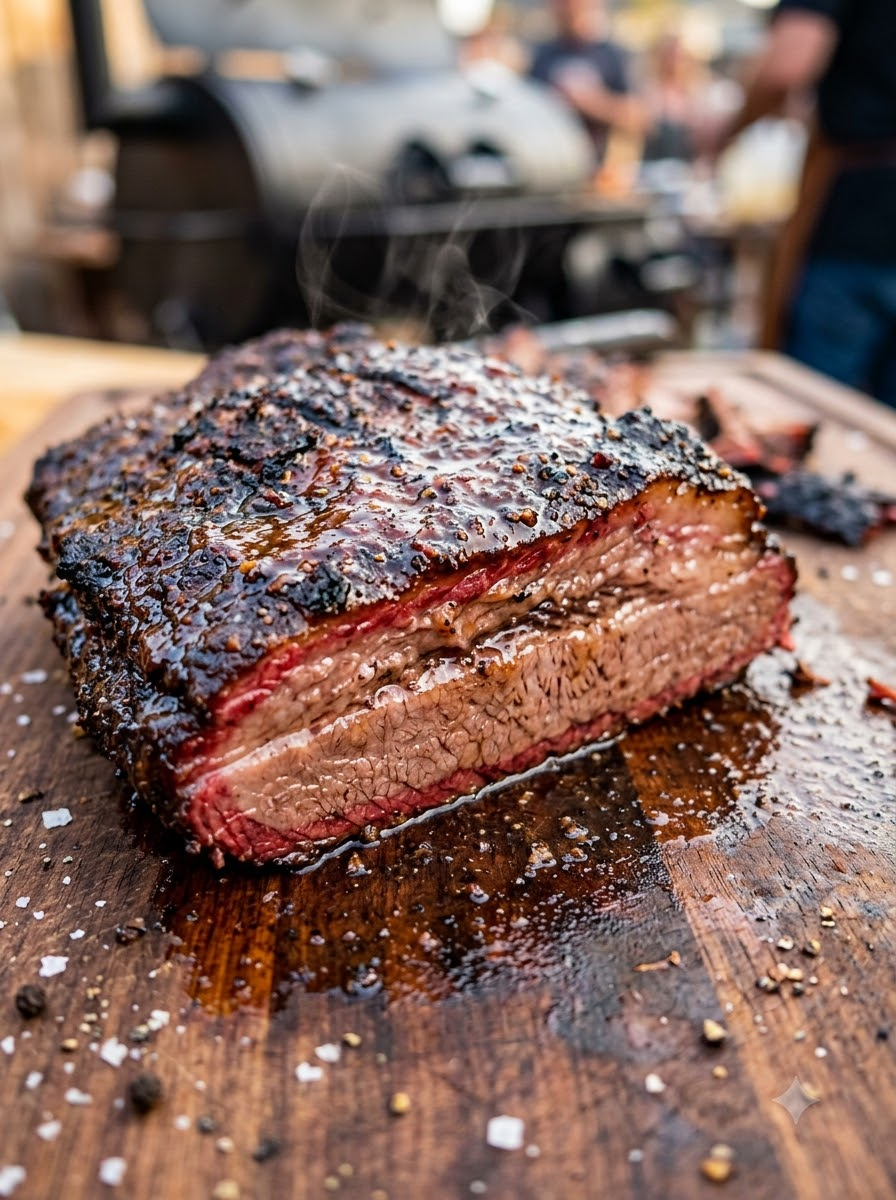
Pitmaster Tips for Best Results
- Always split a fresh surface and insert your moisture meter probes there rather than on the outer dried face of the chunk – exterior readings can be 10 to 15 percent lower than the true interior moisture level and will give you a false green light.
- If you are sourcing wood from an arborist or tree service, ask specifically what species they are removing before loading your truck. Many well-meaning people hand off elm, eucalyptus, or pine without realizing those woods are unsafe for food smoking.
- Fruitwood chunks smaller than 2 inches on a side tend to burn too fast in an offset smoker and can spike your pit temp above your 225 to 250 degree Fahrenheit target. Keep your chunks at the 3 to 4 inch size for consistent low and slow burns.
- In humid climates like the Gulf Coast or Pacific Northwest, seasoning times can run 2 to 3 months longer than in drier regions. If your moisture readings are not dropping as fast as expected, try moving the pile to a sunnier, more wind-exposed spot or add more ventilation gaps in your stacking pattern.
- Mix species in the same cook for complex layered smoke flavor. A combination of one-third hickory for backbone and two-thirds apple for sweetness is a classic pitmaster move that works beautifully on pork ribs, pulled pork, and chicken thighs.
🔧 Pitmaster Equipment
Sharp Hatchet or Splitting Maul: Used to split seasoned logs down to chunk-sized pieces roughly 3 to 4 inches on each side. A sharp edge makes clean splits and reduces wasted wood.
Chainsaw or Hand Saw: Needed to cut logs into manageable rounds before splitting. A chainsaw speeds up the process significantly for larger quantities of wood.
Moisture Meter: A wood moisture meter tells you exactly when your chunks are ready to use. You want a moisture content of 20 percent or below for clean, efficient burning.
Firewood Storage Rack: Keeps your wood off the ground, promotes airflow on all sides, and protects your investment as the wood seasons properly over months.
Heavy Leather Gloves: Protects your hands during splitting and handling. Freshly cut wood can have sharp edges and splinters that will end your cook day fast.
Tarp or Woodshed Cover: Covers the top of your woodpile to shed rain and snow while leaving the sides open for airflow. Fully enclosed storage actually traps moisture and slows seasoning.
Offset Smoker or Charcoal Grill: The best vessel for testing your finished chunks. A good offset smoker lets you add chunks directly to the firebox and monitor smoke quality closely.
Instant Read Thermometer: When testing your chunks on a real cook, you need accurate internal temp readings to know your smoke and heat are performing correctly.
🔥 Variations
Fruitwood Blend for Poultry and Pork: Combine equal parts seasoned apple, cherry, and peach chunks for a sweet, fruity smoke profile that complements poultry and pork without overwhelming the meat. Use 2 to 3 chunks per hour in an offset smoker running at 225 to 250 degrees Fahrenheit for a gentle smoke that builds color and bark without bitterness.
Texas-Style Oak and Pecan Blend: Split and season post oak and pecan together and store them as a blended pile. When it is time to fire up the grill, use a 2-to-1 ratio of oak to pecan for a bold, earthy smoke that is the backbone of Central Texas BBQ brisket. This blend works at higher temps too – 275 degrees Fahrenheit for a faster cook without sacrificing that iconic smoke ring.
Backyard Orchard Rescue Wood: If you have fruit trees in your yard that need pruning or removal, do not throw those branches away. Apple, pear, plum, and peach all make outstanding smoking wood. Even branches as thin as 2 inches in diameter can be split into small chunks after seasoning. This is the most sustainable and cost-free source of premium smoking wood available to any homeowner with a fruit tree.
Wet Chunk Method for Charcoal Kettles: For charcoal kettle grills where chunks sometimes ignite too quickly and produce harsh smoke, soak your seasoned chunks in water for 30 to 45 minutes before placing them on the coals. This slows combustion and extends the smoking window during shorter cooks like chicken pieces or fish fillets running at 325 to 350 degrees Fahrenheit. Note that this technique is only recommended for kettle setups – in an offset smoker it can lower your pit temp and produce excess steam.
❓ Pitmaster FAQ
How long does it take to season homemade smoking wood chunks?
Most fruitwoods like apple and cherry are ready in 6 to 8 months. Dense hardwoods like hickory, oak, and mesquite need 9 to 12 months. Always confirm with a moisture meter – you want a reading of 20 percent or below on a freshly split surface before using the wood in your smoker.
What is the best wood species to start with for diy smoking wood chunks?
Oak is the best starting point for most pitmasters. It is widely available, burns predictably at low and slow temps of 225 to 250 degrees Fahrenheit, produces a mild earthy smoke that pairs with nearly every protein, and seasons relatively fast compared to other dense hardwoods. Once you are comfortable with oak, branch out into hickory for beef and fruitwoods for pork and poultry.
Can I use wood from any tree in my yard to make smoking chunks?
Absolutely not. You must positively identify the species before burning any wood near food. Safe options include oak, hickory, maple, pecan, apple, cherry, peach, pear, and alder. Never use pine, cedar, cypress, elm, eucalyptus, or any wood that may have been sprayed with pesticides or herbicides. When in doubt, do not use it.
What does good smoke look like when using homemade chunks?
Properly seasoned wood burning efficiently in a well-managed fire produces thin, pale blue-gray smoke that is barely visible. That thin blue smoke is what lays down a beautiful smoke ring and builds deep bark without bitterness. Thick white or black smoke indicates wet wood, restricted airflow, or a smothered fire – all conditions that will give your food an acrid, creosote-heavy flavor.
How many chunks should I use per hour of smoking?
A general guideline is 2 to 3 chunks of 3 to 4 inch hardwood per hour of cooking in an offset smoker running at 225 to 250 degrees Fahrenheit. For a charcoal kettle using indirect heat, start with 2 chunks and add 1 more every 45 to 60 minutes as needed. Your goal is sustained thin blue smoke, not a dramatic plume – less is more when it comes to wood smoke flavor.
Do I need to soak my homemade smoking wood chunks before use?
For offset smokers and most dedicated smokers, do not soak your chunks. Soaking properly seasoned wood just creates steam and can actually lower your pit temp during those critical early hours of a low and slow cook. Soaking is only worth considering for charcoal kettle setups where chunks are placed directly on hot coals and tend to ignite rather than smolder. Even then, a 30 to 45 minute soak is the maximum you need.