Ingredients
Method
- Unbox your new charcoal grill completely and remove all packaging materials, stickers, tags, and any plastic components. Give the entire interior of the grill a thorough inspection. Wipe down the inside of the grill body, the lid interior, and the cooking grates with a dry lint-free cloth to remove any loose metal shavings, dust, or factory debris. Do not use soap or water at this stage as moisture is the enemy of the seasoning process. This dry wipe-down takes about five minutes and sets you up for a clean burn.
- Apply your first thin coat of high smoke point oil to every interior metal surface. Use a lint-free cloth or paper towel with heat-resistant gloves and coat the inside walls of the grill body, the inside of the lid, the charcoal grate, and most importantly the cooking grates on both sides. The key word here is thin. You want a barely visible sheen of oil, not a dripping wet surface. Too much oil will pool, smoke excessively, and create a sticky residue rather than a hard seasoned coating. Think of it like wiping the oil on and then wiping most of it back off.
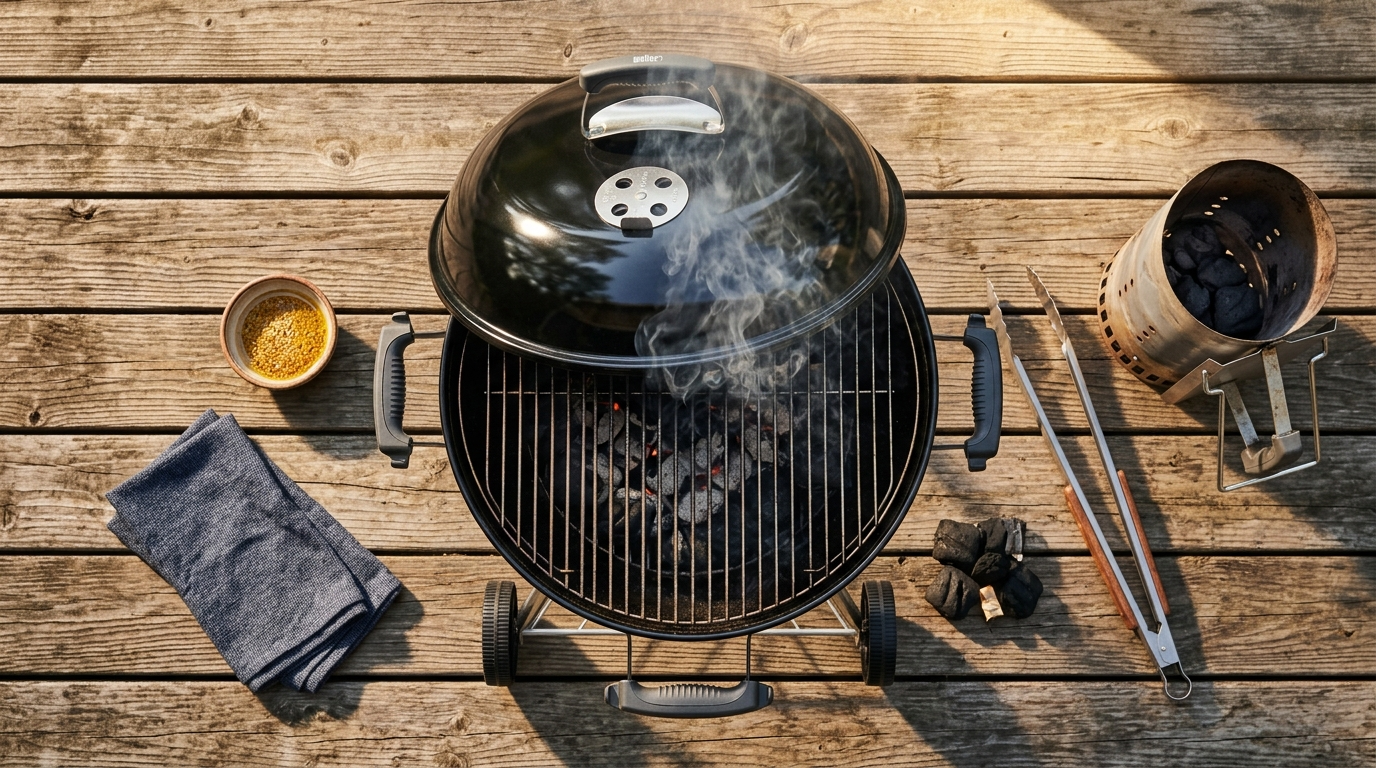
- Fill your chimney starter to the top with natural lump charcoal and light it using newspaper or a fire starter cube underneath. Allow the coals to fully ignite and ash over completely, which takes about 15 to 20 minutes. You are looking for glowing orange coals with gray ash coating the outside of each piece. Avoid using lighter fluid at any stage of the seasoning process as the petroleum chemicals will contaminate your coating and leave an off flavor baked into the metal.
- Carefully pour your fully lit coals into the charcoal basket or coal bed of your grill. Spread them evenly across the bottom to create consistent heat distribution across the entire cooking surface. Place your oiled cooking grates into position over the coals. Open all vents on both the bottom of the grill and the top lid vent to 100 percent open. This maximum airflow will drive your grill up to the target seasoning temperature of 400 to 500 degrees Fahrenheit quickly and efficiently.
- Close the lid and let the grill fire up and climb to temperature. Monitor the built-in thermometer or place your grill thermometer at grate level. Once you hit 400 degrees Fahrenheit, allow the grill to hold that temperature for a full 45 minutes to one hour. During this time you will see smoke pouring out of the vents. This is completely normal and expected. That smoke is the oil polymerizing and bonding to the metal and any residual factory coatings burning off. The grill will smoke heavily for the first 15 to 20 minutes and then taper off significantly.
- At the 45 minute mark, use heat-resistant gloves and long tongs to carefully lift the cooking grates out and set them aside on a heat-safe surface. Apply a second thin coat of oil to the interior walls and lid using your cloth, working quickly since everything is extremely hot. Re-oil the cooking grates on both sides as well. This second coat deepens the seasoning layer and ensures complete coverage on any spots the first coat may have missed. Place the grates back in position and close the lid.
- Allow the grill to continue burning at 400 to 500 degrees Fahrenheit for another 30 to 45 minutes with the second coat of oil in place. You should see significantly less smoke this time around compared to the first burn, which tells you the process is working correctly. The interior of your grill will begin to darken from a raw silver or black metal to a deeper matte black or dark brown color. That color change is your visual cue that the seasoning is taking hold properly.
- After the second burn cycle is complete, close your top and bottom vents to about 25 percent open to begin slowing the fire down. Do not use water to cool the grill. Allow the charcoal to naturally die out and the grill to cool down on its own over the course of one to two hours. Rapid temperature changes from water can warp the metal and crack welds, undoing all the hard work you just put in. Patience is a core pitmaster virtue, and it starts right here.
- Once the grill has fully cooled to ambient temperature, open the lid and inspect your work. The interior should have a darker, more uniform matte finish compared to when you started. The cooking grates should feel smooth with a subtle sheen and should not be sticky or tacky to the touch. If any areas still look raw or uncoated, apply a third thin coat of oil by hand and allow it to air cure for one hour before your first real cook. Your grill is now seasoned and ready to produce legendary BBQ.
- Before your first actual cook, give the cooking grates one final wipe with an oiled cloth just before placing your food down. This step reinforces the non-stick surface and adds that last bit of protection. From here on out, lightly oiling your grates before every cook and doing a quick brush clean after each session will maintain your seasoning layer and keep your grill performing at its absolute best for years to come. Now fire up the grill and let the real cooking begin.
Tried this recipe?Let us know how it was!