
How to Season a New Charcoal Grill the Right Way
Ingredients
Method
- Unbox your new charcoal grill completely and remove all packaging materials, stickers, tags, and any plastic components. Give the entire interior of the grill a thorough inspection. Wipe down the inside of the grill body, the lid interior, and the cooking grates with a dry lint-free cloth to remove any loose metal shavings, dust, or factory debris. Do not use soap or water at this stage as moisture is the enemy of the seasoning process. This dry wipe-down takes about five minutes and sets you up for a clean burn.
- Apply your first thin coat of high smoke point oil to every interior metal surface. Use a lint-free cloth or paper towel with heat-resistant gloves and coat the inside walls of the grill body, the inside of the lid, the charcoal grate, and most importantly the cooking grates on both sides. The key word here is thin. You want a barely visible sheen of oil, not a dripping wet surface. Too much oil will pool, smoke excessively, and create a sticky residue rather than a hard seasoned coating. Think of it like wiping the oil on and then wiping most of it back off.
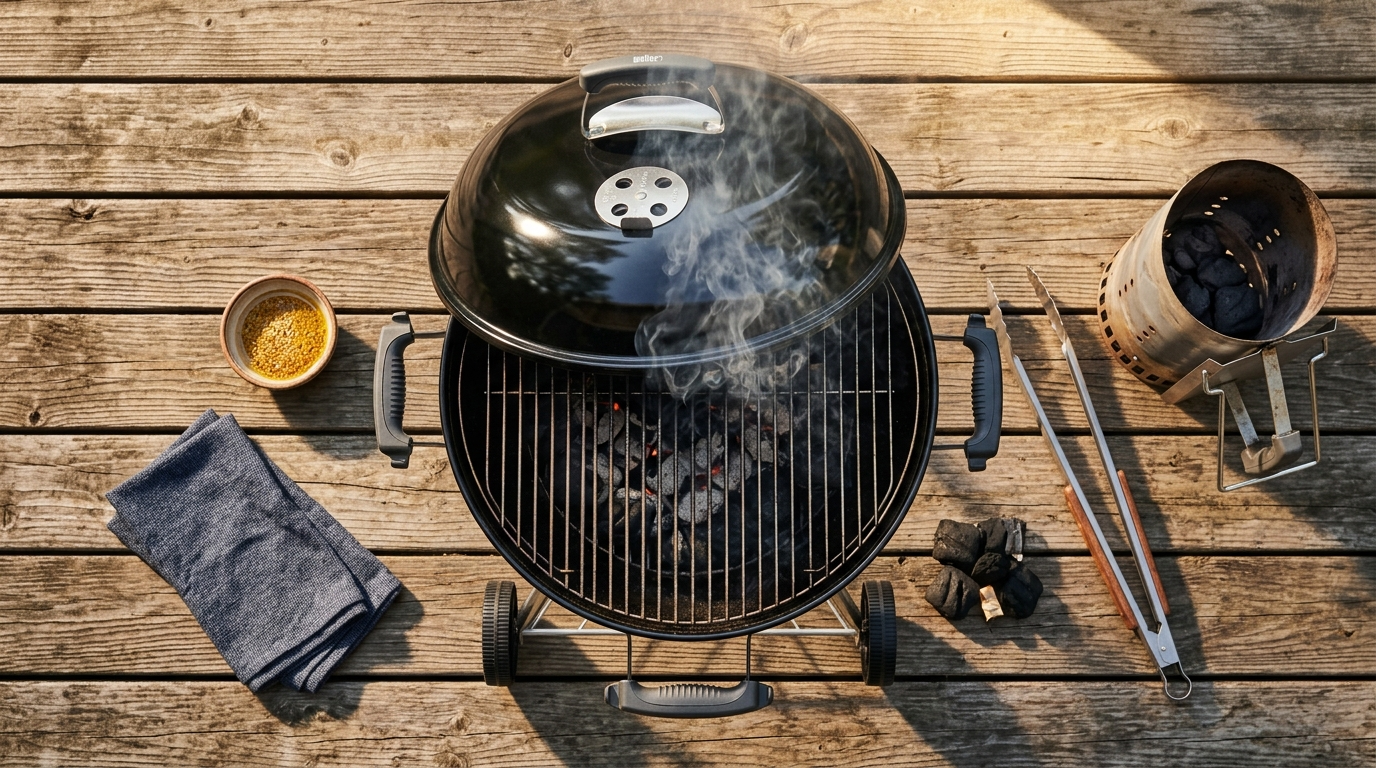
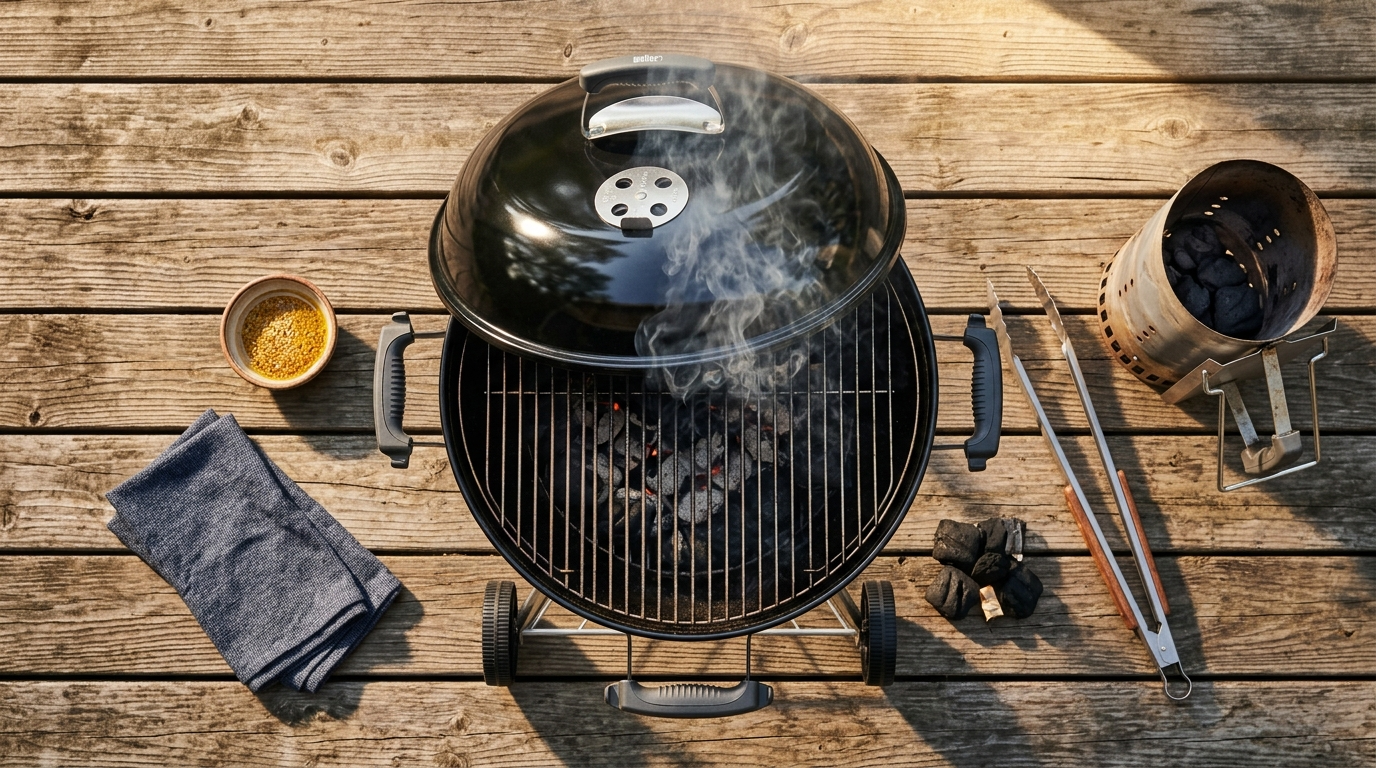
- Fill your chimney starter to the top with natural lump charcoal and light it using newspaper or a fire starter cube underneath. Allow the coals to fully ignite and ash over completely, which takes about 15 to 20 minutes. You are looking for glowing orange coals with gray ash coating the outside of each piece. Avoid using lighter fluid at any stage of the seasoning process as the petroleum chemicals will contaminate your coating and leave an off flavor baked into the metal.
- Carefully pour your fully lit coals into the charcoal basket or coal bed of your grill. Spread them evenly across the bottom to create consistent heat distribution across the entire cooking surface. Place your oiled cooking grates into position over the coals. Open all vents on both the bottom of the grill and the top lid vent to 100 percent open. This maximum airflow will drive your grill up to the target seasoning temperature of 400 to 500 degrees Fahrenheit quickly and efficiently.
- Close the lid and let the grill fire up and climb to temperature. Monitor the built-in thermometer or place your grill thermometer at grate level. Once you hit 400 degrees Fahrenheit, allow the grill to hold that temperature for a full 45 minutes to one hour. During this time you will see smoke pouring out of the vents. This is completely normal and expected. That smoke is the oil polymerizing and bonding to the metal and any residual factory coatings burning off. The grill will smoke heavily for the first 15 to 20 minutes and then taper off significantly.
- At the 45 minute mark, use heat-resistant gloves and long tongs to carefully lift the cooking grates out and set them aside on a heat-safe surface. Apply a second thin coat of oil to the interior walls and lid using your cloth, working quickly since everything is extremely hot. Re-oil the cooking grates on both sides as well. This second coat deepens the seasoning layer and ensures complete coverage on any spots the first coat may have missed. Place the grates back in position and close the lid.
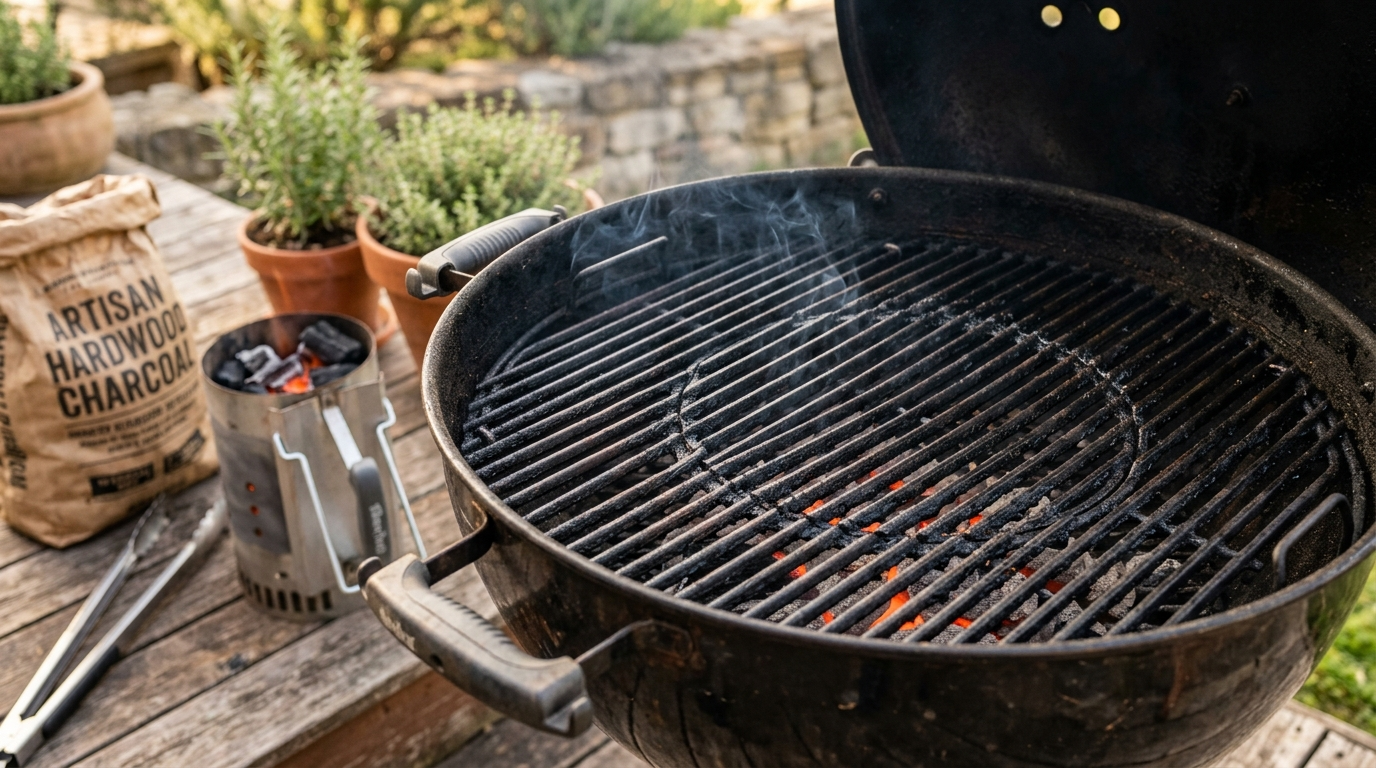
- Allow the grill to continue burning at 400 to 500 degrees Fahrenheit for another 30 to 45 minutes with the second coat of oil in place. You should see significantly less smoke this time around compared to the first burn, which tells you the process is working correctly. The interior of your grill will begin to darken from a raw silver or black metal to a deeper matte black or dark brown color. That color change is your visual cue that the seasoning is taking hold properly.
- After the second burn cycle is complete, close your top and bottom vents to about 25 percent open to begin slowing the fire down. Do not use water to cool the grill. Allow the charcoal to naturally die out and the grill to cool down on its own over the course of one to two hours. Rapid temperature changes from water can warp the metal and crack welds, undoing all the hard work you just put in. Patience is a core pitmaster virtue, and it starts right here.
- Once the grill has fully cooled to ambient temperature, open the lid and inspect your work. The interior should have a darker, more uniform matte finish compared to when you started. The cooking grates should feel smooth with a subtle sheen and should not be sticky or tacky to the touch. If any areas still look raw or uncoated, apply a third thin coat of oil by hand and allow it to air cure for one hour before your first real cook. Your grill is now seasoned and ready to produce legendary BBQ.
- Before your first actual cook, give the cooking grates one final wipe with an oiled cloth just before placing your food down. This step reinforces the non-stick surface and adds that last bit of protection. From here on out, lightly oiling your grates before every cook and doing a quick brush clean after each session will maintain your seasoning layer and keep your grill performing at its absolute best for years to come. Now fire up the grill and let the real cooking begin.
Knowing how to season a new charcoal grill is the foundational skill every backyard pitmaster must master before throwing a single rack of ribs over the coals. That brand new grill sitting in your backyard looks beautiful, but it is covered in manufacturing oils, metal dust, and factory coatings that have no business touching your food. Skipping this step is one of the most common mistakes new grillers make, and it can ruin both your food and your grill long before it ever reaches its potential.
Seasoning your grill is essentially the same concept as seasoning a cast iron skillet. You are using high heat and oil to polymerize a protective coating onto every metal surface inside the grill. This process runs at temperatures between 400 and 500 degrees Fahrenheit for roughly one to two hours, burning off any contaminants and bonding a thin layer of carbonized oil directly into the metal. The result is a non-stick, rust-resistant surface that will make every cook cleaner, tastier, and more efficient from day one.
At GrillMasterHQ, we have seen too many pitmasters wonder why their first cook tasted metallic or why rust started forming on a grill just a few months old. The answer is almost always the same: they never seasoned the grill. Do not let that be your story. Follow this guide step by step, fire up the grill with intention, and your charcoal cooker will reward you with years of incredible BBQ, deep smoke rings, and bark that makes your guests ask what your secret is.
How to Season a New Charcoal Grill the Right Way
Learning how to season a new charcoal grill is the single most important step before you ever cook a meal. This process burns off factory residue, builds a protective layer, and primes your grill for legendary BBQ. Fire up the grill today and start your pit right.
Ingredients
| AMOUNT | INGREDIENT | NOTES |
|---|---|---|
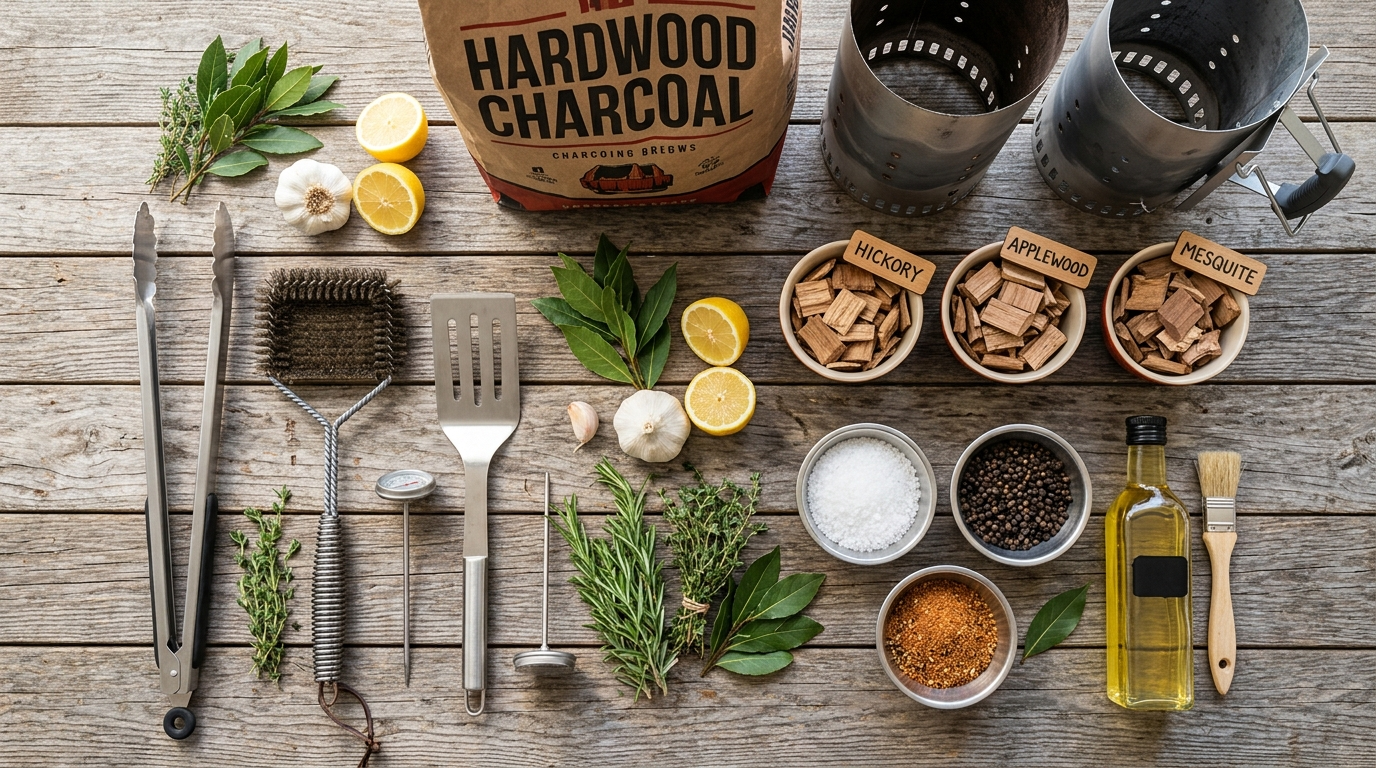
| 1 full load | natural lump charcoal | enough to fill your chimney starter twice for a sustained high-heat burn |
| 3 tablespoons | flaxseed oil or vegetable shortening | high smoke point oil is critical for proper polymerization onto metal surfaces |
| 4 sheets | lint-free cloth or paper towels | for applying oil in thin even coats across all interior grill surfaces |
| 1 full bag | natural hardwood charcoal | optional second load for extended seasoning on large offset smokers or barrel grills |
Instructions
Nutrition (per serving)
The BBQ Story Behind This Recipe
The tradition of seasoning cooking surfaces goes back centuries, long before the modern backyard grill ever existed. Cast iron cookware used over open fires in colonial kitchens required the same fundamental treatment we apply to our grills today. Cooks discovered early on that a well-oiled, heat-treated surface resisted rust, released food more easily, and imparted a cleaner, more neutral flavor that let the natural taste of the meat shine through. That wisdom has been passed down through generations of pitmasters, campfire cooks, and backyard grillers across every region of America.
In the Southern BBQ tradition where low and slow cooking reigns supreme, the condition of your pit is considered a direct reflection of your character as a cook. Legendary pitmasters in Texas, the Carolinas, and Kansas City all share one common habit: they treat their equipment with the same respect they give their meat. A well-seasoned pit holds heat more evenly, develops better airflow patterns over time, and builds up a layer of seasoned carbonization that actually contributes subtle depth to every cook. When you season a new charcoal grill, you are not just performing maintenance. You are beginning a relationship with your pit that will only get better with time.
Hot Off the Grill
A Closer Look
Pitmaster Tips for Best Results
- Always choose a high smoke point oil for seasoning. Flaxseed oil tops out around 225 degrees Fahrenheit smoke point but polymerizes exceptionally hard. Vegetable shortening and Crisco work great at grilling temps and are easier to find. Avoid butter, olive oil, or any low smoke point fat as they will turn rancid and gummy rather than hardening into a proper seasoned coat.
- Season your grill on a day with mild weather and good ventilation. Wind can cause temperature spikes and uneven heat distribution during the burn-in process. If you are working in a covered area, make sure there is plenty of airflow since the grill will produce significant smoke for the first 20 to 30 minutes of the seasoning process.
- For large offset smokers, the seasoning process should be extended to cover the firebox chamber separately from the main cook chamber. Oil and burn each section individually to ensure full coverage. Offset smoker fireboxes run at much higher temperatures and benefit from an additional third coat of oil during the seasoning process.
- Never skip seasoning a new grill because it looks clean from the factory. Manufacturing facilities use machine oils, metal-cutting lubricants, and protective coatings to prevent rust during shipping and storage. These chemicals are not food safe and must be burned off completely before your first cook. The seasoning process is not optional. It is non-negotiable.
- Maintain your seasoning over time by lightly oiling the cooking grates before every single cook and doing a post-cook burn-off at high heat for 10 to 15 minutes to carbonize any food residue. Every six months, inspect the interior of your grill for any rust spots or areas where the seasoning has worn thin, and re-season those sections with a fresh coat of oil and a one-hour burn at 450 degrees Fahrenheit.
🔧 Pitmaster Equipment
New Charcoal Grill: The subject of the seasoning process. Works for kettle grills, barrel grills, offset smokers, and ceramic kamado style cookers.
Chimney Starter: The fastest and most reliable way to light charcoal without lighter fluid chemicals that interfere with the seasoning process.
High Smoke Point Cooking Oil: Flaxseed, vegetable, or Crisco shortening bonds best to metal surfaces at high heat for a durable seasoning layer.
Long Handle Grill Brush or Lint-Free Cloth: Used to apply oil evenly across all interior surfaces including grates, walls, and lid interior without burning your hands.
Heat-Resistant BBQ Gloves: Protect your hands while oiling a warm grill surface and managing live charcoal during the burn-in process.
Instant Read Thermometer or Grill Thermometer: Confirms your grill is holding the correct seasoning temperature between 400 and 500 degrees Fahrenheit throughout the process.
Natural Lump Charcoal: Burns cleaner than briquettes with fewer additives, making it the ideal fuel for your first seasoning burn.
Long Tongs: Keep your hands safe while managing the fire, adjusting coals, and positioning grates during the high-heat seasoning phase.
🔥 Variations
Ceramic Kamado Grill Seasoning: Kamado style grills like the Big Green Egg or Kamado Joe require a slightly modified approach. The ceramic walls do not need oil coating since they are non-metal, but the cast iron cooking grates absolutely do. Focus your oiling process on the grates, cast iron components, and any steel parts. Run your first seasoning burn at a lower temp of 300 to 350 degrees Fahrenheit for 30 minutes before stepping up to 450 degrees Fahrenheit for the main seasoning cycle to avoid thermal shocking the ceramic.
Offset Smoker Seasoning: Offset smokers have more surface area and thicker steel that requires a longer seasoning process. Plan for a full two to three hour burn at 250 to 300 degrees Fahrenheit in the main chamber using the firebox, followed by a second run at 400 degrees Fahrenheit. Oil the cooking grates, smoke chamber walls, baffle plates, and the entire firebox interior. The low and slow approach to seasoning an offset smoker mirrors the low and slow cooking style it was built for.
Barrel or Drum Smoker Seasoning: Ugly drum smokers and barrel cookers have large interior surface areas that need thorough oiling. Use a spray bottle filled with vegetable oil to coat the interior walls more efficiently. Run your seasoning burn at 300 degrees Fahrenheit for 45 minutes then crank it up to 400 to 450 degrees Fahrenheit for another 45 minutes. The drum shape holds heat exceptionally well so you will burn through less charcoal during the seasoning process than you might expect.
Kettle Grill Quick Season: If you have a standard kettle grill like a Weber and need to season it quickly before a cookout, run a compressed seasoning cycle. Oil all surfaces thoroughly and run the grill at 450 degrees Fahrenheit with all vents open for 30 minutes with one heavy coat of oil. It is not as thorough as a full two-hour seasoning but it burns off factory residue and gets a base coat in place. Follow up with a full seasoning session within the next week for complete protection.
❓ Pitmaster FAQ
Do I really need to season a brand new charcoal grill?
Absolutely yes, and this is non-negotiable. New grills come from the factory coated in manufacturing oils, metal dust, and protective anti-rust compounds that are not food safe. Seasoning burns all of that off completely and replaces it with a food-safe protective coating. Skipping this step means those chemicals end up in your food on your very first cook.
What is the best oil to season a charcoal grill?
Flaxseed oil is the gold standard because it polymerizes into an extremely hard coating similar to porcelain. Vegetable shortening and Crisco are excellent budget-friendly alternatives that work very well at grilling temperatures. Avoid olive oil, coconut oil, and butter as they have lower smoke points and will turn rancid and gummy rather than forming a proper hard seasoning layer.
How long does it take to season a new charcoal grill?
Plan for a total time of one and a half to two hours of active burn time plus another one to two hours for the grill to cool down completely on its own. Do not rush the cooling phase by using water as rapid temperature changes can warp the metal body of the grill and damage welds. Budget a full half day for the complete seasoning and cooling process.
How do I know when my grill is properly seasoned?
The inside of your grill should transition from a raw metal color to a darker matte black or deep brown tone. The cooking grates should feel smooth and slightly slick but not sticky or tacky. If you press a clean paper towel against the grates after cooling and it comes away mostly clean with only a faint dark smudge, your seasoning coat has set properly and you are ready to cook.
Can I use lighter fluid to light charcoal for the seasoning burn?
Do not use lighter fluid for the seasoning process or for any cook on a newly seasoned grill. Lighter fluid contains petroleum-based chemicals that will contaminate your fresh seasoning coat and bake a chemical residue into the metal. Use a chimney starter with newspaper or a natural fire starter cube instead. This gives you a clean, chemical-free ignition every single time.
How often should I re-season my charcoal grill?
A full re-seasoning should happen once or twice per year depending on how frequently you cook and how well you maintain the grill between sessions. Lightly oiling your grates before every cook and doing a post-cook burn-off will significantly extend the time between full re-seasoning sessions. Any time you notice rust developing or the interior coating looking worn and patchy, it is time for a fresh seasoning cycle.