Ingredients
Method
- SPATCHCOCK THE CHICKEN - Place your whole chicken breast-side down on a sturdy cutting board. Using sharp kitchen shears, cut firmly along both sides of the backbone from the tail end straight up to the neck cavity. Remove and discard the backbone - or save it for stock. Flip the bird breast-side up and press down firmly with the heel of both hands directly on the breastbone until you hear and feel it crack flat. The bird should now lay completely flat. Pat it thoroughly dry with paper towels - this step is non-negotiable for getting crispy skin.
- DRY BRINE OVERNIGHT (HIGHLY RECOMMENDED) - Sprinkle 2 teaspoons of kosher salt evenly over every surface of the spatchcocked chicken including under the breast skin if you can gently separate it. Place the bird uncovered on a wire rack set over a sheet pan and refrigerate for 8 to 24 hours. This dry brine draws out surface moisture, seasons the meat deeply, and allows the skin to dry out in the refrigerator so it crisps dramatically better during the cook. If you are short on time, even 1 hour of uncovered air drying in the fridge makes a meaningful difference.
- BUILD YOUR FIRE AND SET UP TWO-ZONE HEAT - About 45 minutes before cook time, fire up your charcoal grill or smoker. For a kettle grill, bank a full chimney of lit charcoal to one side of the grill to create a two-zone setup - direct high heat on one side and an empty indirect zone on the other. Place an aluminum drip pan filled halfway with water on the indirect side directly on the charcoal grate. Bring the indirect zone temperature to a steady 225 to 250 degrees Fahrenheit measured at grate level. Add 2 to 3 cherry or applewood chunks directly to the hot coals just before the bird goes on.
- SEASON THE BIRD - Remove the chicken from the refrigerator 30 minutes before it goes on the smoker to take the chill off the surface. In a small bowl, combine the smoked paprika, garlic powder, onion powder, black pepper, brown sugar, dried oregano, and cayenne. Drizzle the oil over every surface of the chicken and rub it in evenly so the skin is lightly coated. If using butter, slide small pats under the breast skin directly against the meat. Apply the spice rub generously over the entire surface of the bird - top, bottom, under the skin where accessible. Press it in firmly so it adheres well.
- LOW AND SLOW SMOKING PHASE - Place the spatchcocked chicken skin-side up on the indirect side of your grill over the drip pan. Do not place it over direct heat. Close the lid and maintain a cooking temperature of 225 to 250 degrees Fahrenheit. Let the bird smoke low and slow for 60 to 90 minutes without opening the lid any more than necessary. You are looking for the wood smoke to penetrate the meat and develop that beautiful pink smoke ring just under the skin. Replenish coals as needed to maintain temp. The skin will look pale and rubbery at this stage - that is perfectly normal and expected.
- MONITOR INTERNAL TEMP AND WATCH THE BARK - At the 60-minute mark, insert your instant read thermometer into the thickest part of the breast without touching bone. You are checking progress - you want the breast to reach about 140 to 145 degrees Fahrenheit before moving to the finishing phase. You should also be seeing the rub start to set into a darkening, tacky surface that will become your bark. If you are running a charcoal setup and your temps have dropped, add a small handful of fresh lit coals to bring it back to 225 to 250 degrees.
- HIGH HEAT FINISHING PHASE - Once the breast reads 145 to 150 degrees Fahrenheit internally, it is time to crank up the heat to finish and crisp the skin. On a charcoal kettle, add more lit coals and open the vents fully to bring the temperature up to 375 to 400 degrees Fahrenheit. On an offset or kamado, dial in the vents to climb to that same 375-degree range. Keep the chicken on the indirect side but the increased ambient heat will blast that skin into a deep golden, mahogany, crackling finish over the next 20 to 30 minutes. Watch it carefully at this stage.
- PULL AT PERFECT INTERNAL TEMP - Check the internal temperature frequently during the finishing phase. Insert your instant read thermometer into the thickest part of the breast avoiding the bone. Pull the chicken off the smoker when the breast reads 160 degrees Fahrenheit - carryover cooking will bring it up to the USDA safe temperature of 165 degrees Fahrenheit while it rests. Also check the thigh - it should read at least 170 to 175 degrees Fahrenheit for best texture in the dark meat. If the thigh is not there yet but the breast is at 160, tent loosely with foil and give it another 5 to 10 minutes.
- REST THE MEAT - This step is not optional. Transfer the finished spatchcock smoked chicken to a clean cutting board and tent it loosely with aluminum foil. Rest the meat for a full 10 to 15 minutes before carving. Resting allows the muscle fibers to relax and reabsorb the juices that have been pushed to the center during cooking. Cut into it too soon and you will see all those precious juices run out onto the cutting board. Use those 15 minutes to set up your sides and grab a cold drink - you earned it.
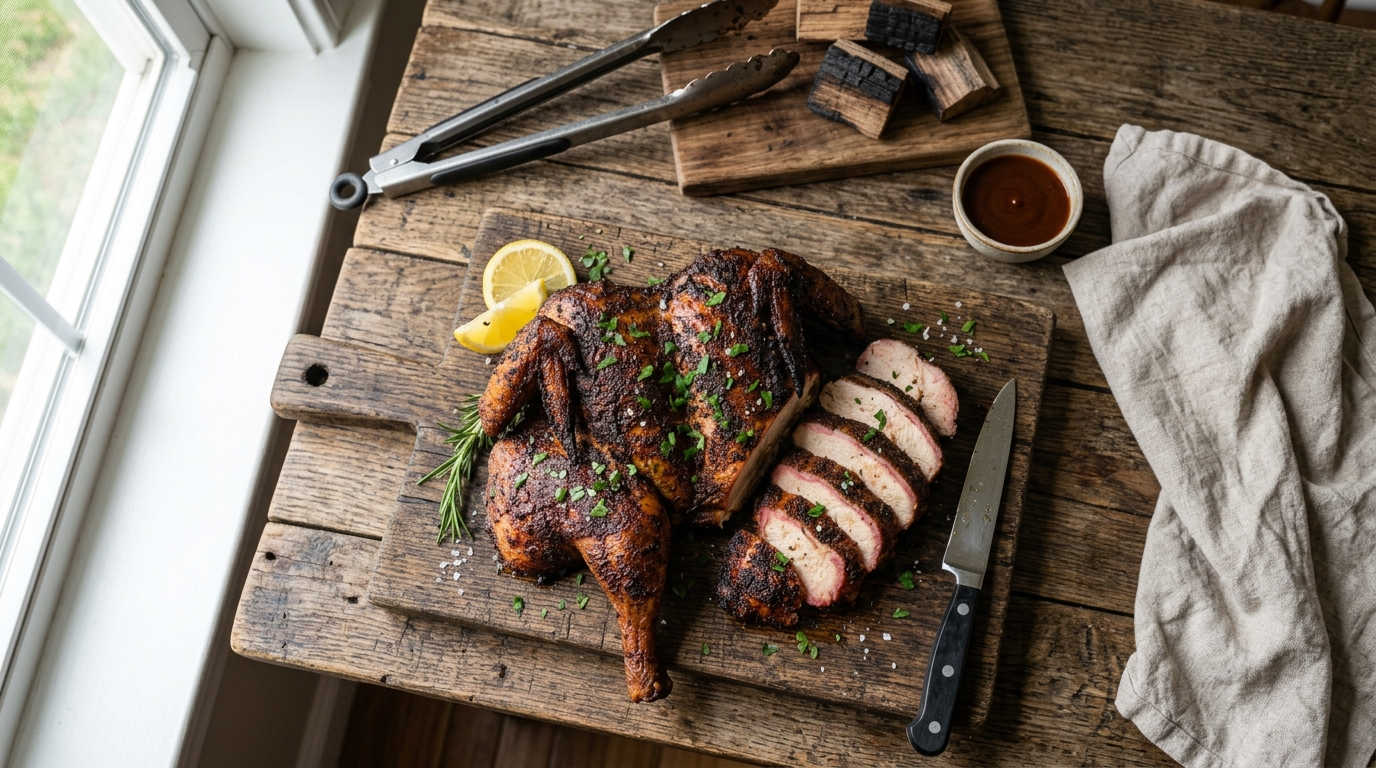
- CARVE AND SERVE - Remove the foil and take a moment to admire that bark, that smoke ring, and the deep color on that skin - you did that. To carve, use a sharp chef knife to cut straight down the center of the breast to split the bird in half. Then separate each leg and thigh from the breast half by cutting through the joint. You now have four generous portions - two breast halves and two leg-thigh quarters. Serve immediately while the skin is still crackling and the meat is steaming hot. This is peak backyard BBQ right here.
Nutrition
Calories: 385kcalCarbohydrates: 5gProtein: 42gFat: 22gSugar: 2g
Tried this recipe?Let us know how it was!