
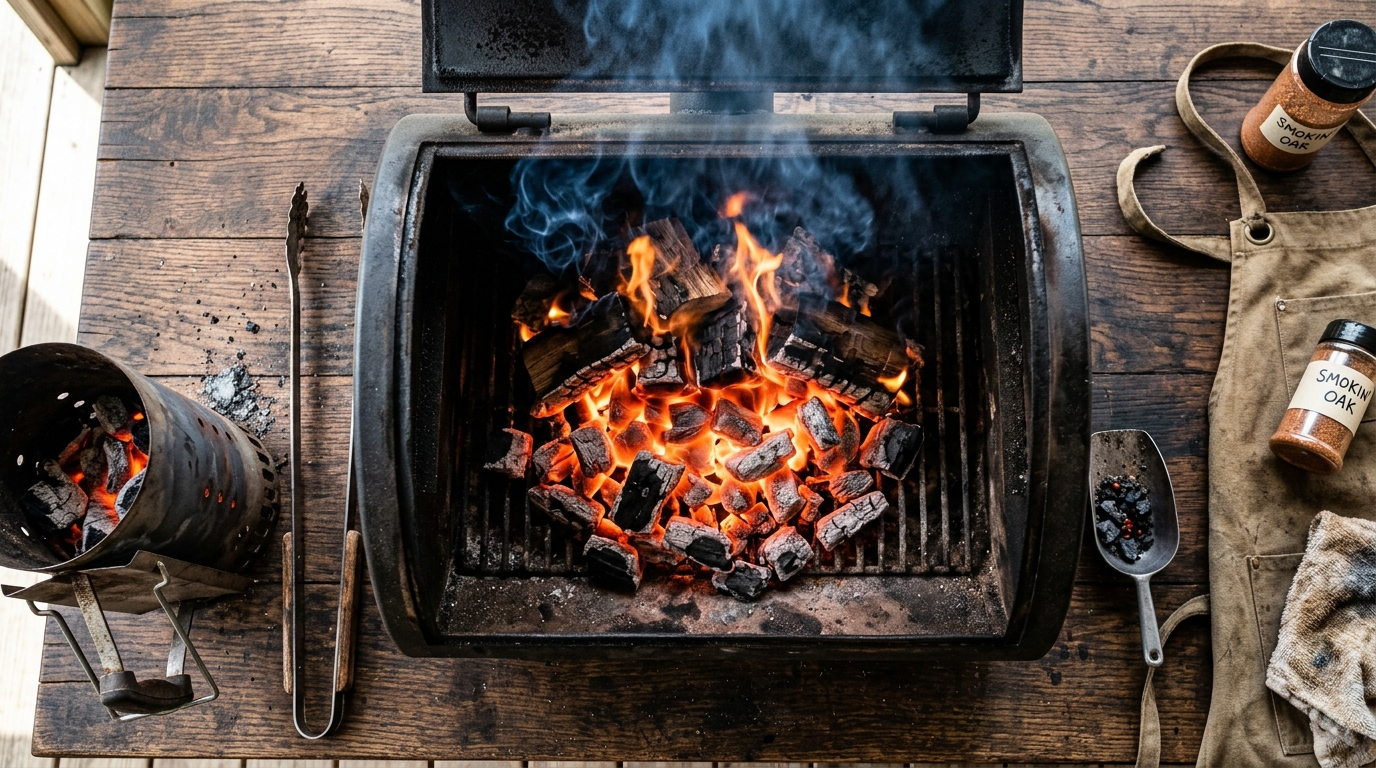
Building fire for smoking meat is the single most important skill any pitmaster can master, and it separates a backyard cook from a true BBQ champion. Get this foundation wrong and it does not matter how good your rub is or how long you rest the meat – the results will always fall short. A properly built smoking fire holds a steady 225 to 250 degrees Fahrenheit for hours on end, delivering clean blue smoke that kisses your brisket or ribs with that unmistakable depth of flavor.
Most beginners make the same mistakes over and over again: too much fuel, green or wet wood, and vents that are either wide open or slammed shut. A fire that runs too hot pushes past 300 degrees and you lose that low and slow magic that renders collagen into gelatin and builds a thick, mahogany bark on the outside of the meat. A fire that smolders with thick white smoke deposits bitter creosote on your protein, ruining hours of hard work. The sweet spot is a steady, controlled burn with thin blue smoke wisps drifting out of your exhaust vent.
In this guide we are going to walk through every step of building the perfect fire for smoking, from choosing your fuel and wood chunks to dialing in your vents and maintaining temperature across a long cook. Whether you are working a classic offset smoker, a kettle grill, or a ceramic kamado, these principles apply across the board. By the time you fire up the grill after reading this, you will have the confidence and knowledge to run a rock-solid fire from the first puff of smoke all the way to that final internal temp check.
Building Fire for Smoking Meat: Pitmaster Secrets
Building fire for smoking meat is the foundation of every great BBQ session. Learn how to control heat, choose the right wood, and maintain a clean burn for that perfect smoke ring and bark. Your best low and slow cook starts here – fire up the grill today.
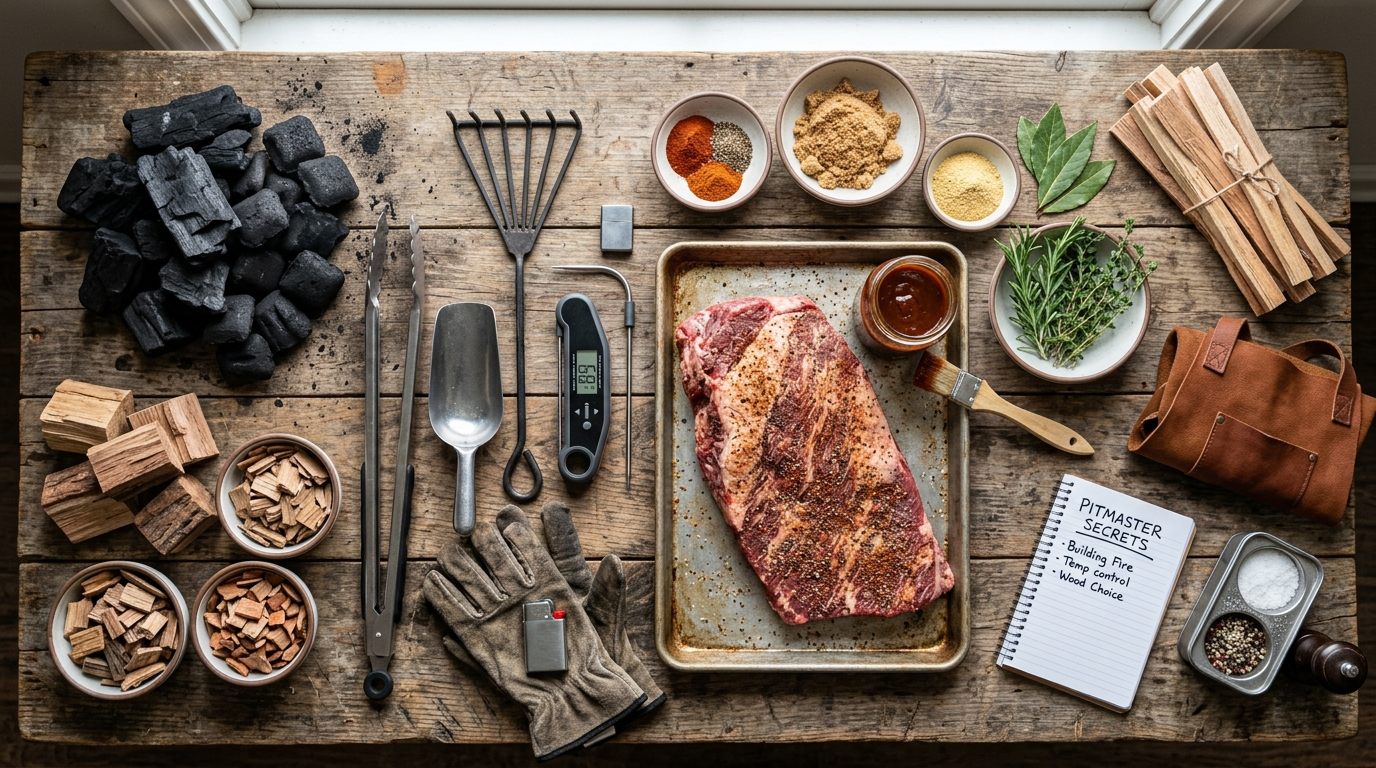
Ingredients
| AMOUNT | INGREDIENT | NOTES |
|---|---|---|
| 8 lbs | charcoal briquettes or lump charcoal | lump burns hotter and cleaner, briquettes burn longer and more consistently – use what fits your smoker |
| 6 pieces | hardwood chunks | choose hickory, post oak, apple, or cherry depending on your protein |
| 1 full chimney | pre-lit charcoal | used to ignite your main charcoal bed without lighter fluid |
| 4 lbs | bone-in pork shoulder or beef brisket flat | trimmed and seasoned with your favorite rub at least 12 hours ahead |
| 2 tablespoons | coarse kosher salt | part of your dry rub base |
| 2 tablespoons | coarse black pepper | the classic Texas brisket rub paired with salt |
| 1 tablespoon | garlic powder | adds depth to the bark without overpowering smoke flavor |
| 1 tablespoon | smoked paprika | enhances color and adds a subtle earthy sweetness to the bark |
| 2 cups | water | for the water pan placed beneath the meat in the smoker |
| 1 cup | apple cider vinegar | optional addition to the water pan or for spritzing the meat every 90 minutes |
Instructions
Nutrition (per serving)
The BBQ Story Behind This Recipe
The tradition of smoking meat over fire stretches back thousands of years across nearly every culture on earth. Indigenous peoples of North America smoked fish and game as a preservation method long before the arrival of European settlers, using green branches and hardwoods native to their region to create smoke that slowed spoilage and added complex flavor. In the American South, the practice evolved into a deeply communal ritual, with whole hogs cooked low and slow over smoldering hardwood coals in hand-dug pits, giving birth to what we now celebrate as Southern BBQ culture. Each region developed its own identity around fire and wood – hickory in the Carolinas, post oak in Central Texas, pecan and fruit woods in the Midwest.
By the 20th century, backyard BBQ had become a cornerstone of American food culture, and the art of building and maintaining a smoking fire became a point of serious pride for pitmasters across the country. Legendary figures like Aaron Franklin of Franklin Barbecue in Austin, Texas brought the craft to national attention, emphasizing that great BBQ is not about exotic rubs or secret sauces – it is about fire management. The offset smoker, the kettle grill, and later the ceramic kamado all became tools through which generations of backyard pitmasters honed the same ancient skill: coaxing a controlled, clean fire from wood and coal to transform raw meat into something transcendent.
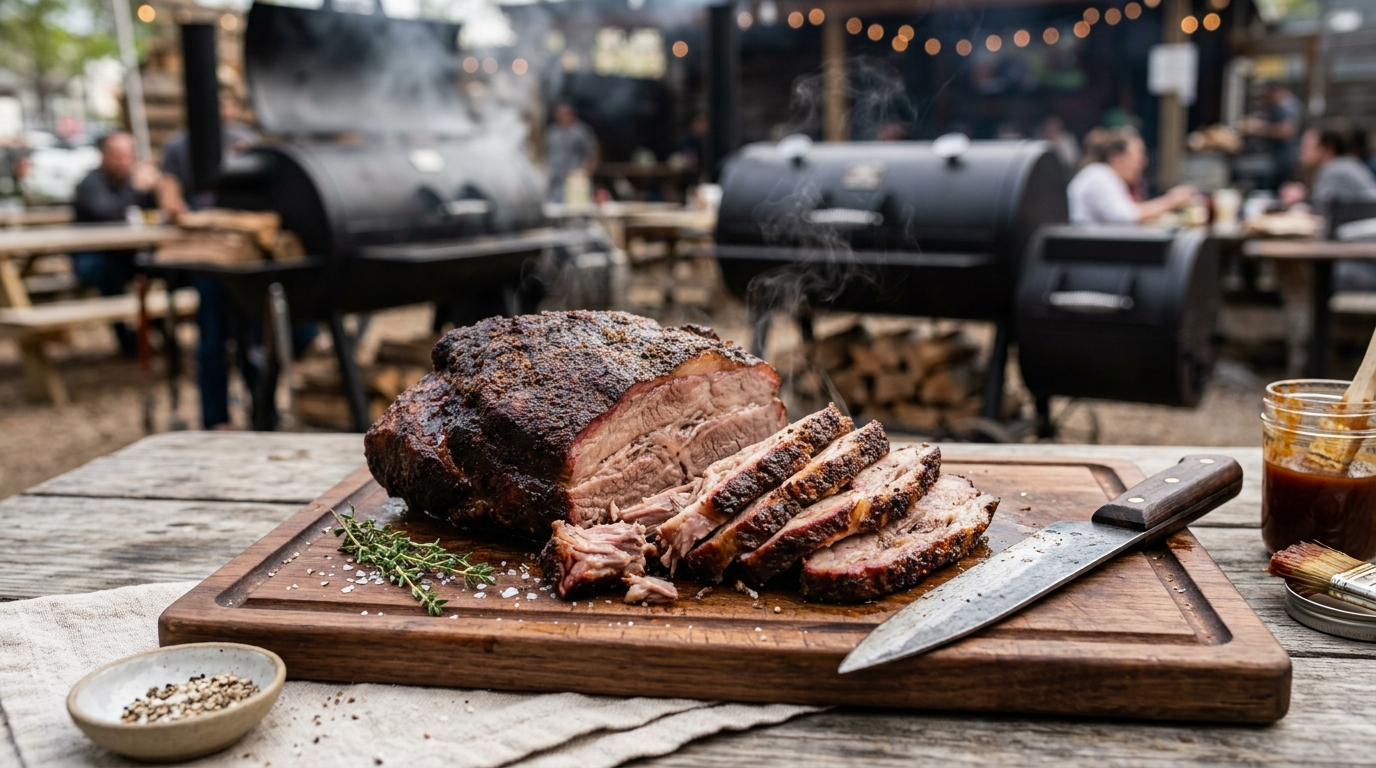
Hot Off the Grill
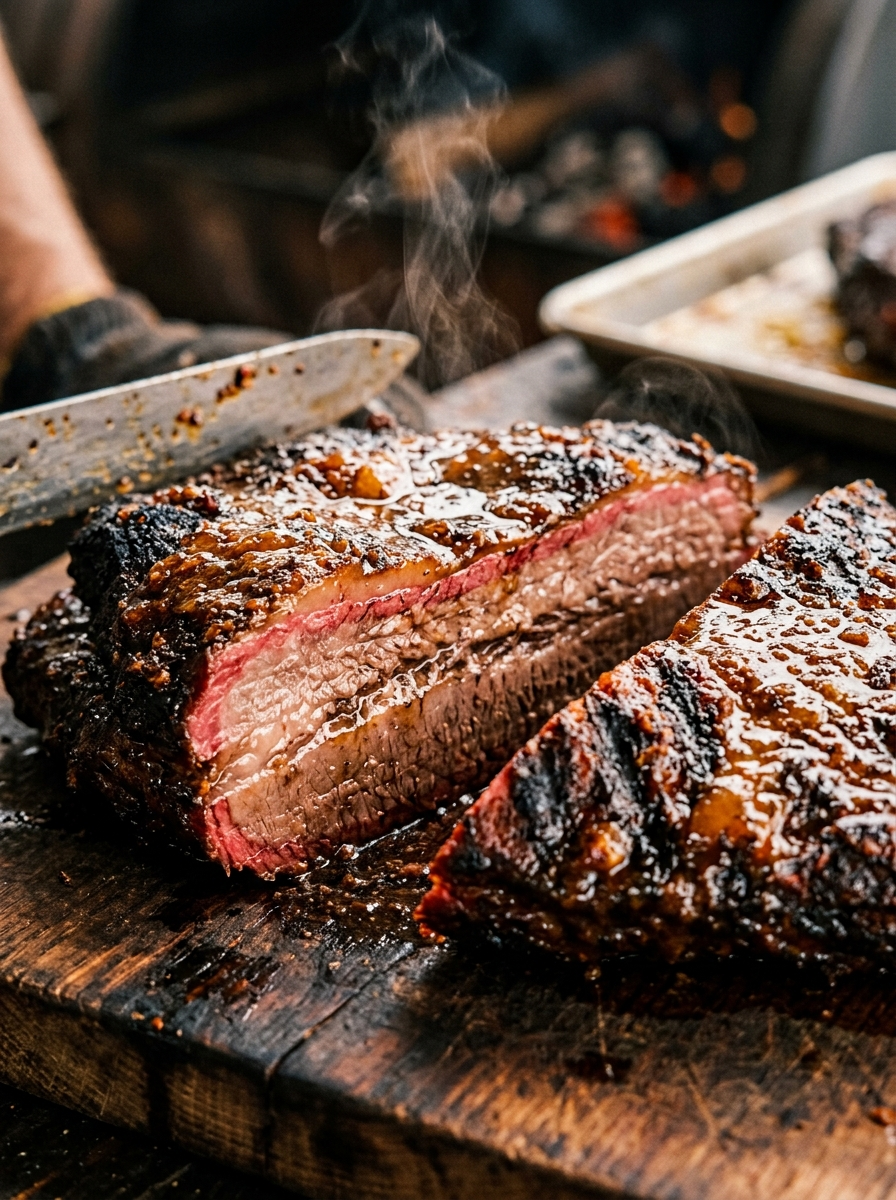
A Closer Look
Pitmaster Tips for Best Results
- Always target thin blue smoke from your exhaust vent – thick white or black smoke means incomplete combustion and will deposit bitter compounds on your meat. If you see thick white smoke, open the exhaust vent fully and crack the intake slightly to increase airflow and help the fire establish a cleaner burn.
- Pre-heat your wood chunks or splits near the firebox before adding them to the fire. Warm wood ignites faster, burns cleaner, and prevents the temperature drop you get when you toss cold, ambient-temp wood directly onto your coal bed.
- Use the minion method for long cooks lasting 8 or more hours – pour unlit charcoal into the firebox first, create a divot in the center, and pour your lit chimney of hot coals into that divot. The lit coals slowly ignite the surrounding unlit fuel for a gradual, extended burn without constant tending.
- Keep a spray bottle of 50-50 apple cider vinegar and water nearby. Spritzing the surface of your meat every 90 minutes after the first 2 hours helps keep the exterior moist, promotes better smoke absorption, and cools the surface slightly to slow bark hardening so you get a beautiful, even crust.
- Never add wet or green wood to your smoking fire. Wet wood creates steam and dirty white smoke that tastes bitter and acrid on the finished meat. Stick to properly seasoned hardwood that has been dried for at least 6 months, or buy commercially available dried wood chunks and splits for consistent results.
🔧 Pitmaster Equipment
Offset Smoker or Charcoal Kettle: The foundation of any smoking setup. An offset gives you a dedicated firebox for precise heat and smoke management, while a kettle grill works beautifully with a two-zone setup for low and slow cooks.
Charcoal Chimney Starter: The fastest and safest way to get a full bed of hot coals ready without lighter fluid. A full chimney of briquettes is lit and ready in about 15 to 20 minutes.
Instant Read Thermometer: Critical for monitoring both your cooking chamber temperature and the internal temp of your meat. A dual-probe digital thermometer lets you watch both at the same time.
Long Tongs and Heat Resistant Gloves: You will be managing live coals and hot wood chunks throughout the cook. Protect your hands and keep control of the fire safely.
Hardwood Chunks or Splits: Chunks for charcoal setups, splits for offset fireboxes. Choose species based on your protein – hickory for pork, post oak for beef, apple or cherry for poultry and fish.
Wireless Grill Thermometer: A leave-in probe thermometer with a wireless receiver lets you monitor your pit temp and meat internal temp without opening the lid and losing heat.
Water Pan or Aluminum Drip Pan: Placed beneath the meat in the cooking chamber, a water pan adds humidity, stabilizes temperature swings, and helps protect the meat from drying out during long cooks.
🔥 Variations
Pellet Grill Version: Set your pellet grill to 225 degrees Fahrenheit and let it preheat for 15 minutes with the lid closed before adding your meat. Choose a pellet flavor that matches your protein – hickory or mesquite for beef, apple or cherry for pork and poultry. The auger feed system maintains a consistent temperature automatically, making it one of the more forgiving platforms for long smokes. You will still want to monitor your internal temp closely and rest the meat the same way.
Kamado Grill Version: Load your lump charcoal into the kamado base and nestle wood chunks throughout the charcoal bed before lighting. Use the lower draft door and top daisy wheel vent to dial in 225 to 250 degrees Fahrenheit. Kamados are incredibly efficient heat retainers, so small vent adjustments make a big difference – make changes slowly and give the grill 5 to 10 minutes to respond before making another adjustment. Place a heat deflector plate above the coals for indirect cooking.
Offset Smoker Version: An offset smoker is the purist choice for building fire for smoking meat. Use splits of seasoned hardwood rather than charcoal chunks, and keep a small pre-heating stack of splits next to the firebox so each new addition goes in warm. Manage your fire with the firebox door and exhaust stack damper. Target a firebox temp around 400 to 500 degrees Fahrenheit with a cooking chamber temp of 225 to 250 degrees Fahrenheit. This takes more active management but delivers the most authentic, wood-forward smoke flavor.
Gas Grill Smoking Version: Gas grills are not ideal for smoking but they can work in a pinch. Soak wood chips in water for 30 minutes, then place them in a smoker box or a foil pouch with holes poked in the top. Place the smoker box directly over one burner set to medium-high. Turn off all other burners and place your meat on the unlit side for indirect heat. Close the lid and target 225 to 250 degrees Fahrenheit as measured by a grill thermometer placed near the meat. Replenish wood chips every 45 minutes for continuous smoke production.
❓ Pitmaster FAQ
What temperature should my smoker be for smoking meat?
For most low and slow BBQ, target a cooking chamber temperature of 225 to 250 degrees Fahrenheit. This range renders fat and connective tissue slowly without drying out the meat. Some pitmasters run as high as 275 degrees Fahrenheit for faster cooks, especially with poultry, but the classic low and slow range delivers the most consistent results for brisket, pork shoulder, and ribs.
What is the best wood for smoking meat?
The best wood depends on your protein. Hickory is a classic all-rounder that works especially well with pork and chicken. Post oak is the choice of Central Texas pitmasters and pairs perfectly with beef brisket. Apple and cherry woods produce milder, slightly sweet smoke ideal for poultry, pork ribs, and fish. Mesquite burns hot and strong – use it sparingly or blend it with milder woods to avoid an overpowering flavor.
How do I know if I have the right kind of smoke?
You want thin, bluish-white smoke drifting lazily from your exhaust vent. This is called blue smoke or clean smoke and it deposits the best flavor on your meat. Thick white, gray, or black smoke indicates incomplete combustion – the wood is not burning cleanly. To fix it, fully open your exhaust vent and crack the intake to increase airflow. Give it 5 to 10 minutes and the smoke should clean up significantly.
What is the stall and how do I push through it?
The stall is a frustrating but totally normal plateau that occurs during long smokes, typically when the internal temp of your meat hits 150 to 170 degrees Fahrenheit. It happens because moisture evaporating from the surface of the meat cools it at the same rate the fire is heating it. You can wait it out – it usually lasts 1 to 4 hours – or wrap the meat tightly in butcher paper at that point, which traps some of that evaporative moisture and helps push the internal temp up faster without steaming the bark too much.
How long should I rest the meat after smoking?
Always rest the meat for a minimum of 30 minutes for smaller cuts like chicken thighs or pork chops, and at least 1 to 2 hours for large cuts like brisket or pork shoulder. Wrap in butcher paper or foil, then in old towels, and place in a dry cooler. The cooler acts as a low-tech holding oven and can keep large cuts perfectly hot and resting for up to 4 hours. This resting period is non-negotiable if you want juicy, properly textured BBQ.
How do I control temperature in my smoker?
Temperature control comes down to airflow management through your vents. The intake vent at the bottom controls how much oxygen feeds the fire – opening it increases heat, closing it reduces heat. The exhaust vent at the top should remain at least partially open at all times to allow smoke to flow through the chamber and prevent stale smoke buildup. Make small, gradual adjustments and give the smoker 5 to 10 minutes to respond before making additional changes. Chasing temperature with big vent swings leads to frustrating spikes and crashes.