Spatchcock chicken grilling is hands down one of the most game-changing techniques you can add to your pitmaster playbook, and once you try it, you will never go back to roasting a whole bird the old-fashioned way. By butterflying the chicken flat, you expose more surface area to direct heat, which means that gorgeous mahogany skin crisps up beautifully while the breast meat hits a safe 165 degrees Fahrenheit without drying out before those thick thighs and drumsticks are done. We are talking about a full bird on the grill in roughly 45 to 60 minutes over a two-zone fire set up at around 375 to 400 degrees Fahrenheit.
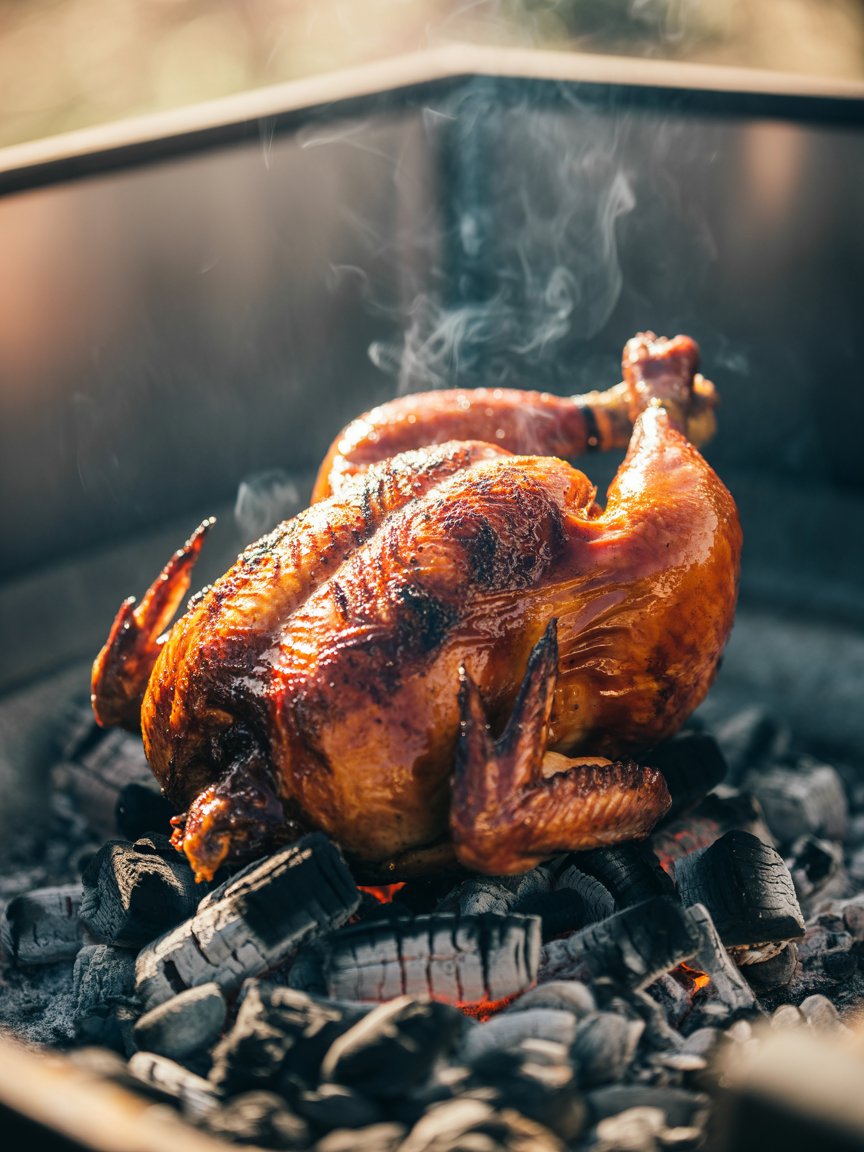
The magic of this method is all about heat management and surface contact. When you lay that flattened bird skin-side down over indirect heat with a quick sear over the hot coals to finish, you lock in the juices while building a crackling, deeply seasoned crust that any pitmaster would be proud of. Add a handful of wood chips to your charcoal setup and you will start to see that beautiful smoke ring developing right under the skin within the first 20 minutes.
Whether you are cooking for a weeknight family dinner or showing off at your next neighborhood cookout, this spatchcock chicken grilling guide will walk you through every single step with pitmaster-level detail. We are covering the right tools, the dry rub breakdown, the fire setup, and those critical internal temp checkpoints that separate a good cook from a great one. Get your shears ready and fire up the grill because this bird is about to get flat and fabulous.
Spatchcock Chicken Grilling Guide: Crispy & Juicy
Spatchcock chicken grilling is the technique that transforms an ordinary backyard cookout into a showstopping feast. By removing the backbone and flattening the bird, you get crispy skin, juicy meat, and even cooking in under an hour. Fire up the grill today and level up your BBQ game.
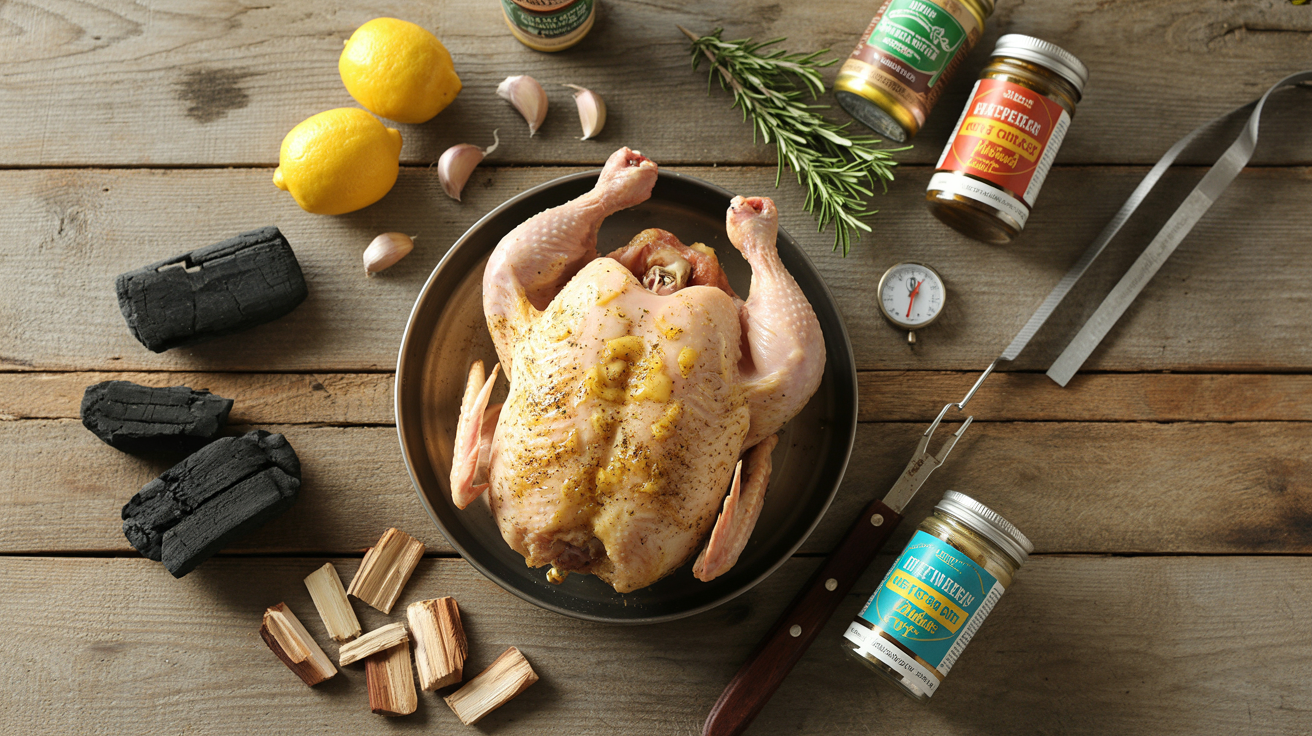
Ingredients
| AMOUNT | INGREDIENT | NOTES |
|---|---|---|
| 1 whole | chicken (3.5 to 4.5 lbs) | fresh or fully thawed, giblets removed |
| 2 tablespoons | olive oil or melted butter | for coating the skin before the rub |
| 1 tablespoon | kosher salt | coarse grind for better bark formation |
| 1 tablespoon | smoked paprika | use Spanish smoked paprika for deeper color and flavor |
| 1.5 teaspoons | coarse black pepper | freshly cracked is best |
| 1 teaspoon | garlic powder | not garlic salt |
| 1 teaspoon | onion powder | adds savory depth to the rub |
| 1 teaspoon | dried thyme or oregano | optional but adds a classic herb backbone |
| 0.5 teaspoon | cayenne pepper | adjust to your heat preference |
| 1 tablespoon | brown sugar | light brown sugar helps caramelize the skin and build bark |
| 2 cups | wood chips (hickory or cherry) | soaked in water for 30 minutes or use dry chunks for longer smoke |
| 1 stick | unsalted butter | optional, for basting in the final 10 minutes |
Instructions

Nutrition (per serving)
The BBQ Story Behind This Recipe
The technique of spatchcocking, also known as butterflying, has roots that trace back centuries across multiple culinary traditions, but it found a particularly beloved home in the American BBQ and open-fire cooking culture of the South and the Mid-Atlantic states. Pitmasters working over wood-burning pits quickly recognized that a flattened bird cooked more evenly and faster than a trussed whole chicken, which meant more throughput during long competition days and church potlucks without sacrificing that low and slow smoke-kissed flavor that defines true BBQ tradition. The term spatchcock itself is believed to derive from an old Irish phrase meaning to dispatch the cock quickly, referring to the speed of preparation when feeding a crowd.
In the context of American BBQ culture, spatchcocking became especially popular in regions like the Carolinas and Texas where whole bird competition categories reward even cooking, consistent bark development, and deeply penetrated smoke flavor. Regional pitmasters discovered that removing the backbone not only flattened the bird for better grill contact but also allowed rubs and smoke to penetrate from both sides simultaneously, creating a more complex flavor profile from the inside out. Today, the technique has gone mainstream thanks to competition BBQ television and the craft grilling movement, but its soul remains rooted in that old-school, wood-fire wisdom that every serious backyard cook should honor.
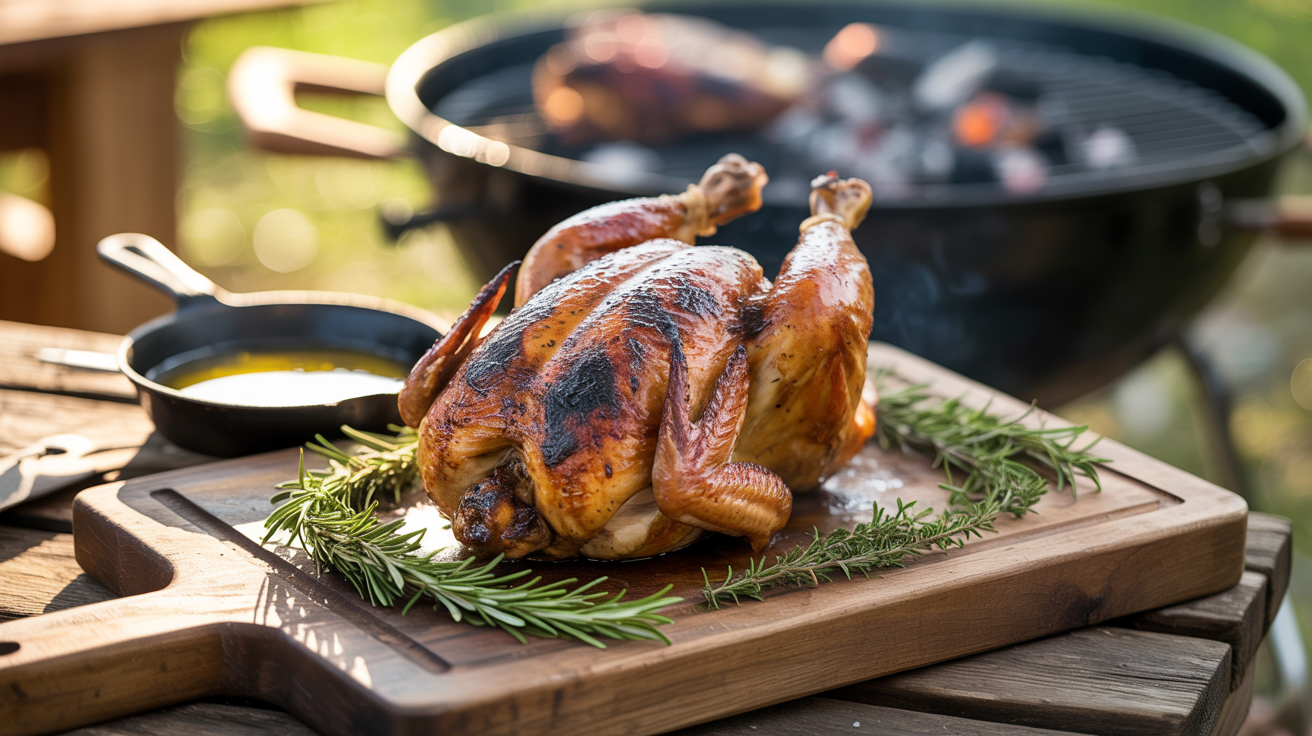
Hot Off the Grill
A Closer Look
Pitmaster Tips for Best Results
- Air-dry the seasoned bird uncovered in the refrigerator overnight for the crispiest skin possible. The cold dry air of your fridge pulls surface moisture away and concentrates the rub for a better bark on the grill.
- Use a two-zone fire setup every single time for spatchcock chicken grilling. Indirect heat for the bulk of the cook, then a quick kiss of direct high heat at the end. This gives you control over doneness without burning the skin.
- Target a grill temp of 375 to 400 degrees Fahrenheit on the indirect side. Too low and the skin turns rubbery. Too high and the outside burns before the thigh reaches 165 degrees Fahrenheit internally.
- Always insert your instant read thermometer into the thickest part of the thigh, angled away from the bone. The thigh is always the last part to reach safe temp and is your most reliable doneness indicator on a whole bird.
- Cherry or apple wood chips pair beautifully with chicken for a mild, slightly sweet smoke flavor that does not overpower the bird. Hickory works too but use it sparingly since its bold smoke can turn bitter on poultry if overdone.
🔧 Pitmaster Equipment
Charcoal Grill or Kettle Smoker: Provides the authentic high heat and smoke environment needed for proper bark development and that signature smoke ring under the skin.
Heavy-Duty Kitchen Shears or Poultry Shears: Absolutely essential for cutting cleanly through the backbone on both sides without damaging the rest of the bird.
Instant Read Thermometer: Non-negotiable for hitting that safe 165 degree Fahrenheit internal temp in the thickest part of the thigh without overcooking the breast.
Long Tongs (at least 16 inches): Keep your hands safely away from the fire when flipping and repositioning a large flat bird over high heat.
Basting Brush or Silicone Mop: Used for applying butter, sauce, or glaze during the final minutes of the cook for a sticky, lacquered finish.
Wire Rack over Sheet Pan: Perfect for air-drying the seasoned bird in the refrigerator overnight, which is the key to maximally crispy skin on the grill.
Wood Chips or Chunks (hickory, apple, or cherry): Essential for generating the smoke that builds flavor and that coveted smoke ring right beneath the skin of the flattened chicken.
🔥 Variations
Pellet Grill Version: Set your pellet grill to 375 degrees Fahrenheit using cherry or apple pellets for a mild fruity smoke. Follow the same indirect cook steps and finish with a 5-minute sear on the highest sear setting your pellet grill offers. The pellet grill excels at holding consistent temps, making this one of the easiest set-it-and-manage-it versions of the cook.
Gas Grill Version: On a gas grill, light only the outer burners and leave the center burners off to create indirect heat. Place a smoker box filled with soaked wood chips over one of the lit burners to generate smoke. Set the grill temp to 375 to 400 degrees Fahrenheit and cook the bird over the unlit center burners for 35 to 40 minutes before searing skin-side down over a lit burner for the final crust.
Lemon Herb Mediterranean Style: Swap the smoked paprika and cayenne in the rub for dried rosemary, lemon zest, and a pinch of red pepper flakes. Before applying the rub, work thin lemon slices and fresh rosemary sprigs under the skin over the breast. Finish with a squeeze of fresh lemon juice right off the grill for a bright, herb-forward take on the classic technique.
Competition BBQ Glaze Version: Apply the standard dry rub, then during the last 10 minutes of the cook, brush on a mixture of equal parts your favorite BBQ sauce and apple juice warmed together in a small saucepan. Apply in two thin layers, letting each layer set for 4 minutes before the next coat. The result is a glossy, competition-worthy lacquer that makes the chicken look and taste like it just came off the judging table.
❓ Pitmaster FAQ
What internal temperature should spatchcock chicken reach on the grill?
The USDA requires all poultry to reach an internal temperature of 165 degrees Fahrenheit. For spatchcock chicken, insert your instant read thermometer into the thickest part of the thigh, angled away from the bone, and in the thickest part of the breast. Both areas must hit 165 degrees Fahrenheit before the bird comes off the grill. If the breast hits temp first, move the chicken to the cooler indirect zone and let the thigh catch up.
Can I use a gas grill instead of charcoal for spatchcock chicken?
Absolutely. Set up a two-zone indirect heat configuration on your gas grill by lighting only the outer burners and leaving the center burners off. Place a smoker box filled with wood chips over one of the lit burners to add smoke flavor. Maintain a temp of 375 to 400 degrees Fahrenheit and follow the same cook sequence. You will still get great results, though charcoal and wood will always give you a deeper smoke flavor and more authentic bark.
How long does it take to grill a spatchcock chicken?
A 3.5 to 4.5 pound spatchcock chicken will typically take 45 to 60 minutes total on a grill running at 375 to 400 degrees Fahrenheit using a two-zone indirect setup. The flattened shape cooks significantly faster and more evenly than a whole trussed bird, which is one of the biggest advantages of this technique. Always rely on your instant read thermometer rather than time alone to confirm doneness.
Do I need to brine the chicken before spatchcocking?
A wet brine is not required but it does add insurance against dryness, especially for the breast meat. If you have time, a simple brine of 1 tablespoon of kosher salt per cup of water for 4 to 8 hours in the refrigerator will season the bird deeply and help retain moisture during the cook. As an easier alternative, a dry brine using just kosher salt rubbed all over the bird and rested overnight in the refrigerator achieves similar results with less mess and prep work.
What is the best wood for smoking spatchcock chicken?
Cherry and apple wood are the top choices for spatchcock chicken grilling because they produce a mild, slightly sweet smoke that complements poultry without overpowering it. Hickory is a bold choice that adds a classic BBQ smokiness but should be used in moderation on chicken to avoid a bitter finish. Pecan is another excellent middle-ground option that delivers rich nutty smoke with a gentle sweetness that pairs beautifully with any rub profile.
Why do I need to rest the meat after grilling?
Resting the meat after pulling it off the grill is one of the most important and most skipped steps in backyard BBQ. During cooking, the heat drives the juices toward the center of the meat. If you cut into the bird immediately, those juices pour out onto the cutting board and the meat tastes dry. Letting the spatchcock chicken rest for at least 10 minutes allows the muscle fibers to relax and the juices to redistribute evenly throughout the bird, resulting in noticeably juicier, more flavorful meat in every single bite.