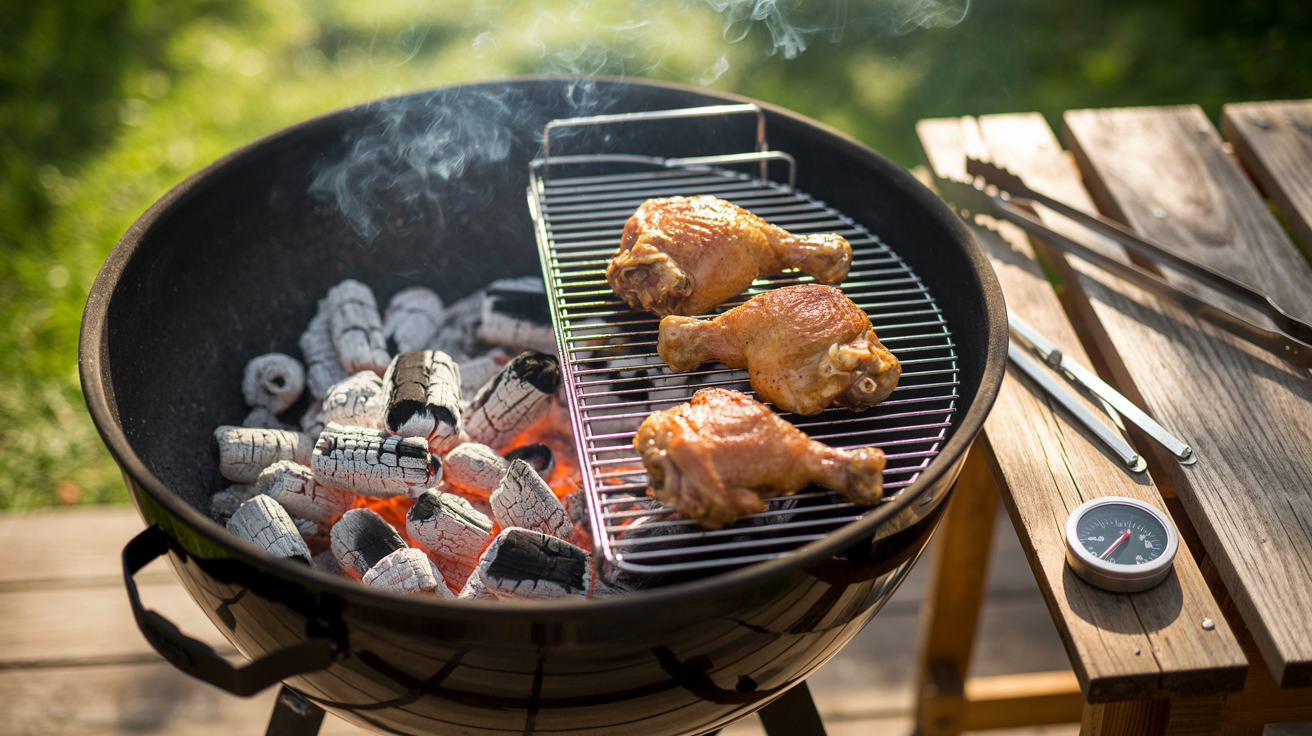
The two zone grilling setup is the foundation of every great backyard BBQ session, giving you a hot direct heat side for searing and a cooler indirect heat side for low and slow cooking all on the same grill. If you have ever bitten into a chicken thigh that was charred black on the outside and raw in the middle, you already know the pain of single-zone grilling. That is exactly the problem this technique solves, and once you learn it, you will never go back to dumping all your coals in one pile again. Think of your grill as having two rooms: one blazing hot zone sitting at around 450 to 500 degrees Fahrenheit for searing and crisping, and one gentle zone hovering around 225 to 300 degrees Fahrenheit for finishing proteins safely without scorching them.
The magic of a two zone setup is total control. You fire up the grill, build your coals or ignite your burners on one side, and leave the other side completely empty of direct heat. When your steaks need a hard sear to build that beautiful crust, they go over the hot side. When your chicken thighs need another 20 minutes to reach a safe internal temp of 165 degrees Fahrenheit without burning, you slide them over to the cool side and let the ambient heat do the work. This is how competition pitmasters manage brisket, ribs, and whole chickens without a dedicated smoker taking up half the yard.
This guide is built around chicken thighs because they are the perfect teacher protein for learning the two zone method. They have enough fat content to reward you with crispy, golden skin on the hot side and enough thickness to show you exactly why the cool side exists. We will cover charcoal setup, gas grill adaptation, fire management timing, and the all-important rest the meat step that seals in every bit of juice you worked so hard to develop. By the time you are done reading, you will have the confidence to set up a two zone fire for anything from a quick weeknight steak to a full Sunday afternoon low and slow smoke session.
Two Zone Grilling Setup: Master Direct and Indirect Heat
The two zone grilling setup is the single most important technique every backyard pitmaster needs to master. Control flare-ups, build incredible bark, and cook proteins to perfection every single time. This is the method that separates great BBQ from burned disasters. Fire up the grill and level up today.
Ingredients
| AMOUNT | INGREDIENT | NOTES |
|---|---|---|
| 4 pieces | bone-in skin-on chicken thighs | about 2.5 lbs total, patted completely dry with paper towels before seasoning |
| 2 tablespoons | olive oil or avocado oil | light coating to help rub adhere and promote skin crisping |
| 1 tablespoon | kosher salt | coarse grind for best bark development on the skin |
| 1 tablespoon | coarse black pepper | freshly cracked, not pre-ground for maximum flavor punch |
| 1 teaspoon | smoked paprika | adds color and a subtle smoke layer even before the grill smoke hits |
| 1 teaspoon | garlic powder | not garlic salt, as salt content is already balanced in the rub |
| 1 teaspoon | onion powder | rounds out the savory base of the rub |
| 0.5 teaspoon | cayenne pepper | optional but recommended for a gentle heat that builds as you eat |
| 1 standard chimney | hardwood charcoal briquettes or lump charcoal | about 80 to 100 briquettes or equivalent lump for a full two zone setup |
| 2 chunks | apple or cherry wood chunks | for smoke flavor on the cool zone side, soak in water for 30 minutes if using chips instead of chunks |
Instructions
Nutrition (per serving)
The BBQ Story Behind This Recipe
The concept of cooking over two heat levels is as old as fire itself. Ancient pit cooking traditions across the American South, the Caribbean, and Central America all relied on the instinctive understanding that different parts of a fire behave differently. Early pitmasters who slow-cooked whole hogs in hand-dug pits quickly learned to position the animal away from the direct coals and let radiant heat and smoke do the heavy lifting. That principle of indirect versus direct heat never changed. It just moved from a dirt pit in the ground to a Weber kettle in the backyard. Regional BBQ styles from Texas brisket to Carolina whole hog all trace their roots back to this fundamental fire management idea.
The modern two zone grilling setup became widely popularized in the late 20th century as charcoal kettle grills became household staples across America. Grilling writers and competition circuit pitmasters began codifying the technique in the 1980s and 1990s, giving backyard cooks a repeatable and teachable framework for what experienced pitmasters had been doing by feel for generations. Today the two zone fire is taught in BBQ classes, celebrated on the competition circuit, and recognized by every serious grill enthusiast as the bedrock skill that makes everything else possible. It is not a trend or a gimmick. It is pure fire management wisdom passed down through decades of smoke, char, and perfectly cooked meat.
Hot Off the Grill

A Closer Look
Pitmaster Tips for Best Results
- Never add unlit coals directly to your grill while food is cooking. Always light a second chimney outside the grill and add fully lit coals to maintain temperature. Unlit coals dropped onto a dying fire create dirty smoke and off-flavors that ruin your bark.
- The two zone setup works on gas grills too. Turn one side of burners to high and leave the other side completely off. Target around 225 to 275 degrees Fahrenheit on the cool side by adjusting your active burners. Add a smoker box filled with wood chips over the active burner to get real smoke flavor circulating.
- Use the hand test to quickly gauge your hot zone heat. Hold your hand about 5 inches above the grate over the direct zone. If you can only hold it there for 2 seconds before pulling away, you are in the 450 to 500 degree range. If you can hold for 4 to 5 seconds, you are in the 350 degree medium range. This skill builds over time and becomes instinctive.
- Position your grill lid vent over the cool zone, not the hot zone. Air enters from the bottom vents under the coals, feeds the fire, rises as heat and smoke, crosses over your proteins, and exits through the top vent over the cool side. This simple vent placement turns your kettle grill into a convection smoke oven and dramatically improves smoke penetration and flavor development.
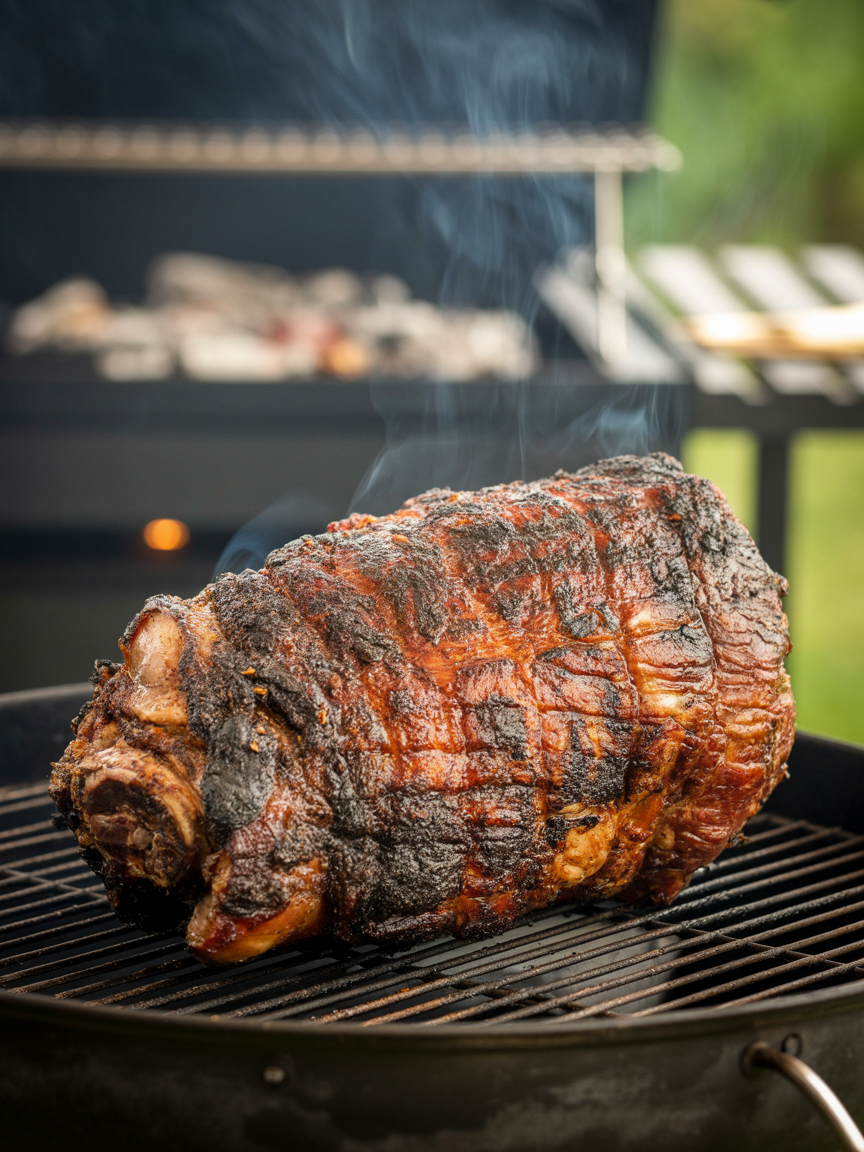
- For proteins thicker than 1.5 inches like bone-in chicken pieces, pork chops, or thick ribeyes, always start on the hot zone for a quick sear then finish low and slow on the cool zone. This reverse sear approach builds a better crust without overcooking the interior and gives you far more precise control over final internal temp than cooking entirely over direct heat.
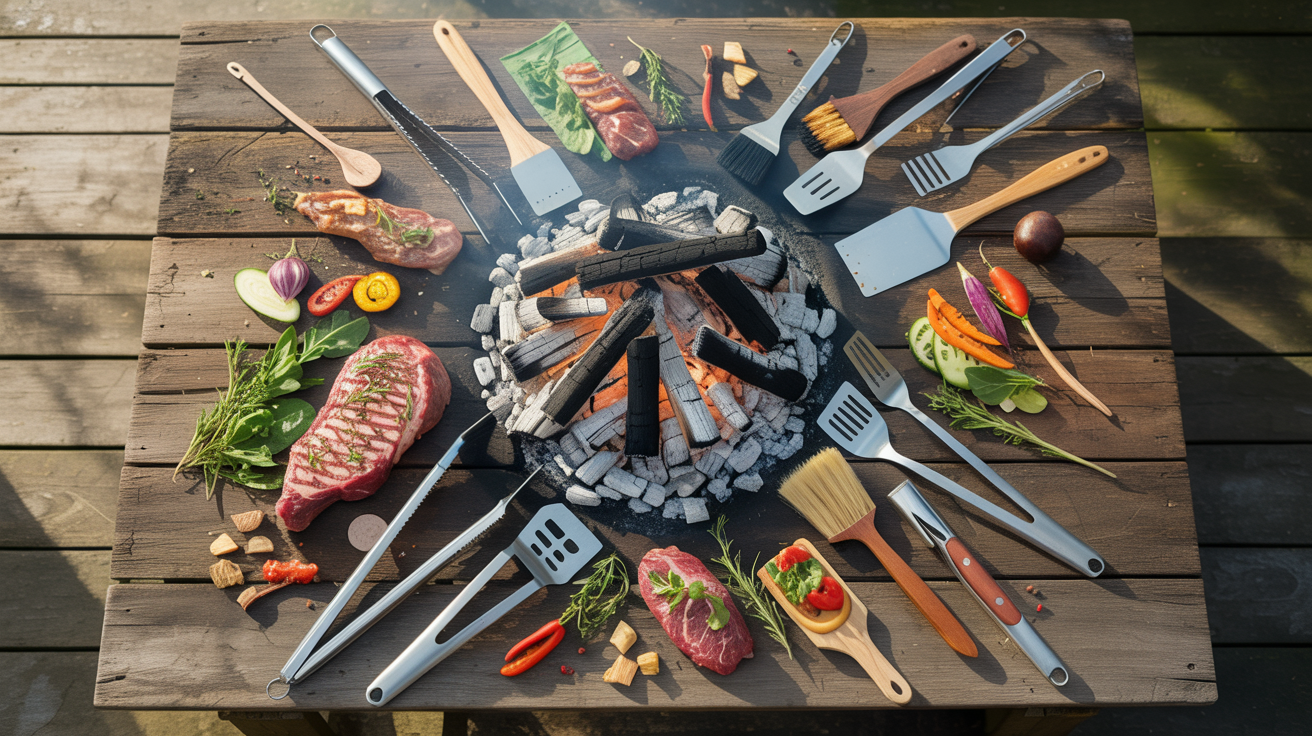
🔧 Pitmaster Equipment
Charcoal Kettle Grill or Smoker: A 22-inch or larger kettle gives you enough surface area to create a meaningful hot zone and cool zone side by side without crowding your proteins.
Chimney Starter: Lights charcoal fast and evenly without lighter fluid, giving you a clean-burning fire that is ready in about 15 to 20 minutes and does not leave chemical flavors on your food.
Instant Read Thermometer: Critical for hitting safe internal temps with precision. Never guess whether your chicken is at 165 degrees Fahrenheit or your steak is at 130 degrees Fahrenheit for a perfect medium-rare pull.
Long Tongs (16-inch or longer): Keep your hands a safe distance from the hot zone when moving proteins and managing coals. Short tongs over a 500-degree fire are a recipe for singed arm hair.
Grill Lid with Vents: Essential for controlling airflow and maintaining your target temperature on the cool indirect zone. Open vents run hotter, closed vents choke the fire and drop temps.
Heat-Resistant Gloves: Protect your hands when adjusting the grill grate, moving coal baskets, or handling the chimney starter full of blazing hot charcoal.
Disposable Aluminum Drip Pan: Place this under proteins on the cool side to catch drippings, prevent flare-ups, and optionally add water or apple juice to create a humid cooking environment.
🔥 Variations
Pellet Grill Version: Set your pellet grill to 275 degrees Fahrenheit and use the built-in indirect cooking area naturally. For a sear, crank the temp to 450 degrees Fahrenheit at the end of the cook or use a cast iron sear plate placed directly over the fire pot to simulate the hot zone. Cherry or apple pellets complement chicken perfectly and produce a beautiful smoke ring in the meat.
Gas Grill Two Zone Setup: On a three-burner gas grill, light the left and center burners on high and leave the right burner completely off. Target 275 degrees Fahrenheit on the cool right side. Place a smoker box filled with pre-soaked wood chips directly over the left active burner to generate smoke. Sear on the hot left side and finish on the cool right side following the same internal temp targets as the charcoal method.
Kamado Grill Version: Use a heat deflector plate on one side of your kamado or place the deflector off-center to create a hot zone on one side and a shielded cool zone on the other. Kamado grills hold heat so efficiently that you will use far less charcoal than a kettle grill. Target the same 275 degree Fahrenheit cool zone temp and use the top vent to fine-tune your heat with very small adjustments.
Whole Chicken Two Zone Method: Split the bird down the backbone using kitchen shears and flatten it spatchcock style. Season aggressively, sear it skin side down on the hot zone for 5 minutes, then move it skin side up to the cool zone for 40 to 50 minutes until the breast reaches 160 degrees Fahrenheit and the thigh reaches 165 degrees Fahrenheit. The two zone method is arguably the best way to cook a whole spatchcocked bird on any grill.
❓ Pitmaster FAQ
What internal temperature should chicken thighs reach on the grill?
Pull bone-in chicken thighs off the grill when the thickest part of the thigh reaches 160 degrees Fahrenheit on an instant read thermometer placed away from the bone. Carryover cooking during the 5-minute rest will bring the internal temp up to the USDA-safe 165 degrees Fahrenheit threshold. Going above 175 degrees Fahrenheit actually improves texture in thighs since the collagen has more time to break down, so do not panic if your thighs read 170 to 175 degrees Fahrenheit.
Can I set up a two zone fire on a small 18-inch kettle grill?
Yes, it works but requires more careful coal placement. Use about 60 to 70 briquettes instead of a full chimney and bank them tightly to one third of the bottom grate. Your cool zone will be smaller so you may only fit 2 to 3 chicken thighs there at a time. For larger cooks on a small kettle, cook in batches rather than overcrowding the cool zone, as too much cold protein on the grill at once will drop your temps significantly and extend your cook time.
How do I know when my two zone fire is ready to cook on?
Your hot direct zone is ready when you cannot hold your hand 5 inches above the grate for more than 2 seconds without pulling away. Your cool indirect zone is ready when your lid thermometer or a probe thermometer placed on the cool side grate reads between 250 and 300 degrees Fahrenheit. Always wait for the grill to fully preheat with the lid closed for at least 5 minutes after placing the coals before adding any food.
What wood works best with a two zone chicken cook?
Fruit woods like apple, cherry, and peach are outstanding with chicken. They burn cleaner than heavy woods like hickory or mesquite and produce a lighter, sweeter smoke that complements poultry without overpowering it. If you only have hickory on hand, use just one small chunk instead of two because hickory is significantly more assertive and can turn bitter if overused with chicken. Avoid resinous softwoods like pine or cedar as they produce toxic smoke.
Do I need to flip the meat while it is on the cool indirect zone?
Generally no. The indirect zone works like an oven, surrounding your protein with ambient heat from all sides. Flipping is usually unnecessary unless your cool zone has a notable hot spot, which you can identify by placing your hand over different areas of the cool side before cooking. If you do notice uneven browning developing on one side, a single flip at the halfway point is fine, but most proteins cook beautifully skin side up the entire time on the indirect zone.