The reverse sear steak method is hands down the most reliable technique any pitmaster can have in their arsenal when it comes to cooking thick steaks to absolute perfection. Traditional high-heat searing first sounds logical, but it creates an overcooked gray band around the edges that robs you of the juicy, evenly cooked interior you are after. With the reverse sear, you flip the script entirely, starting low and slow in the 225 to 250 degree Fahrenheit range and finishing with a blazing hot sear that locks in every drop of flavor.
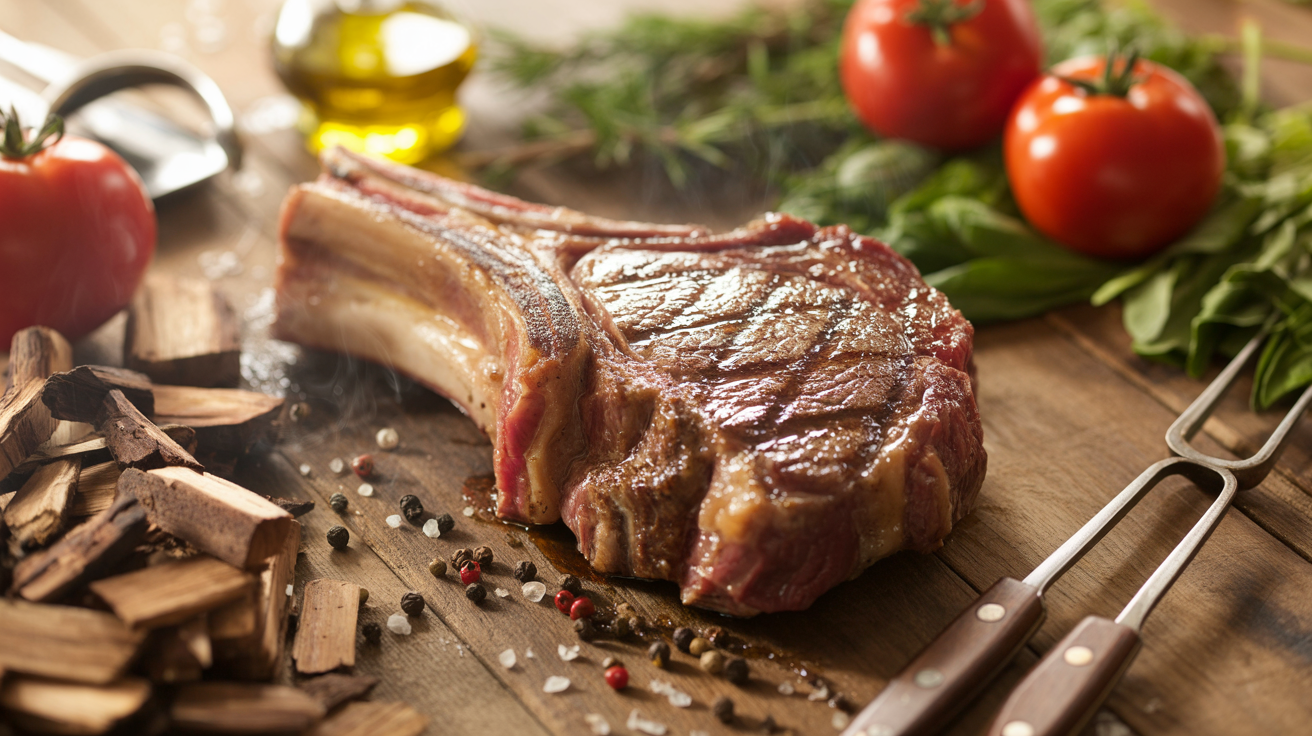
Here is what sets this method apart from everything else you have tried. When you bring that thick ribeye or New York strip up to temperature slowly over indirect heat, you give the proteins time to relax and the internal temp to rise gradually and evenly. You can even add a chunk of wood to create a gorgeous smoke ring on your steak, something that will have your guests thinking you spent all day at the smoker. Pull the steak at around 115 to 120 degrees Fahrenheit for medium-rare, and then hit it hard over direct heat for 60 to 90 seconds per side to build that dark, crackling crust.
At GrillMasterHQ, we have tested this technique on everything from 1.5-inch ribeyes to 2-inch tomahawk steaks, and the results are consistently outstanding. The resting period between the low-and-slow phase and the sear actually allows the surface moisture to evaporate, which means your sear is faster, hotter, and more intense than anything you could achieve going the traditional route. Once you fire up the grill using this method, you will never go back to cooking thick steaks any other way.
Reverse Sear Steak Method for Thick Cuts Perfected
The reverse sear steak method transforms thick cuts into edge-to-edge perfection with a crust that will make your jaw drop. Low and slow heat followed by a screaming hot sear locks in flavor you cannot get any other way. Fire up the grill tonight and taste the difference.
Ingredients
| AMOUNT | INGREDIENT | NOTES |
|---|---|---|
| 2 whole | ribeye steaks or New York strip steaks | 1.5 to 2 inches thick, bone-in or boneless both work great |
| 2 teaspoons | kosher salt | coarse kosher salt, applied generously to all surfaces |
| 1 teaspoon | coarse black pepper | freshly cracked for maximum bite and bark development |
| 1 teaspoon | garlic powder | adds depth to the crust without burning during the high heat sear |
| 0.5 teaspoon | smoked paprika | optional but adds beautiful color and subtle smokiness to the bark |
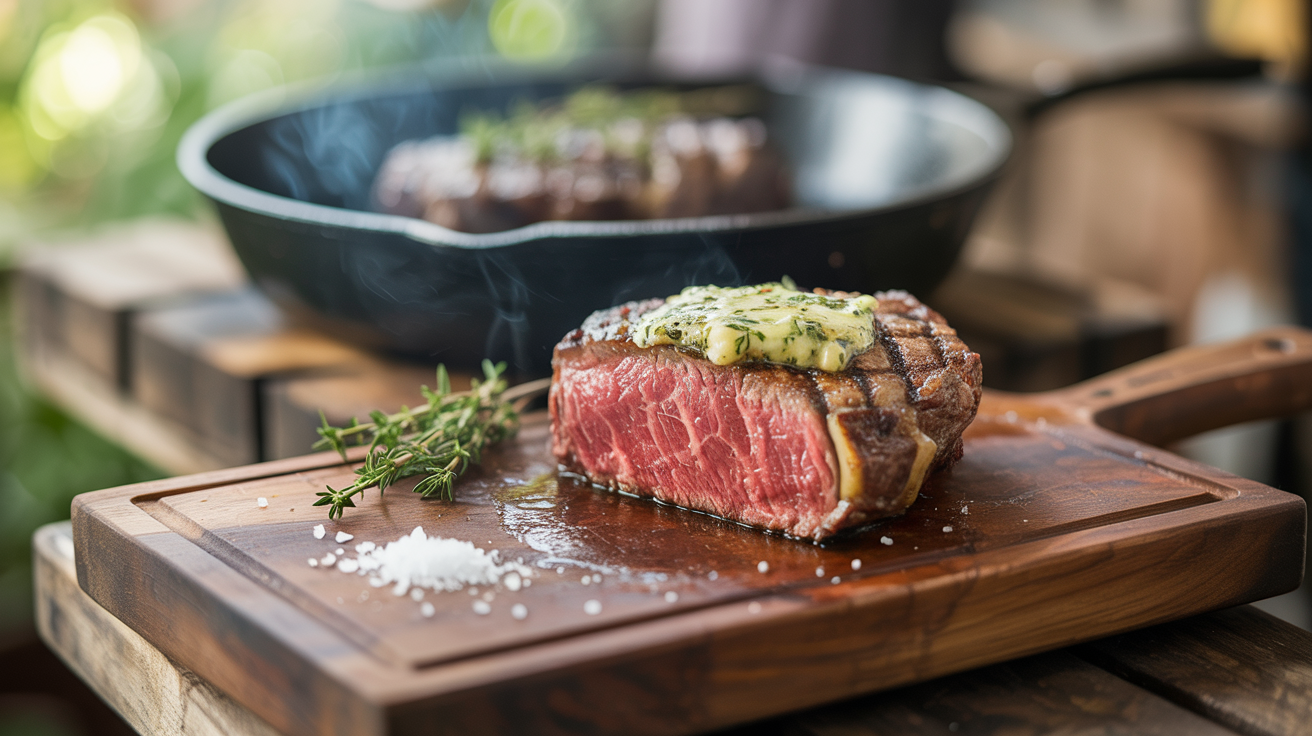
| 2 tablespoons | unsalted butter | for basting during the sear phase, adds richness and helps build the crust |
| 3 cloves | fresh garlic | smashed, used in the butter baste during the final sear |
| 3 sprigs | fresh thyme or rosemary | used in butter baste, optional but highly recommended |
| 1 chunk | oak or hickory wood | fist-sized chunk for smoke during the low heat phase, cherry wood also works beautifully |
Instructions

Nutrition (per serving)
The BBQ Story Behind This Recipe
The reverse sear technique is a relatively modern innovation in the world of BBQ and grilling, popularized in the early 2000s by food scientists and culinary minds who questioned why we had always seared first. The prevailing myth for generations was that searing meat sealed in the juices, a claim that has since been thoroughly debunked by anyone with a thermometer and a curious mind. Pitmasters and backyard grillers alike began experimenting with flipping the process, drawing inspiration from the low-and-slow smoking traditions of the American South where patience and controlled heat have always been the foundation of great barbecue.
American BBQ culture has always celebrated the idea that time and temperature trump brute force, and the reverse sear is the natural extension of that philosophy applied to steakhouse-quality cuts. Regions like Texas, where thick beef cuts are practically a religion, embraced this technique quickly because it aligns perfectly with the pitmaster mindset of letting the fire do the work on its own terms. Today, the reverse sear method has been adopted by competition BBQ teams, fine dining chefs, and weekend grillers who want steakhouse results without the steakhouse price tag, cementing its place as one of the most important techniques in modern American grilling.
Hot Off the Grill
A Closer Look
Pitmaster Tips for Best Results
- Dry brine your steaks uncovered in the refrigerator for 24 to 48 hours before cooking. The salt draws moisture out, dissolves, and gets reabsorbed, seasoning the meat all the way through and dramatically improving the bark you get during the sear.
- Never skip the thermometer. The entire reverse sear steak method lives and dies by precise internal temp readings. Pull at 115 degrees Fahrenheit for medium-rare and you will hit 130 degrees Fahrenheit after the sear and rest every single time.
- The surface of your steak must be completely dry before it goes on the searing zone. Moisture creates steam, and steam is the enemy of a dark, caramelized crust. Pat dry one more time right before the sear if any moisture has accumulated during the rest period.
- Use a fist-sized chunk of oak or cherry wood rather than chips during the low-and-slow phase. Chunks burn slower and produce a more consistent thin blue smoke that builds a genuine smoke ring without overwhelming the beef flavor with harsh bitter notes.
- Do not rush the searing process by moving the steak around. Place it down, leave it alone for 60 to 90 seconds, and resist every urge to lift and peek. The steak will release naturally from the grate when the crust has properly formed, and premature moving tears that crust apart before it can set.
🔧 Pitmaster Equipment
Charcoal Grill or Smoker: Provides the indirect heat zone needed for the low-and-slow phase and the screaming hot zone needed for the final sear. Charcoal delivers superior flavor.
Instant Read Thermometer: Absolutely non-negotiable for this technique. You must monitor internal temp precisely to nail your target doneness and pull the steak at the right moment.
Long Tongs: Keep your hands safe when working over the high-heat searing zone and when flipping steaks on a ripping hot grill grate.
Wire Rack and Rimmed Baking Sheet: Used for holding the steak during the low-and-slow phase if using an oven assist, and also ideal for resting the meat after the smoke phase.
Wood Chunks or Chips: A chunk of oak, hickory, or cherry wood added during the low heat phase creates a beautiful smoke ring and deep flavor that elevates the steak beyond ordinary grilling.
Cast Iron Skillet or Grill Grates: Heavy cast iron retains extreme heat for a powerful, consistent crust-building sear that thin grill grates simply cannot match.
Chimney Starter: Gets your charcoal lit fast and ready so your searing zone is at peak temperature exactly when your steak comes off the low heat phase.
🔥 Variations
Pellet Grill Version: Set your pellet grill to 225 degrees Fahrenheit using oak or hickory pellets and follow the same low-and-slow phase until you hit 115 degrees Fahrenheit internal. For the sear, crank your pellet grill to its maximum sear setting or transfer the steaks to a ripping hot cast iron skillet on a side burner or stovetop. The pellet grill delivers consistent temperature control with excellent smoke flavor, making it one of the easiest ways to nail this technique.
Gas Grill Version: Use indirect heat by lighting only one or two burners on one side and placing the steaks on the unlit side. Add a smoker box filled with soaked oak or hickory chips near the lit burner to generate smoke during the low heat phase. For the sear, crank all burners to maximum or use a dedicated sear burner if your grill has one. A cast iron grill grate insert will also dramatically improve your sear results on a gas grill.
Oven to Grill Version: Set your oven to 250 degrees Fahrenheit and place your seasoned steaks on a wire rack over a rimmed baking sheet. Cook until they reach 115 degrees Fahrenheit internally, then transfer immediately to a ripping hot grill or cast iron skillet for the final sear. This method is perfect for cold weather months when holding grill temps is challenging, and it delivers identical results to the full outdoor method.
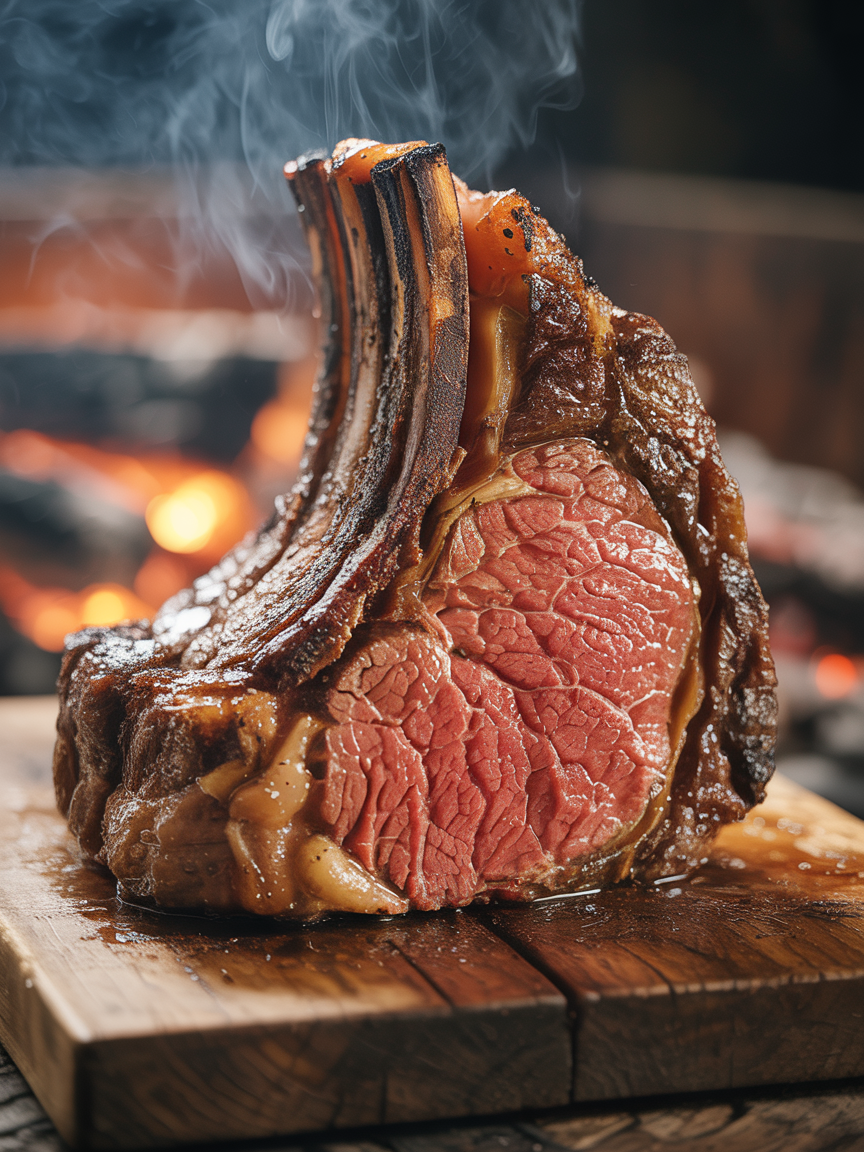
Tomahawk Ribeye Version: Tomahawk steaks measuring 2 to 2.5 inches thick are the ultimate showcase for the reverse sear steak method. Extend the low-and-slow phase because the extra thickness means more time is needed to reach your target pull temp of 115 degrees Fahrenheit. Expect 45 to 60 minutes in the 225 to 250 degree range. The long bone also makes for dramatic presentation – prop it up bone-side down during the sear to get color all the way around the massive cap.
❓ Pitmaster FAQ
What internal temperature should I pull the steak at before the sear?
Pull your steak at 115 degrees Fahrenheit for medium-rare, 125 degrees Fahrenheit for medium, or 135 degrees Fahrenheit for medium-well. The high-heat sear will add approximately 10 to 15 degrees of internal temp, so always pull 10 to 15 degrees below your final target. Always verify with an instant read thermometer.
How long does the reverse sear steak method take from start to finish?
For a 1.5-inch thick steak, expect 25 to 35 minutes in the low heat phase at 225 to 250 degrees Fahrenheit. A 2-inch steak will take 40 to 55 minutes. Add 5 minutes for the sear and 5 to 10 minutes to rest the meat, and you are looking at roughly 45 to 75 minutes total depending on steak thickness.
Can I use a gas grill instead of charcoal for the reverse sear?
Absolutely. Use indirect heat by lighting only one side of your burners and placing the steaks on the unlit side. Add a smoker box with wood chips near the lit burner to introduce smoke flavor. For the sear, crank all burners to maximum and sear over direct heat for 60 to 90 seconds per side. Results are excellent on a properly set up gas grill.
Do I need to rest the steak after the reverse sear?
Because the reverse sear method heats the steak gradually from the inside out, carry-over cooking is minimal and the juices are already well distributed throughout the meat. A 5 to 10 minute rest after the sear is still recommended to allow the surface temp to equalize and for the juices to settle before slicing. Resting is always worth the patience.
What cuts of steak work best with the reverse sear method?
The reverse sear steak method shines brightest on thick cuts of at least 1.5 inches. Ribeye, New York strip, porterhouse, T-bone, and tomahawk steaks are all ideal candidates. The technique is less beneficial for thin steaks under 1 inch because they cook through too quickly during the sear alone. The thicker the cut, the more dramatically this method outperforms traditional searing first approaches.
What type of wood gives the best smoke flavor for steak?
Oak is the classic choice for beef and gives a clean, medium-intensity smoke that complements the rich flavor of a ribeye or strip steak without overwhelming it. Hickory delivers a stronger, bolder smoke that works well if you love an assertive smoke ring flavor. Cherry wood adds a subtle sweetness and a beautiful deep mahogany color to the bark. Avoid mesquite for this technique as it can turn bitter during longer cook times.