Knowing how to use a charcoal chimney starter is the foundation of every great backyard BBQ session, and once you nail this technique, you will never go back to lighter fluid again. A chimney starter gets your coals burning hot and even in about 15 to 20 minutes, without any chemical taste seeping into your meat. We are talking a full bed of glowing orange coals, ashed over and ready to fire up the grill at around 400 to 600 degrees Fahrenheit depending on how you spread them.
I have been cooking over live fire for over two decades, and the chimney starter is the one tool I hand to every beginner before they touch anything else. It is simple, it is reliable, and it gives you total control over your heat from the very start. Whether you are going low and slow on a brisket or running hot and fast on a ribeye, it all starts with a properly lit bed of coals, and the chimney is how you get there every single time.
In this guide I am going to walk you through the exact process I use at every cook, from loading the chimney to reading the coals and knowing exactly when to pour them. We will cover timing, visual cues, safety tips, and a few pitmaster tricks I have picked up over the years. Whether you are brand new to charcoal or just looking to sharpen your fire management skills, this is the place to start.
How to Use a Charcoal Chimney Starter Like a Pro
Learning how to use a charcoal chimney starter is the single best upgrade any backyard pitmaster can make. Skip the lighter fluid, skip the chemical taste, and get perfect glowing coals in under 20 minutes every single time. Fire up the grill today and taste the difference.
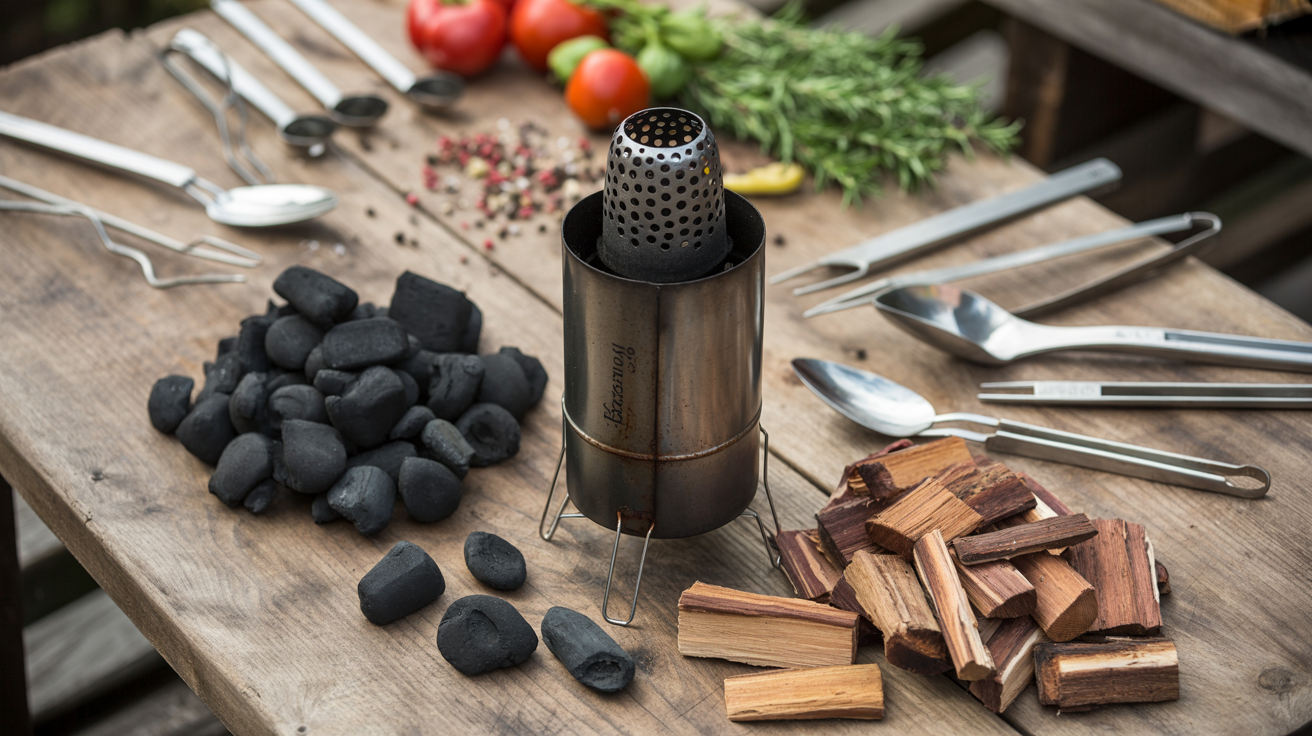
Ingredients
| AMOUNT | INGREDIENT | NOTES |
|---|---|---|
| 1 full load | charcoal briquettes or lump charcoal | about 80 to 100 briquettes for a full hot fire or half a chimney for indirect low and slow cooks |
| 2 sheets | newspaper | loosely crumpled, not packed tight, or substitute one paraffin starter cube |
| 1 tablespoon | vegetable oil | optional, lightly coat the newspaper to extend burn time in windy conditions |
| 1 unit | charcoal chimney starter | standard 7-inch or 8-inch diameter chimney holds a full grill load |
| 1 pair | heat-resistant BBQ gloves | essential safety gear when pouring hot coals |
Instructions
Nutrition (per serving)
The BBQ Story Behind This Recipe
The charcoal chimney starter as we know it today became popular in the United States during the 1980s, though the concept of using a cylindrical metal tube to accelerate fire has roots going back much further in open-fire cooking traditions around the world. Before the chimney became a backyard staple, most American grillers were soaking their coals in petroleum-based lighter fluid, a shortcut that became standard after Kingsford and other brands popularized pre-soaked briquettes and liquid starters in the mid-20th century. The chimney offered a cleaner, faster, and more authentic alternative that serious pitmasters quickly adopted.
In the competitive BBQ world, fire management has always been considered an art form, and the chimney starter became a symbol of that discipline. Regional BBQ cultures from Kansas City to the Carolinas each have their own approaches to coal beds, wood additions, and heat zones, but nearly every serious competitor and backyard enthusiast agrees that clean fire produces the best results. The chimney fits perfectly into that philosophy. It produces no off-flavors, gives you a consistent coal temperature, and lets you add fresh coals mid-cook without disrupting your pit temperature, which is critical when you are running a long low and slow session on a big cut like a pork shoulder or a full packer brisket.
Hot Off the Grill
A Closer Look
Pitmaster Tips for Best Results
- Never use lighter fluid with a chimney starter. The whole point of the chimney is a clean, chemical-free fire. Lighter fluid leaves residue that can affect the flavor of your meat, especially on delicate proteins like chicken or fish. Stick to newspaper or paraffin cubes and let the airflow do the work.
- For the fastest possible light, use lump charcoal instead of briquettes. Lump catches in as little as 10 minutes and burns hotter right out of the gate, hitting 600 to 700 degrees Fahrenheit, which is ideal for searing steaks. Just know that lump burns faster than briquettes so plan your cook time accordingly.
- On cold or windy days, expect your lighting time to increase by 5 to 10 minutes. Wind can actually help or hurt depending on direction. If the wind is blowing directly into the chimney bottom it will accelerate the burn. If it is blowing across the top it can snuff out the flame early. Position your chimney so the wind is feeding into the bottom vents, not cutting across the opening.
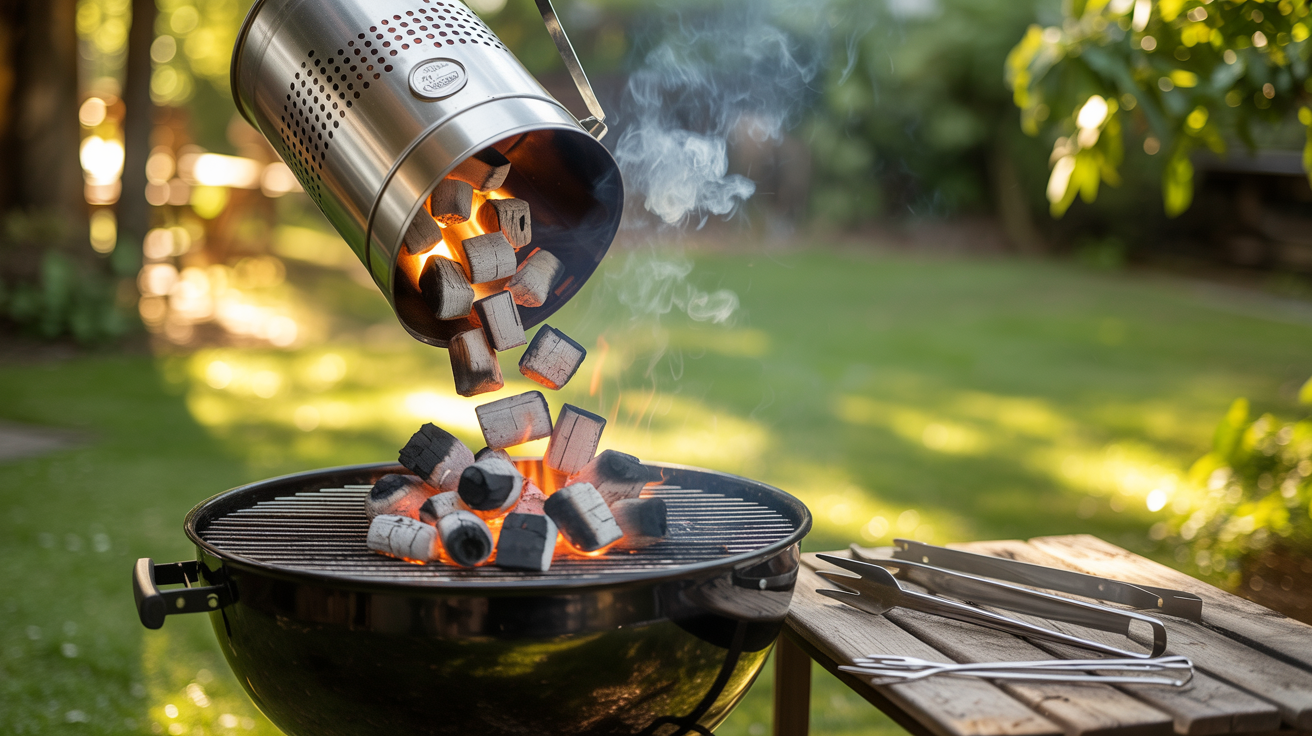
- Always pour your chimney onto the charcoal grate, not directly onto the cooking grate. The cooking grate sits above and the coals live below it. If you accidentally pour onto the cooking surface you will have ash and debris falling onto your food throughout the entire cook.
- Save partially used coals from previous cooks. Leftover coals that did not fully burn can be mixed in with fresh coals in your next chimney load. They relight just as well as new coals and it is a great way to reduce waste. Just make sure they are fully dry before using them or you will struggle to get them lit.
🔧 Pitmaster Equipment
Charcoal Chimney Starter: The star of the show. A standard chimney holds about 100 briquettes or a full load of lump charcoal and gets them fully lit in 15 to 20 minutes without lighter fluid.
Charcoal Grill or Smoker: Essential for authentic smoke flavor and proper heat control. A kettle grill, offset smoker, or kamado all work perfectly with chimney-started coals.
Long Tongs or Heat-Resistant Gloves: Keep your hands safe while managing the fire. The chimney gets extremely hot so always handle it with a heat-resistant glove or use the built-in handle.
Newspaper or Paraffin Starter Cube: You need a flame source to ignite the coals from the bottom of the chimney. Two sheets of newspaper or one paraffin cube works perfectly every time.
Instant Read Thermometer: Critical for hitting safe and perfect internal temperatures once your food hits the grill. A properly lit coal bed means nothing if you cannot read your cook accurately.
Charcoal (Briquettes or Lump): Briquettes burn longer and more consistently at steady temps. Lump charcoal burns hotter and faster with a cleaner flavor profile. Choose based on your cook style.
🔥 Variations
Half Chimney for Low and Slow Cooks: When you are targeting a low and slow temp of 225 to 250 degrees Fahrenheit for a brisket, pork shoulder, or ribs, load only half the chimney with coals. Pour those lit coals over a larger bed of unlit charcoal in the grill, a method called the Minion Method. The lit coals slowly ignite the unlit ones over several hours, maintaining a steady low temp without constant tending.
Two-Chimney Load for High Heat Cooking: For large grilling sessions, big crowds, or full grill searing events, fire up two chimney starters at the same time using a second chimney. Pour both loads simultaneously for a massive even coal bed across the entire grill. This is ideal when you need 550 to 650 degrees Fahrenheit across the whole surface for reverse-searing multiple steaks or cooking for 10 or more people at once.
Chimney Plus Wood Chunks for Smoke Flavor: Once you pour your chimney coals, immediately place two to three fist-sized hardwood chunks directly on top of the glowing coals before placing your grate. Cherry, hickory, apple, or pecan all work beautifully. This gives you that authentic smoke ring and bark development on your proteins without needing a dedicated smoker. Let the chunks begin to smoke before adding your food for best flavor penetration.
Pellet Grill Version: Set your pellet grill to the same target temperature and follow the same general cook steps. While you do not need a chimney starter with a pellet grill since ignition is electronic, understanding coal temperatures helps you choose the right pellet grill settings and recognize what proper cooking heat feels like across any platform.
Gas Grill Bridge Method: If you only have a gas grill but want to understand fire management better, you can simulate a two-zone setup using indirect heat on one side and direct on the other. Add a smoker box loaded with soaked wood chips over a lit burner to introduce smoke flavor. This is not a chimney technique but it bridges the gap for those transitioning from gas to charcoal cooking.
❓ Pitmaster FAQ
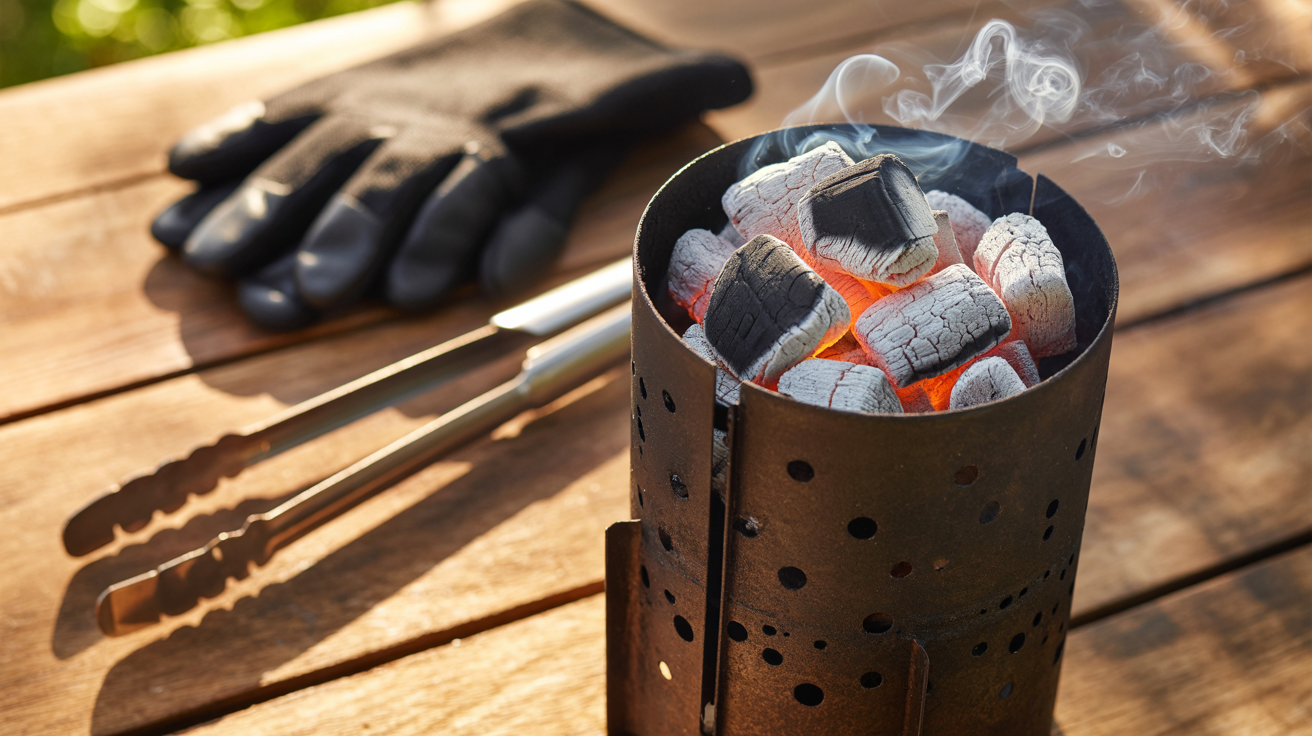
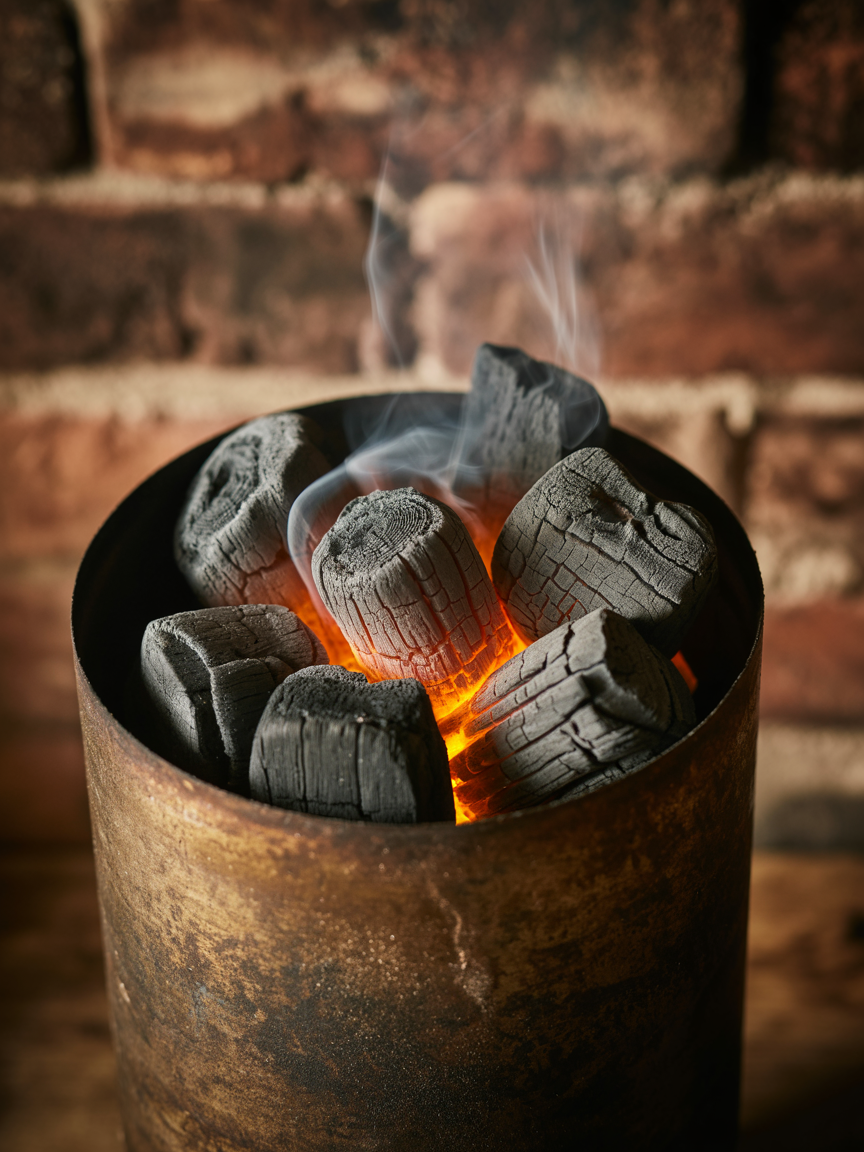
How long does it take a charcoal chimney starter to be ready?
A standard chimney starter loaded with briquettes is ready in about 15 to 20 minutes. Lump charcoal moves faster at 10 to 15 minutes. You will know it is ready when 75 percent or more of the top coals show a gray ash coating with visible orange glow. Do not rush it. Underlit coals give you uneven heat that ruins the entire cook.
Do I need lighter fluid with a chimney starter?
Absolutely not. That is the entire point of using a chimney. All you need is two loosely crumpled sheets of newspaper or a single paraffin starter cube tucked into the bottom of the chimney. Lighter fluid introduces petroleum-based chemicals that can affect the flavor of your food, especially delicate proteins. Go clean every single time.
How much charcoal do I put in a chimney starter?
For a full hot fire at 400 to 550 degrees Fahrenheit for direct grilling, fill the chimney to the top which holds about 80 to 100 briquettes. For a low and slow cook targeting 225 to 275 degrees Fahrenheit, use about half a chimney and pour it over a bed of unlit coals using the Minion Method for extended burn time.
Can I use a chimney starter with lump charcoal?
Yes, and many pitmasters actually prefer lump charcoal in the chimney because it lights faster and burns cleaner with less ash. Lump charcoal hits higher temps more quickly, which is great for searing. Just know that the irregular pieces can fall through the chimney grate, so use a slightly crumpled piece of aluminum foil as a base layer if you have very small pieces of lump.
Is a charcoal chimney starter safe to use?
Yes, a chimney starter is one of the safest ways to light charcoal precisely because it eliminates the flare-up risk that comes with lighter fluid. That said, the chimney itself gets extremely hot during and after use. Always wear heat-resistant gloves when handling a lit chimney, pour coals in a slow controlled motion, and never set a hot chimney down on a surface that can burn or melt. Allow it to cool completely before storing.
What internal temperature should my meat reach after grilling?
Always cook to a safe internal temp and verify with an instant read thermometer. USDA guidelines call for 165 degrees Fahrenheit for poultry, 145 degrees Fahrenheit for whole cuts of pork and beef with a 3-minute rest, and 160 degrees Fahrenheit for ground meats. For low and slow BBQ cuts like brisket and pork shoulder, most pitmasters push to 195 to 205 degrees Fahrenheit for proper collagen breakdown and tenderness. Always rest the meat after pulling it from the heat.