Maintaining fire for smoking is the single most important skill any serious pitmaster can master, and it is the foundation of every great low and slow cook you will ever pull off. Whether you are running a offset smoker, a kettle grill, or a ceramic kamado, the ability to hold a steady 225 to 275 degrees Fahrenheit for 4, 6, or even 14 hours straight separates the backyard hobbyist from the competition-level pitmaster. Fire management is not a guessing game – it is a discipline built on understanding airflow, fuel, and patience.
Here is the truth that nobody tells beginners: the meat is almost secondary to the fire itself. You can have the finest brisket flat money can buy, seasoned with the perfect rub, but if your fire spikes to 350 degrees or drops to 180 degrees mid-cook, that bark will be uneven, that smoke ring will be shallow, and that internal temp will creep up unpredictably. Every pitmaster worth their salt knows the fire is a living thing – it breathes, it feeds, and it needs your attention without being smothered.
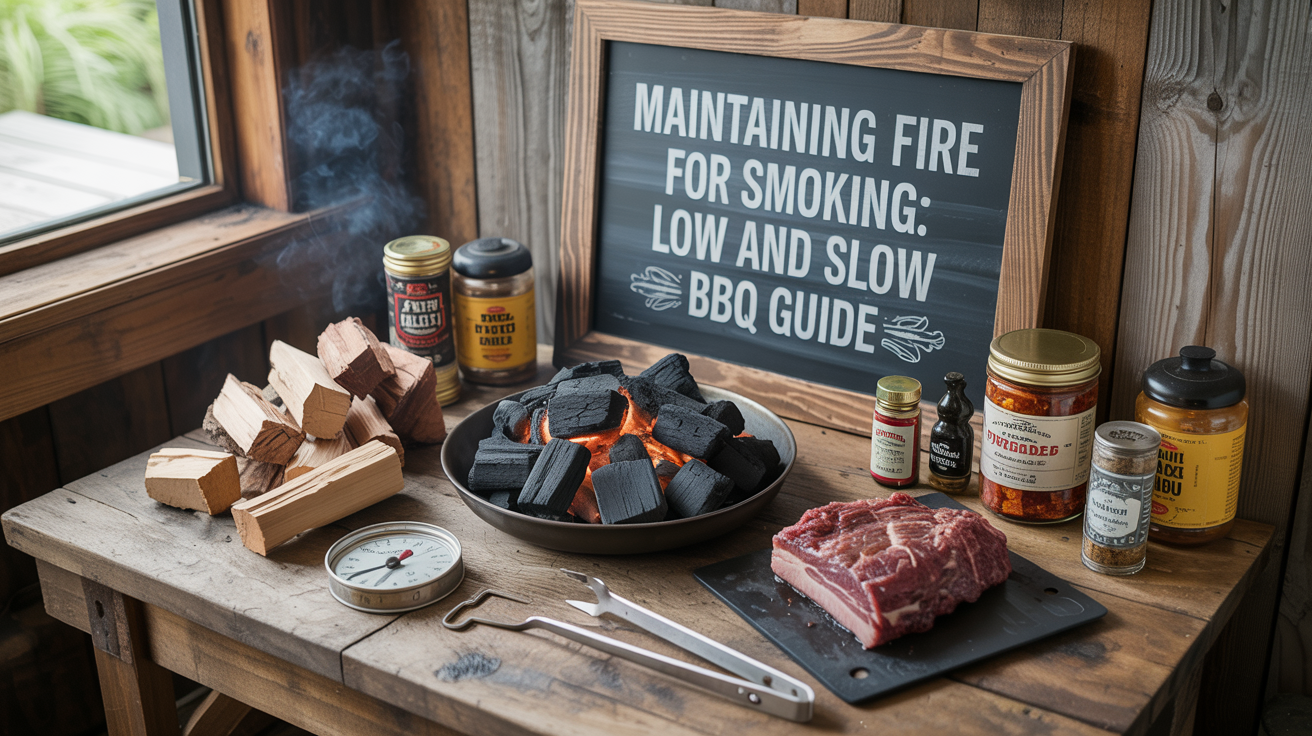
In this complete guide, we are walking through every element of fire management for low and slow BBQ. From building your initial coal bed and dialing in your vents, to adding fuel at the right time and reading the color of your smoke, you will have everything you need to hold rock-solid temps for any long cook. We are talking the minion method, the snake method, vent adjustments, wood chunk timing, and the subtle visual cues that tell you exactly what your fire needs before a temperature alarm ever goes off.
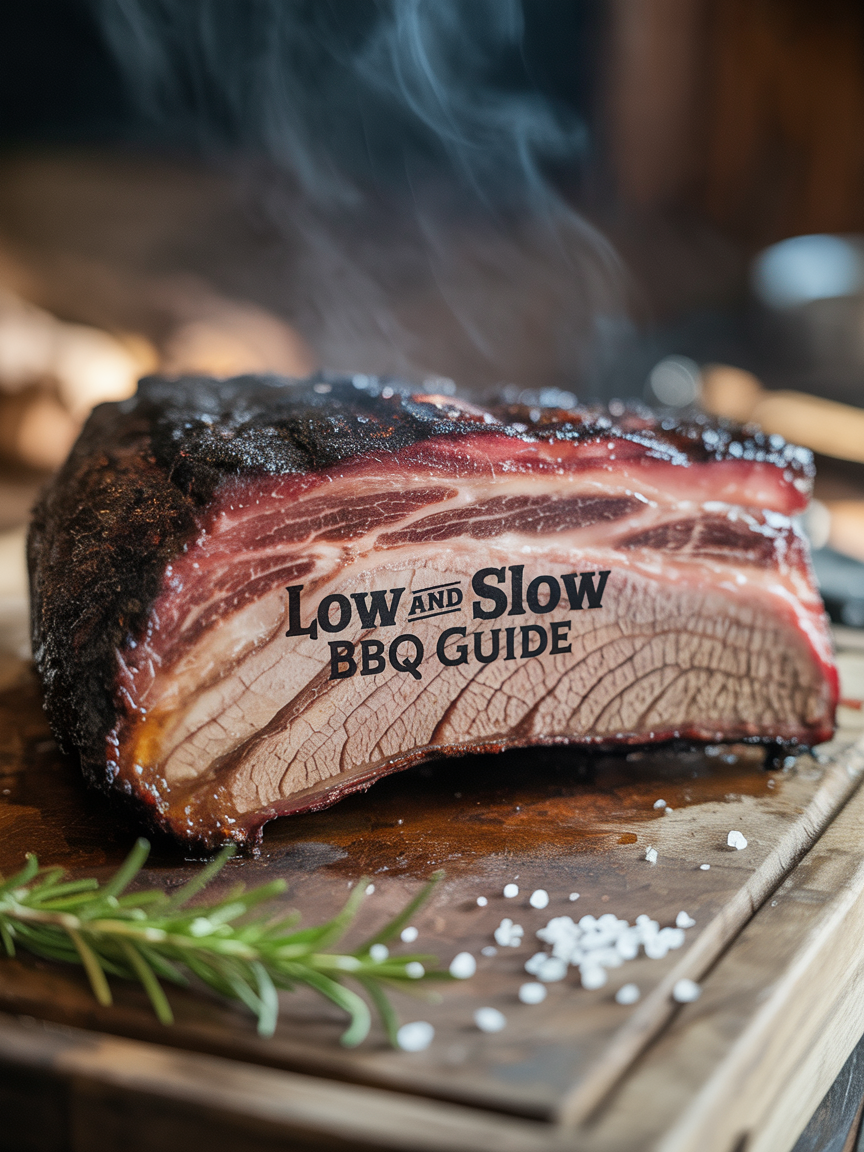
Maintaining Fire for Smoking: Low and Slow BBQ Guide
Maintaining fire for smoking is the difference between a backyard cook and a true pitmaster. Learn how to hold steady temps, manage airflow, and keep your coals alive for hours of low and slow perfection. This is your sign to fire up the grill today.
Ingredients
| AMOUNT | INGREDIENT | NOTES |
|---|---|---|
| 1 full chimney | lump charcoal or briquettes | lump for hotter cleaner burn, briquettes for longer more consistent heat |
| 4 to 6 large chunks | hardwood smoke wood | oak, hickory, cherry, or applewood depending on your protein |
| 1 full chimney | unlit charcoal | reserved for the minion method base or snake method setup |
| 1 large | water pan | filled halfway with hot water to stabilize chamber temperature and add moisture |
| 4 to 6 lbs | bone-in pork shoulder or beef brisket flat | choose a tough collagen-rich cut that benefits from low and slow cooking |
| 3 tablespoons | kosher salt | for dry rub base |
| 2 tablespoons | coarse black pepper | for dry rub base, Texas style |
| 1 tablespoon | garlic powder | optional rub addition |
| 1 tablespoon | smoked paprika | adds color to the bark and enhances smoke appearance |
Instructions
Nutrition (per serving)
The BBQ Story Behind This Recipe
Low and slow BBQ is as deeply American as any culinary tradition gets, rooted in centuries of Southern and Central Texas pit cooking where whole animals and tough cuts were cooked over hardwood coals for many hours until tender. The earliest American pitmasters were not chasing convenience – they were solving a problem. Cuts like brisket, pork shoulder, and beef ribs were cheap and tough, packed with connective tissue that only long exposure to gentle, smoky heat could break down into the kind of silky, pull-apart texture that has made BBQ one of the most beloved food traditions on earth. Controlling that fire was a skill passed down through families, barbecue joints, and community cook-offs long before any thermometer was involved.
Regionally, the philosophy of fire management took on distinct personalities. In the Carolinas, whole hog cooks over hardwood coals demanded pitmaster teams working in shifts through the night, shoveling live coals from a burn barrel directly beneath the pig with nothing but experience and instinct to guide the heat level. In Central Texas, offset smokers burning post oak created a cleaner, more controllable fire environment, giving rise to the bark-first, smoke ring-obsessed culture that defines Texas BBQ today. In Kansas City and Memphis, a blending of wood smoke and charcoal base fires brought in even more nuance. Every single one of these regional traditions demanded one non-negotiable skill above all others: the ability to maintain a consistent, long-burning fire from start to finish.
Hot Off the Grill
A Closer Look
Pitmaster Tips for Best Results
- Never add cold unlit wood splits to an offset smoker firebox when the fire is struggling – this produces thick dirty smoke and temperature swings. Always have a small secondary chimney of lit coals ready to add as needed to maintain heat without disrupting clean combustion.
- Keep your exhaust vent fully open at all times during the entire cook. All temperature control happens through the intake vent only. Restricting exhaust creates negative pressure in the chamber and traps bitter creosote smoke that will ruin the flavor of your bark.
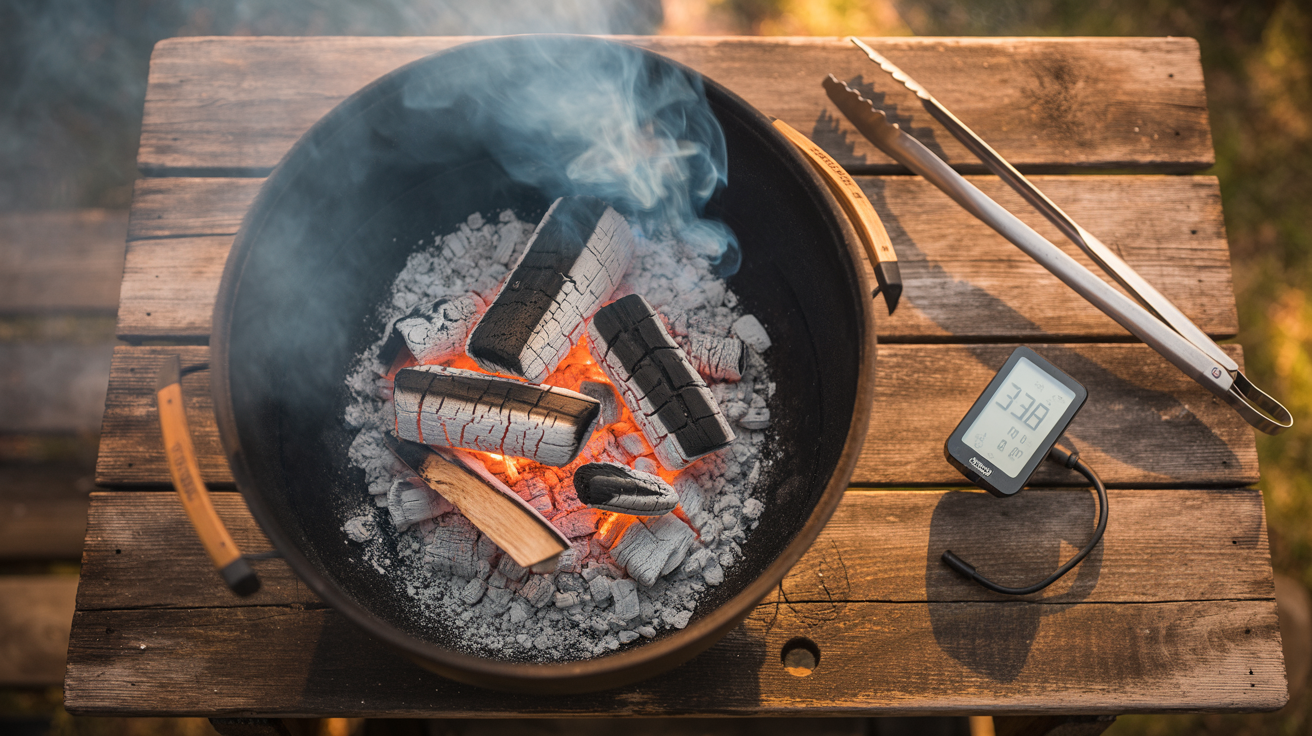
- Aim for thin blue smoke rather than thick white or gray smoke before placing your meat. Blue smoke is the sign of clean, efficient combustion and it delivers the best smoke ring and cleanest flavor. If you see white billowing smoke, give the fire more time and oxygen before loading the meat.
- Use a dual-probe wireless thermometer so you can monitor both grill chamber ambient temp at grate level and meat internal temp simultaneously without opening the lid. Lid discipline is critical in low and slow cooking – every opening loses 15 to 20 minutes of stable temperature.
- If you are running a long cook of 8 or more hours, the minion method is your best friend on a kettle or bullet smoker. Fill the coal basket with unlit briquettes, make a well in the center, and pour a full chimney of lit coals into that well. The lit coals slowly ignite the surrounding unlit coals from the center outward, providing a self-feeding fuel supply that can hold 225 to 250 degrees for 8 to 12 hours with minimal intervention.
🔧 Pitmaster Equipment
Offset Smoker or Kettle Grill: The primary cooking vessel for authentic low and slow BBQ. Offsets allow dedicated fire management in the firebox while a kettle excels with snake or minion method setups.
Instant Read Thermometer: Critical for monitoring internal temp of your meat and verifying doneness. A probe thermometer with a leave-in ambient probe lets you track grill temperature hands-free throughout the cook.
Dual Probe Wireless Thermometer: One probe monitors your grill chamber temp and one monitors internal meat temp simultaneously, giving you a complete real-time picture of your cook without lifting the lid.
Chimney Starter: Lights charcoal quickly and evenly without lighter fluid, giving you a clean coal bed with no chemical taste affecting your smoke.
Long Tongs and Heat-Resistant Gloves: Essential for safely managing live coals, repositioning wood chunks, and adjusting fuel without burning yourself during a multi-hour cook.
Hardwood Chunks or Splits: The source of your smoke flavor. Chunks of oak, hickory, cherry, or applewood placed on lit coals produce the clean blue smoke that builds bark and creates a beautiful smoke ring.
Water Pan or Drip Pan: Placed inside the cooking chamber, a water pan stabilizes temperature by acting as a heat sink and adds moisture to prevent the meat surface from drying out during long cooks.
Charcoal (Lump or Briquettes): Your base fuel source. Lump charcoal burns hotter and cleaner with less ash while briquettes burn more consistently and longer, making them a great choice for extended low and slow sessions.
🔥 Variations
Pellet Grill Version: Set your pellet grill to 225 to 250 degrees Fahrenheit and load your hopper with your preferred hardwood pellets such as hickory, oak, or competition blend. Pellet grills automate most of the fire management work through a digital controller, but you should still monitor ambient temp at grate level with a separate probe since built-in controllers can read several degrees off. Enable the smoke or super smoke setting if your pellet grill has one to maximize smoke output during the first 2 to 3 hours of the cook when the meat surface is most receptive to smoke absorption.
Offset Smoker All-Wood Version: For a true Texas-style all-wood fire, skip the charcoal base entirely and build your fire exclusively with seasoned hardwood splits such as post oak or pecan. Start with smaller kindling pieces and build up to full splits once a solid coal bed is established. All-wood fires require more active management with split additions every 30 to 45 minutes, but they produce a deeper, more complex smoke flavor and the beautiful mahogany bark color that defines competition-level Texas BBQ.
Ceramic Kamado Version: Kamado grills like the Big Green Egg excel at low and slow because their thick ceramic walls retain heat exceptionally well and require very little fuel. Use the minion method with a full load of lump charcoal and bury 3 to 4 wood chunks throughout the coal bed rather than placing them all on top. Set the bottom draft door to about one quarter inch open and the top daisy wheel vent to a very small opening. Kamados hold 225 degrees with remarkable stability once dialed in, sometimes requiring no vent adjustments at all for an entire 8-hour cook.
❓ Pitmaster FAQ
What temperature should I maintain for low and slow BBQ?
The sweet spot for low and slow cooking is 225 to 250 degrees Fahrenheit measured at grate level in the cooking chamber. Some pitmasters prefer to run hotter at 275 degrees for faster results while still getting good bark and smoke penetration. Anything below 200 degrees risks food safety issues if the internal temp of the meat does not rise quickly enough, and anything above 300 degrees is no longer low and slow – it is just indirect grilling.
How often do I need to add wood chunks for smoke?
During the first 2 to 3 hours of the cook, add 1 to 2 hardwood chunks every 45 to 60 minutes as each previous chunk burns down to coals. After the 3-hour mark, the meat surface has absorbed most of the smoke it is going to take and adding more wood is primarily for fire management rather than flavor. Over-smoking is a common beginner mistake – too much smoke creates a bitter, harsh bark. Thin blue smoke for the first 3 hours is all you need.
Why does my temperature keep spiking and dropping?
Inconsistent temps are almost always caused by one of three things: too many vent adjustments made too quickly, adding cold unlit fuel directly to the fire, or opening the lid too frequently. Give every vent adjustment at least 10 to 15 minutes to take effect before making another change. Always add pre-lit coals rather than cold fuel when replenishing the fire. And resist opening the main cooking lid – use your thermometer probes to monitor progress so the lid stays closed and temps stay stable.
What is the stall and do I need to worry about it?
The stall is a period during cooking, typically at 150 to 165 degrees Fahrenheit internal temp, where the meat surface sweats and evaporative cooling holds the internal temp flat for 1 to 3 hours. It is completely normal and is not a sign that something is wrong with your fire. Do not raise your cooking temp to power through it – that will rush the collagen breakdown and dry out the meat. You can wrap the meat in butcher paper or foil at the stall to push through faster, or let it ride unwrapped for maximum bark development if time allows.
Can I use lighter fluid to start my fire for smoking?
Avoid lighter fluid for any smoke cooking. The petrochemical compounds in lighter fluid do not fully burn off before cooking begins and can impart a chemical taste to your meat, especially in the early stages when the meat surface is most absorbent. Always use a chimney starter with newspaper or a fire starter cube to light your charcoal. A full chimney of coals is ready in about 15 to 20 minutes and starts your cook with clean, chemical-free heat.
How do I know if my smoke is clean or dirty?
Clean smoke is thin, almost invisible, with a faint blueish tint – pitmasters call it blue smoke or thin blue. This is what you want throughout your cook because it delivers the best flavor and helps build a beautiful smoke ring. Dirty smoke is thick, white, gray, or black and indicates incomplete combustion caused by wet wood, a fire that is too cold, or insufficient oxygen. If you see thick smoke, open your intake vent, check that your exhaust is fully open, and wait for the fire to clean itself up before putting meat on.