Competition Ribs Recipe: St Louis Style BBQ Perfection
Ingredients
Method
- Start by prepping your racks the night before if you can, or at minimum 2 hours before cook time. Lay each rack bone side up on a cutting board and locate the thin papery membrane stretched across the bones. Slide a butter knife or the tip of a spoon under the membrane at one end, grab it with a paper towel for grip, and peel it completely off in one long pull. This step is non-negotiable for competition ribs - leaving the membrane on creates a rubbery barrier that blocks smoke penetration and prevents your rub from flavoring the meat on that side.
- Mix your dry rub in a small bowl by combining the brown sugar, smoked paprika, kosher salt, black pepper, garlic powder, onion powder, cayenne, and mustard powder. Stir until everything is evenly distributed. Coat both sides and all edges of each rack with a thin layer of yellow mustard - do not worry about the mustard flavor, it cooks off completely and simply acts as a glue for your rub. Apply your rub generously over the mustard on both sides, pressing it in firmly with your hands so it adheres well. Wrap the racks loosely in plastic wrap and refrigerate for at least 2 hours or overnight.
- About an hour before cook time, fire up the grill or smoker and bring it to a stable temperature of 225 to 250 degrees Fahrenheit. Set up for indirect heat with your fire on one side and your ribs on the other. Add 2 to 3 chunks of cherry or apple wood directly on your coals or in your firebox. Cherry wood gives a beautiful dark mahogany color to the bark and a mildly sweet smoke flavor that pairs perfectly with pork. Let the smoker run until the smoke coming from the vent turns thin and blue rather than thick and white - this is clean smoke and what you want your ribs bathed in.
- Remove your ribs from the refrigerator 30 minutes before they go on to let them come closer to room temperature. Place the racks bone side down on the grate in your indirect heat zone. Close the lid and leave them alone for the first 45 minutes. Resist the urge to open the lid constantly - every time you lift the lid you lose heat and smoke. After 45 minutes begin spritzing the surface of the ribs with apple juice every 45 minutes to keep the surface moist and encourage bark development without drying out the crust.
- After 3 full hours of open smoke your ribs should have a deep reddish-brown color developing on the surface and the bark should be starting to set. You may notice a faint but visible smoke ring forming just below the surface of the meat along the bone side - that pink layer is caused by the nitric oxide in the wood smoke reacting with the myoglobin in the pork and is the hallmark of a properly smoked rib. This is your signal to move into the wrap phase.
- Tear off two large sheets of heavy duty aluminum foil, enough to wrap each rack completely with room to fold the edges tightly. Lay one rack meat side down in the center of the foil. Place 2 tablespoons of butter pats on top of the bone side, drizzle 2 tablespoons of honey over the bones, and pour 2 tablespoons of apple juice along the length of the rack. Fold and crimp the foil edges tightly to create a sealed packet that will trap all of that steam and liquid inside. Repeat with the second rack. Return both foil-wrapped racks to the smoker bone side down at the same 225 to 250 degree temperature.
- Cook the wrapped ribs for 2 full hours. During this phase the trapped steam and braising liquid will push the internal temp of the ribs through the dreaded stall - the point around 160 to 170 degrees Fahrenheit where evaporative cooling stalls the internal temp rise for what feels like forever. The foil shortcut eliminates that wait and drives the ribs toward the 195 to 200 degree range where the collagen in the connective tissue fully converts to gelatin, giving you that melt-in-your-mouth tenderness competition judges look for.
- After 2 hours carefully open one corner of the foil packet and insert your instant read thermometer into the thickest part of the rack, avoiding the bone. You are looking for an internal temp between 195 and 203 degrees Fahrenheit. If you are not there yet, re-seal the foil and give it another 20 to 30 minutes. While the ribs are still wrapped, do the bend test by picking up one end of the rack with tongs - a properly cooked rack should flex and crack slightly in the center but should not fall apart. If it snaps in half immediately it may be slightly overcooked, but if it does not bend at all it needs more time.
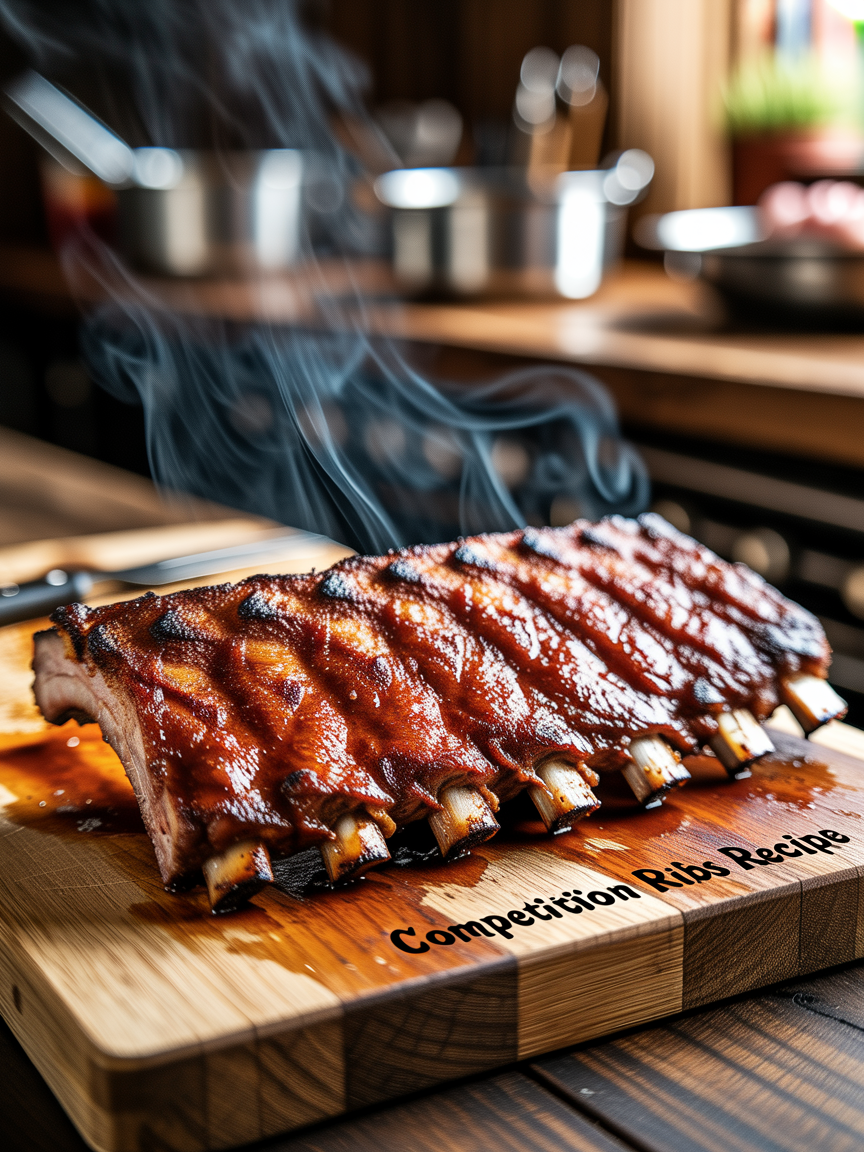
- Once your ribs hit the proper internal temp and pass the bend test, carefully remove them from the foil and return them to the grate meat side up. Pour any accumulated juices from the foil packets into a small bowl and discard or save for another use. Mix your BBQ sauce with the apple cider vinegar in a small bowl to thin it slightly. Apply a thin coat of the thinned glaze to the top of both racks using your basting brush. Close the lid and let the glaze set for 15 minutes, then apply a second thin coat. Repeat this process 2 to 3 times over the final hour, building up a deep glossy lacquered finish layer by layer.
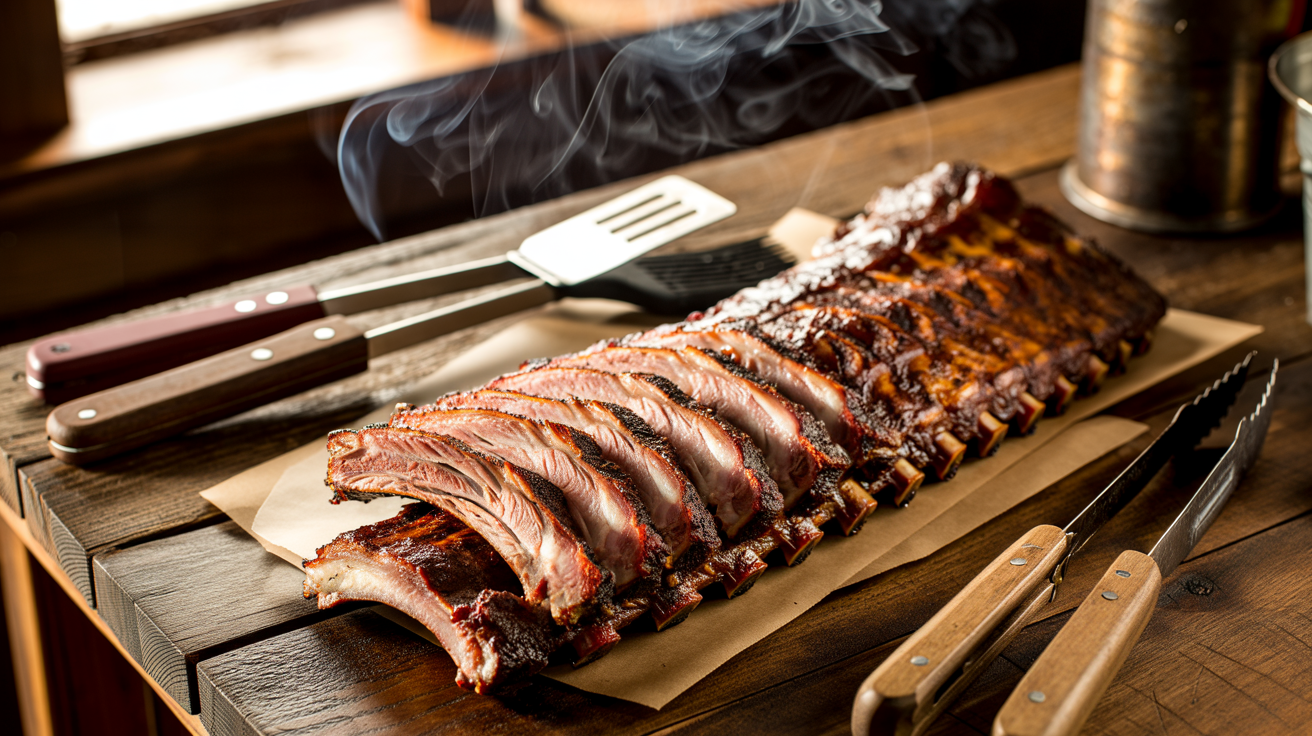
- After the final glaze coat has had 15 minutes to set, pull your racks off the smoker and place them on a clean cutting board. Tent them loosely with a sheet of aluminum foil and rest the meat for at least 15 to 20 minutes before cutting. This resting period allows the juices to redistribute throughout the meat so they do not all run out the moment you make your first cut. After resting, slice between each bone with a sharp boning knife or slicing knife using one smooth downward motion. For competition presentation, arrange the bones on a sheet of white butcher paper or a wooden board and serve immediately.
Nutrition
This competition ribs recipe is the real deal – a championship-caliber method for cooking St Louis style pork ribs that will make your backyard the most talked-about BBQ spot on the block. We are talking a full 6-hour low and slow cook at 225 to 250 degrees Fahrenheit, a deep lacquered bark that crackles when you bite through it, and a smoke ring so vivid it looks like it belongs on a competition table in Kansas City. These are not weeknight ribs – these are the ribs you cook when you want to show the world what you are made of.
St Louis ribs are cut from the belly side of the rib cage, trimmed down from spare ribs into a clean rectangular rack. That extra fat marbling is what makes them ideal for competition cooking. Fat renders slowly over hours of indirect heat, basting the meat from the inside out while your rub builds that iconic mahogany crust on the outside. We run these ribs through the classic 3-2-1 method – 3 hours of naked smoke, 2 hours wrapped tight in foil with a butter and brown sugar braise, and 1 final hour back on the grate to set that glaze and firm up the bark. Internal temp should read between 195 and 203 degrees Fahrenheit in the thickest part of the meat before you even think about pulling them.
At GrillMasterHQ we have tested this process dozens of times across charcoal smokers, offset pits, and pellet grills, and we can tell you without hesitation that the fundamentals never change. Control your fire, manage your smoke, respect the process, and always rest the meat before you cut. Follow these steps and you will not just cook great ribs – you will cook competition ribs.
Competition Ribs Recipe: St Louis Style BBQ Perfection
This competition ribs recipe delivers championship-level St Louis style ribs with a deep mahogany bark, a gorgeous smoke ring, and tender fall-off-the-bone meat that wins crowds every single time. If you have been waiting for a reason to fire up the grill, this is it.
Ingredients
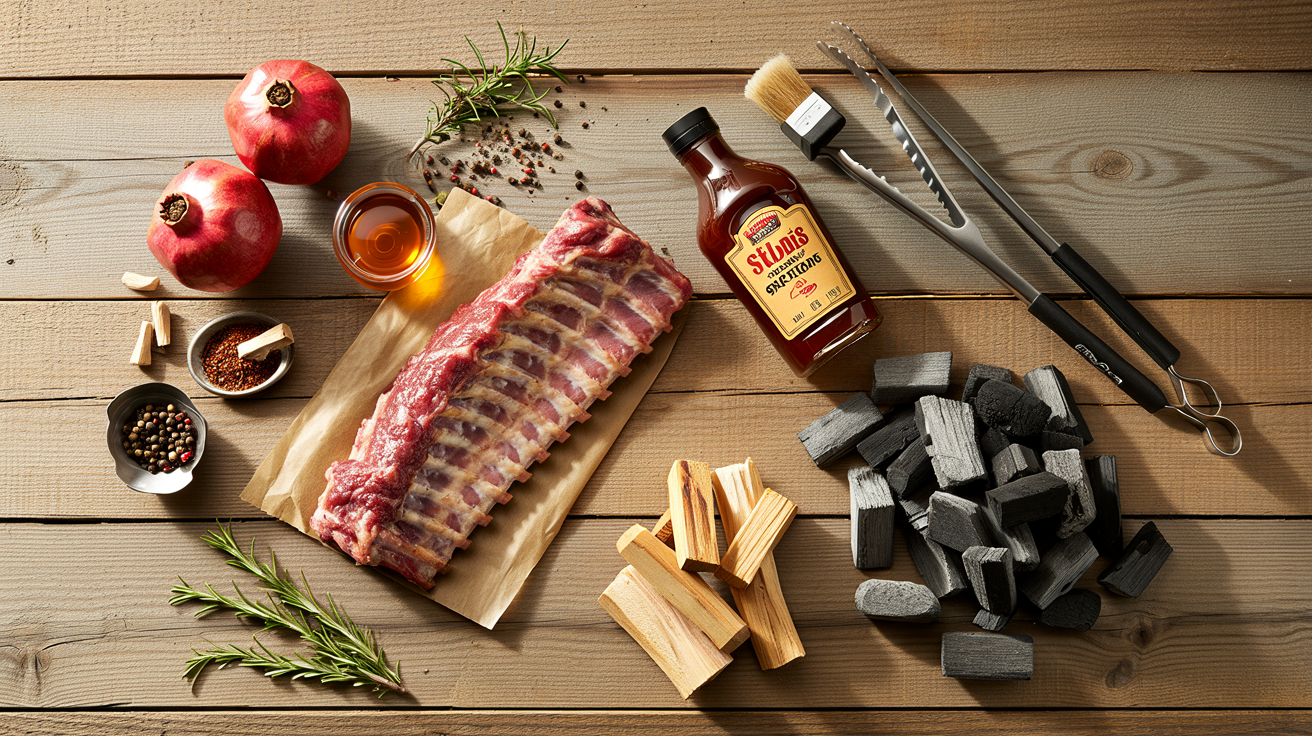
| AMOUNT | INGREDIENT | NOTES |
|---|---|---|
| 2 racks | St Louis style pork ribs | approximately 3 to 3.5 lbs each, membrane removed from the bone side |
| 4 tablespoons | yellow mustard | used as a binder to help the rub adhere to the meat |
| 4 tablespoons | brown sugar | packed, for the rub – adds sweetness and helps build the bark |
| 2 tablespoons | smoked paprika | adds color and a deep smoky backbone to the rub |
| 1 tablespoon | kosher salt | coarse grind works best for rub texture and bark formation |
| 1 tablespoon | coarse black pepper | freshly cracked for best flavor impact |
| 1 tablespoon | garlic powder | not garlic salt – use pure garlic powder |
| 1 tablespoon | onion powder | adds savory depth to the rub profile |
| 1 teaspoon | cayenne pepper | adjust up or down based on your heat preference |
| 1 teaspoon | dried mustard powder | adds a subtle tangy kick that complements the pork |
| 4 tablespoons | unsalted butter | cut into small pats, used in the foil wrap phase |
| 4 tablespoons | honey | drizzled over ribs inside the foil wrap for sweetness and moisture |
| 4 tablespoons | apple juice or apple cider | added to the foil wrap to create braising steam |
| 1 cup | your favorite BBQ sauce | competition style – sweet with a hint of tang, used for the final glaze |
| 2 tablespoons | apple cider vinegar | mixed into the BBQ sauce to thin the glaze and add acidity |
| 1 cup | apple juice | poured into a spray bottle for spritzing during the open smoke phase |
| 4 chunks | cherry or apple wood chunks | use chunks not chips for a longer more consistent smoke output |
Instructions
Nutrition (per serving)
The BBQ Story Behind This Recipe
St Louis style ribs have deep roots in the Midwest BBQ tradition, particularly in Missouri where pork has long been the protein of choice for pit cooks stretching back generations. The cut itself was standardized by the meatpacking industry in St Louis, where workers began trimming spare ribs into a more uniform rectangular rack to make them easier to package and sell. Pitmasters quickly realized that the trimmed rack cooked more evenly over live fire, and the St Louis cut became the go-to choice for serious competition cookers who needed consistency rack after rack.
Competition BBQ as a formalized sport exploded in the 1980s and 1990s through organizations like the Kansas City Barbeque Society, and St Louis ribs became a staple category on the competition circuit. Teams spent years dialing in their rubs, their wood selections, their wrap techniques, and their glazing schedules chasing that perfect bite that judges call for – tender but not falling off the bone, with a clean bite-through texture and layers of sweet, smoky, savory flavor. The traditions born on those competition circuits have filtered down into backyard culture, and today the 3-2-1 method and the competition glaze finish are standard knowledge among serious BBQ enthusiasts across the country.
Hot Off the Grill
A Closer Look
Pitmaster Tips for Best Results
- Pull your rub together the night before and season the ribs at least 8 hours before cook time if you can manage it – the longer the salt in the rub has to work into the meat, the better your bark and flavor penetration will be on competition day.
- Keep your smoker temperature as stable as possible in the 225 to 250 degree Fahrenheit range throughout the entire cook. Wild temperature swings above 275 degrees will render the fat too fast, dry out the meat, and compromise your bark texture before it has a chance to fully develop.
- Use wood chunks rather than chips for a long cook like this – chips burn out in 20 to 30 minutes while chunks of apple or cherry wood can provide consistent clean smoke for 45 minutes to an hour per chunk, which is exactly what you need for a 6-hour session.
- Do not sauce your ribs until the final hour of the cook – applying BBQ sauce too early will cause the sugars in the sauce to burn before the ribs are fully cooked, giving you a bitter black crust instead of that beautiful caramelized mahogany competition glaze.
- Always rest the meat after it comes off the heat – skipping the 15 to 20 minute rest is one of the most common mistakes backyard cooks make. Cutting into ribs straight off the smoker sends all those hard-earned juices running out onto your cutting board instead of staying in the meat where they belong.
🔧 Pitmaster Equipment
Offset Smoker or Charcoal Kettle: Gives you authentic wood smoke flavor and the indirect heat environment essential for a proper low and slow cook on ribs.
Instant Read Thermometer: Critical for confirming your ribs have reached the 195 to 203 degree Fahrenheit window for perfect tender texture without overcooking.
Long Tongs or Rib Hooks: Keep your hands safe while moving racks around the hot grate and help you handle the ribs without tearing the bark.
Heavy Duty Aluminum Foil: Essential for the wrap phase of the 3-2-1 method, trapping steam and braising liquid to push the ribs through the stall and tenderize the meat.
Spray Bottle: Use it to spritz the ribs every 45 minutes during the open smoke phase to keep the surface moist and help the bark develop without burning.
Basting Brush: Needed for applying your competition glaze in thin layered coats during the final hour to build that deep lacquered finish.
Rib Rack or Elevated Grate Insert: Lets you stand multiple racks upright in the smoker to maximize cooking space and ensure even airflow around every rack.
🔥 Variations
Pellet Grill Version: Set your pellet grill to 225 degrees Fahrenheit and load it with cherry or apple pellets for the best color and flavor match to traditional charcoal smoking. Follow the exact same 3-2-1 process and glaze schedule – pellet grills are incredibly consistent for low and slow cooks and produce excellent results with very little adjustment needed.
Gas Grill Version: Set up your gas grill for two-zone indirect heat by lighting only the burners on one side and placing the ribs on the unlit side. Place a smoker box filled with soaked apple or cherry wood chips directly over one of the lit burners. Maintain a grill temperature of 250 degrees Fahrenheit, refill the smoker box every hour, and follow the same 3-2-1 method for great results even without a dedicated smoker.
Sweet Heat Competition Glaze: For a competition-inspired glaze with more complexity, combine 1 cup of peach preserves with your BBQ sauce and add a teaspoon of chipotle powder and a splash of bourbon. The fruit-forward sweetness, smoky heat, and whiskey depth create a glaze profile that judges absolutely love and sets your ribs apart from the standard entries.
Texas Style No-Wrap Version: Skip the foil wrap entirely and cook the ribs low and slow at 225 degrees Fahrenheit for the full 6 hours. This produces a firmer, chewier bark with more pronounced smoke penetration and a drier texture that holds up longer on the competition table. Spritz every 30 to 45 minutes throughout the entire cook to compensate for the lack of wrapped moisture, and pull at 195 to 200 degrees internal temp just the same.
❓ Pitmaster FAQ
What is the correct internal temperature for competition St Louis ribs?
You are looking for an internal temperature between 195 and 203 degrees Fahrenheit in the thickest part of the meat, away from any bone. At this range the collagen in the connective tissue has fully broken down into gelatin, which gives you that silky tender texture with a clean bite-through that competition judges score highly. Use an instant read thermometer every time – do not guess.
What does 3-2-1 ribs mean?
The 3-2-1 method refers to a three-phase cooking schedule: 3 hours of uncovered smoking at 225 to 250 degrees Fahrenheit to build the bark and smoke ring, 2 hours wrapped tightly in foil with butter, honey, and liquid to braise and tenderize the meat, and 1 final hour back on the grate unwrapped to set the glaze and firm up the bark. It is the most widely used framework for competition-level ribs.
Do I have to remove the membrane from the ribs?
Yes, absolutely. The membrane is a tough silvery skin on the bone side of the rack that does not break down during cooking. Leaving it on creates a chewy rubbery layer that blocks smoke from penetrating the meat from below and prevents your rub from seasoning that side properly. Removing it takes less than two minutes and makes a significant difference in the final texture and flavor of your ribs.
What wood is best for smoking St Louis ribs?
Cherry and apple wood are the gold standard for competition pork ribs. Cherry gives a deep mahogany color and a mildly sweet smoke profile that complements the richness of pork beautifully. Apple is slightly lighter and sweeter. Both pair well with the brown sugar and smoked paprika in the rub. Avoid mesquite for long cooks – it is too aggressive and can make the ribs bitter over a 6-hour session.
How do I know when my ribs are done without a thermometer?
The bend test is your best backup method. Pick up one end of the rack with tongs and let it hang freely – a properly cooked rack will flex significantly in the center and you will see the bark start to crack across the top. If the rack is completely rigid it needs more time. If it folds over completely and the meat falls off the bone it may be slightly overcooked, though still delicious. For competition accuracy though, always use an instant read thermometer and aim for 195 to 203 degrees Fahrenheit.
Can I prep competition ribs the night before?
You can absolutely season and prep the racks the night before – in fact it is encouraged. Remove the membrane, apply your mustard binder and dry rub, wrap the racks tightly in plastic wrap, and refrigerate overnight. The extended contact time allows the salt in the rub to begin breaking down the surface proteins and draws moisture back in, resulting in better bark adhesion and deeper flavor penetration when you fire up the smoker the next morning.