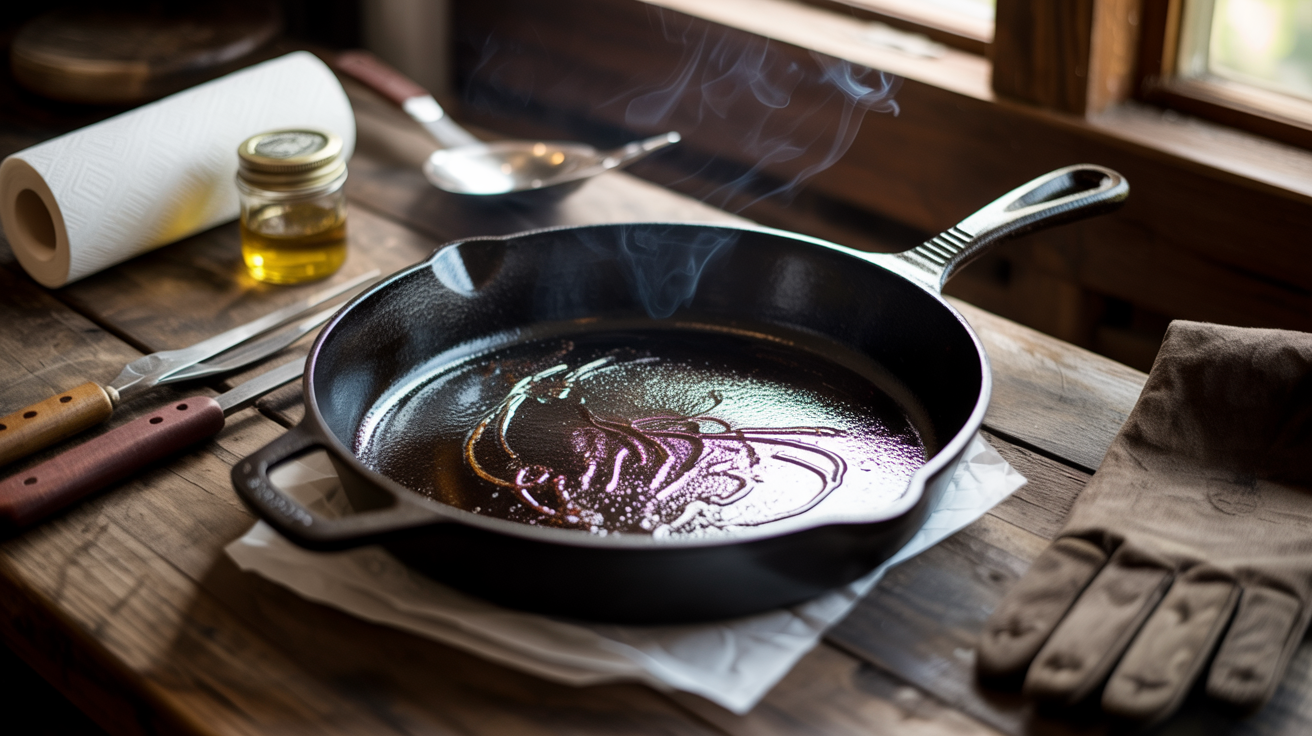
Knowing how to season cast iron is as fundamental to BBQ mastery as knowing how to build a fire – skip it and everything else suffers. A well-seasoned cast iron skillet is your most reliable weapon in the outdoor cooking arsenal, capable of hitting and holding temperatures north of 500 degrees Fahrenheit without flinching. Whether you are searing a thick ribeye right off the smoker or building a campfire cobbler after a long day of low and slow cooking, that dark glossy surface you are about to build will carry you through thousands of cooks.
The seasoning process is nothing more than polymerized oil baked into the pores of the iron at high heat – typically between 450 and 500 degrees Fahrenheit. Each layer you build is thin, nearly invisible, and incredibly durable. Think of it like building bark on a brisket: one layer does not get you there, but four or five layers of heat and patience create something almost indestructible. The process takes about an hour of oven or grill time per layer, and the results compound with every cook you do after that.
At GrillMasterHQ we treat cast iron the way we treat every piece of BBQ equipment – with respect, consistency, and a little elbow grease. Whether you just pulled a vintage skillet from a garage sale or you cracked open a brand new Lodge right out of the box, this guide will walk you through every step of the seasoning process with pitmaster-level detail. By the time we are done, you will have a skillet ready to fire up the grill and handle anything you throw at it.
How to Season Cast Iron Skillet the Right Way
Learning how to season cast iron is the foundation of every serious BBQ kitchen. A properly seasoned skillet builds layers of protection that handle high heat, sear meat like a dream, and last for generations. Fire up your oven or grill today and build your best cook yet.

Ingredients
| AMOUNT | INGREDIENT | NOTES |
|---|---|---|
| 1 piece | cast iron skillet | 10-inch or 12-inch, stripped of any existing coating or rust |
| 1 tablespoon | flaxseed oil | cold-pressed, or substitute Crisco shortening or vegetable shortening |
| 1 bottle | dish soap | only for the initial pre-season wash – never use soap on a seasoned skillet |
| 1 sheet | aluminum foil | for lining the lower oven rack to catch drips |
| 1 roll | paper towels | for applying and buffing the oil layers |
Instructions
Nutrition (per serving)
The BBQ Story Behind This Recipe
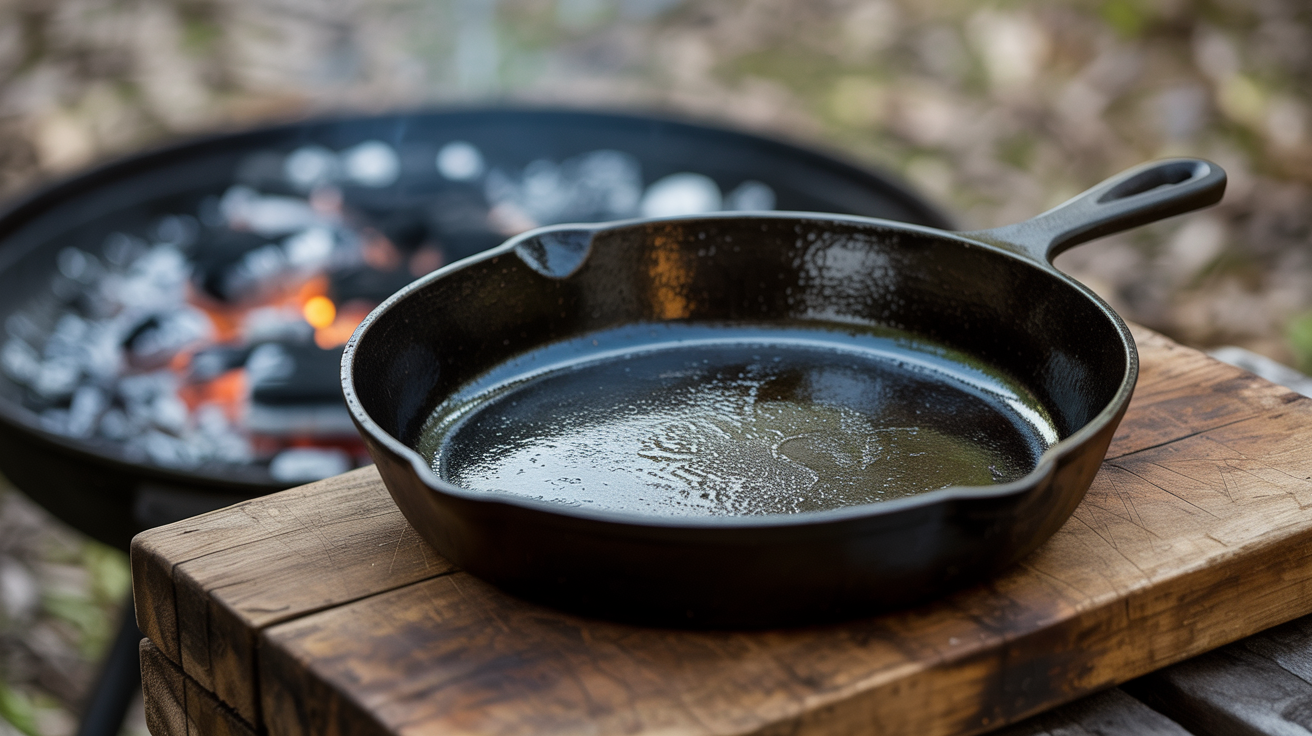
Cast iron cookware has roots stretching back to Han Dynasty China around 220 AD, but it was the American frontier that truly forged its legendary BBQ reputation. Cattle drive cooks and homesteaders relied on cast iron skillets and Dutch ovens because they could be set directly into campfire coals, endure brutal temperature swings, and cook everything from salt pork to cornbread without a single complaint. That tradition of open-fire cast iron cooking is the direct ancestor of the backyard BBQ culture we celebrate today, and the seasoning techniques passed down through generations remain essentially unchanged.
In the American South, a well-seasoned cast iron skillet was considered a family heirloom – handed down from grandmother to grandchild with strict instructions on how to care for it. Pitmaster culture absorbed this tradition completely. You will find cast iron skillets in virtually every serious BBQ operation from Texas brisket joints to Carolina whole-hog pits, used for everything from rendering tallow to finishing smoked chicken thighs with a cast iron sear. The skillet sitting in your kitchen right now is connected to that same unbroken lineage of fire, fat, and iron.
Hot Off the Grill
A Closer Look
Pitmaster Tips for Best Results
- Use the thinnest possible oil layer every time – if your paper towel leaves an obvious oil slick on the surface, you have used too much. Buff it back off until it looks almost dry. This single tip separates good seasoning from gummy, flaking disasters.
- Flaxseed oil creates one of the hardest polymerized surfaces available due to its high omega-3 fatty acid content, but Crisco shortening or lard are excellent traditional choices that many old-school pitmasters swear by for a more flexible, forgiving seasoning layer.
- If your skillet develops sticky or gummy patches after seasoning, that means the oil layer was too thick. Strip it back down with steel wool, re-wash, dry thoroughly, and start the seasoning process over from scratch with thinner layers.
- You can absolutely season cast iron on your charcoal grill or smoker instead of an oven. Set up for indirect heat at 450 to 500 degrees Fahrenheit, close the lid, and follow the same one-hour bake cycle. This method also slightly infuses the iron with residual smoke, which some pitmasters believe adds a subtle character to the seasoning.
- Never soak cast iron in water and never put it in a dishwasher – that is the fastest route to a rusty, ruined skillet. After cooking, while the pan is still warm, wipe it out with a paper towel or rinse with hot water and a brush only. Dry it on the stovetop burner over medium heat for 2 to 3 minutes, then apply a tiny wipe of oil before storing.
🔧 Pitmaster Equipment
Cast Iron Skillet: A 10-inch or 12-inch skillet is the ideal size for seasoning and everyday BBQ cooking use.
Oven or Charcoal Grill: You need a consistent heat source that can hold 450 to 500 degrees Fahrenheit for at least one hour per seasoning layer.
Flaxseed Oil or Crisco Shortening: High smoke point oils with the right fat composition bond to iron best and create a hard durable seasoning layer.
Paper Towels or Lint-Free Cloth: Essential for wiping the thinnest possible layer of oil onto the skillet surface – less is more here.
Oven Mitts or Welding Gloves: Cast iron holds heat like nothing else – protect your hands when handling a skillet that has been at 500 degrees for an hour.
Aluminum Foil: Line the lower rack of your oven or grill to catch any oil drips during the seasoning process.
Stiff Bristle Brush or Chain Mail Scrubber: For the initial cleaning step to remove any factory coating, rust, or debris before seasoning begins.
🔥 Variations
Grill Seasoning Method: Set up your charcoal or gas grill for indirect heat at a steady 450 to 500 degrees Fahrenheit. Place foil on the lower grate, flip the skillet upside down on the upper grate, close the lid, and follow the exact same one-hour bake cycle. This is the pitmaster preferred method and works identically to the oven with the bonus of a very faint smoke character absorbed into the iron.
Campfire or Outdoor Fire Pit Method: Build a hot bed of coals and let them settle to a consistent glow with no open flame. Set the oiled and buffed skillet upside down on a grate above the coals and allow it to bake for 45 to 60 minutes, rotating it occasionally for even heat exposure. This is the most traditional seasoning method and connects you directly to the frontier cooking roots of cast iron culture.
Lard or Bacon Fat Traditional Method: Old school pitmasters often seasoned their skillets with rendered lard or saved bacon grease. Apply the same way – the thinnest possible layer buffed almost dry – and bake at 450 degrees Fahrenheit for one hour. The resulting seasoning has a slightly warmer tone and many cooks believe it enhances the flavor of everything cooked in the skillet going forward.
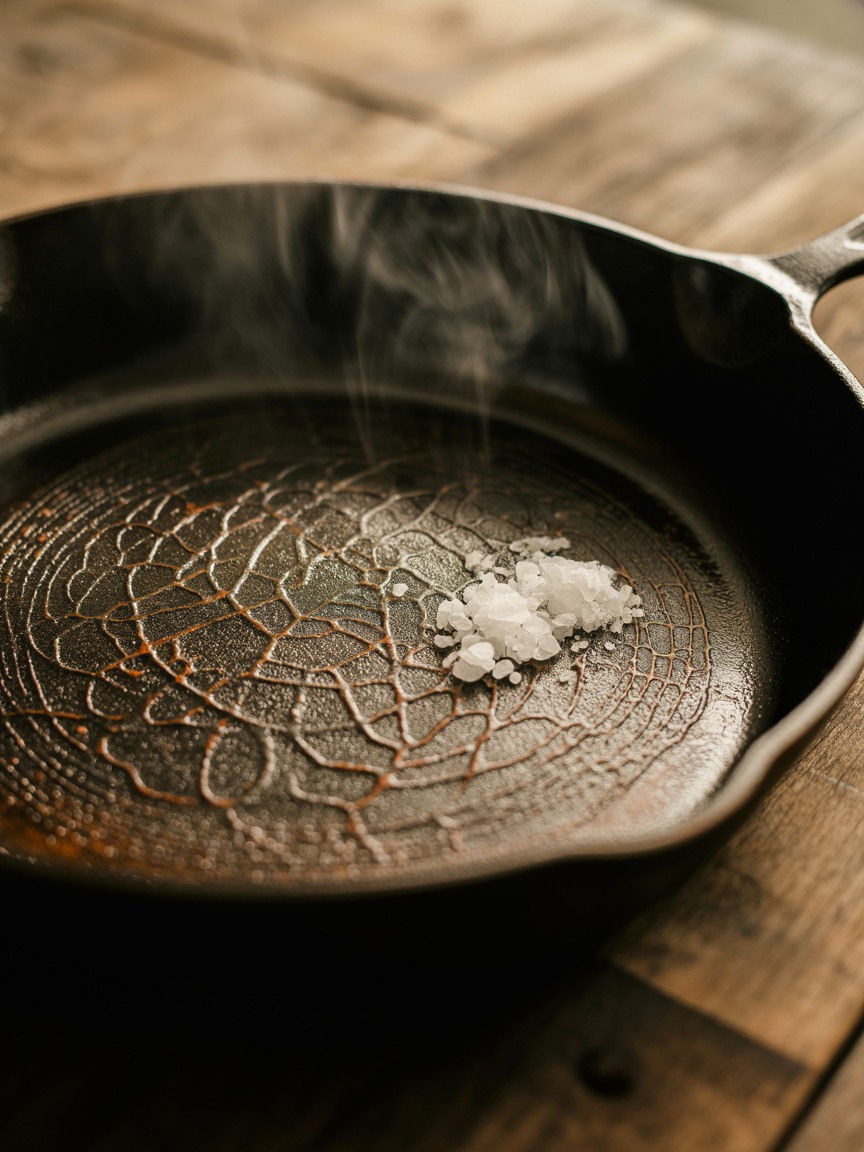
Vintage or Rusty Skillet Restoration: For a badly rusted or neglected skillet, mix equal parts coarse salt and dish soap into a paste and scrub aggressively with steel wool until all rust and old flaking seasoning is removed down to bare grey iron. Rinse, dry immediately on a hot burner, then proceed with the full 4-layer seasoning process described above. A restored vintage skillet often ends up superior to a brand new one once properly re-seasoned.
❓ Pitmaster FAQ
What is the best oil for seasoning cast iron?
Flaxseed oil, Crisco shortening, and lard are the top choices among serious cooks. Flaxseed oil creates a very hard, durable surface due to its high polyunsaturated fat content. Crisco and lard produce a slightly more flexible seasoning that some pitmasters prefer. Avoid olive oil and butter for seasoning – their low smoke points prevent proper polymerization at 450 to 500 degrees Fahrenheit.
How many layers of seasoning do I need?
A minimum of 4 layers is recommended before your first cook on a new or stripped skillet. Each layer takes about one hour at 450 degrees Fahrenheit. After 4 layers you will have a solid foundation, but the seasoning truly matures and deepens with regular cooking use over months and years. Some heirloom skillets have decades of accumulated seasoning that makes them virtually non-stick.
Can I season cast iron on a gas grill?
Absolutely. Set up your gas grill for indirect heat and dial in a stable 450 to 500 degrees Fahrenheit with the lid closed. Place the oiled skillet upside down over the indirect zone with foil below to catch drips. Close the lid and bake for one full hour per layer. The results are identical to oven seasoning and you get a light smoky atmosphere as a bonus.
Why does my cast iron seasoning keep coming off or getting sticky?
The most common cause is applying too thick an oil layer before each bake. Oil that is too thick cannot fully polymerize and instead turns gummy or flakes off. Always apply the thinnest possible coat – almost transparent – and buff off any excess with a clean dry paper towel before baking. If the problem persists, strip the skillet back to bare metal and restart the seasoning process with thinner layers.
How do I maintain cast iron seasoning after cooking?
After each use, clean the skillet while it is still warm using hot water and a stiff brush or chain mail scrubber only. Avoid soap on a seasoned pan. Dry it immediately on a stovetop burner over medium heat for 2 to 3 minutes until completely dry. While still warm, apply a very thin wipe of oil to the cooking surface with a paper towel, then let it cool and store in a dry location. Regular cooking – especially with fats like butter, lard, or bacon – builds seasoning naturally over time.
Can I use cast iron directly on a charcoal grill or over campfire coals?
Cast iron was literally designed for this purpose. It handles direct fire exposure better than any other cookware material. Place it on a grate over charcoal coals or campfire coals and use it for searing, frying, baking, or anything else. The high heat will actually reinforce and add to your existing seasoning as long as you oil and dry the pan properly after use. This is how pitmasters have been cooking since the frontier days.