Grilling tips for rain are something every serious pitmaster needs in their back pocket, because the weather does not get to decide whether you eat great BBQ tonight. Rain brings a handful of real challenges – wind that kills your coal bed, moisture that drops your grill temp by 25 to 50 degrees Fahrenheit, and humidity that messes with your smoke. But here is the truth: some of the best low and slow sessions I have ever had happened under a steady drizzle, with the smoke curling up through the rain and meat hitting that perfect 203 degrees Fahrenheit internal temp right on schedule.
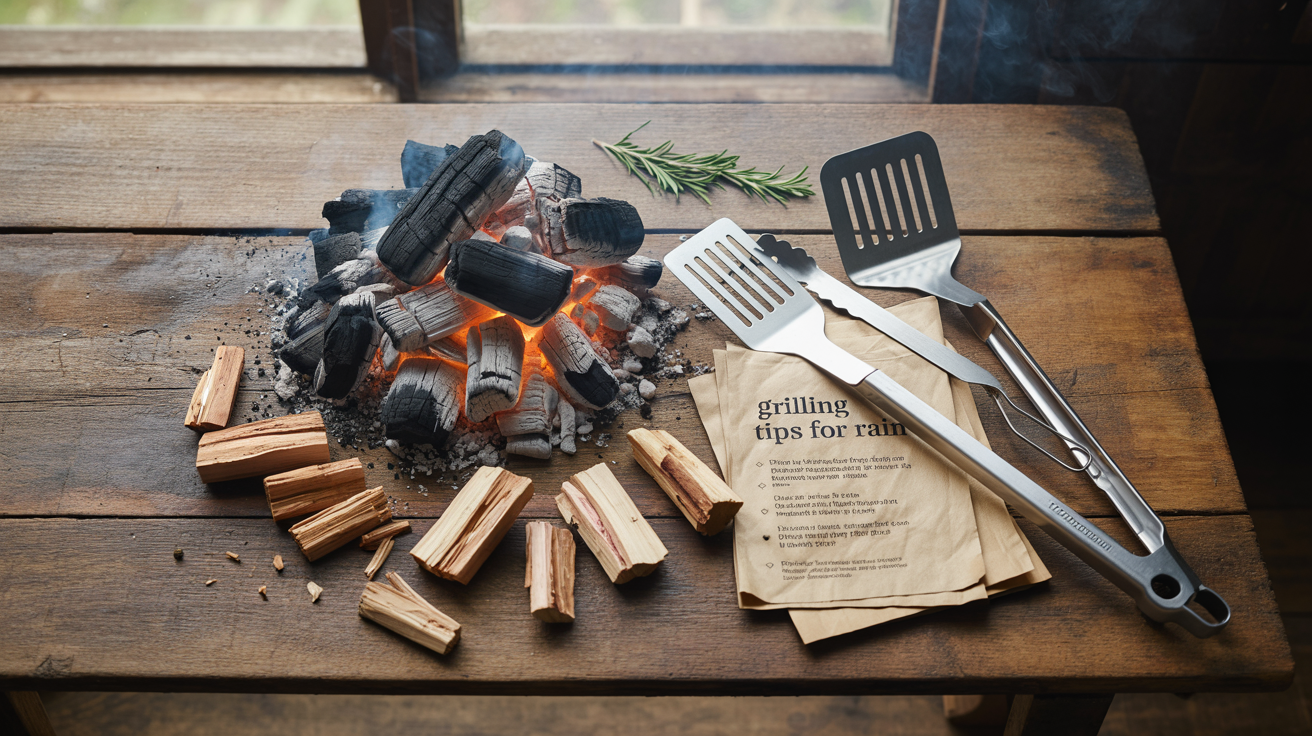
The key to grilling in the rain is preparation, not panic. Before you ever fire up the grill, you need a plan for shelter, fuel management, and temperature compensation. A simple 10-by-10-foot pop-up canopy positioned at least 3 feet from your grill gives you a dry workspace without creating a fire hazard. Keep extra charcoal or wood in a sealed container nearby, because wet fuel is dead fuel. Expect your cook time to run 15 to 30 percent longer than usual – that rack of ribs that normally takes 5 hours at 225 degrees Fahrenheit might need closer to 6 hours 30 minutes when the ambient temperature drops and rain is pulling heat away from your cooker.
Wind is actually your bigger enemy on rainy days, not the rain itself. Wind strips heat from your grill walls and throws oxygen at your coals in unpredictable bursts, making temperature control feel like a wrestling match. Position your grill with the vents facing away from the wind direction so you control the airflow, not the storm. Use a reliable instant read thermometer to monitor your cook at every stage, and resist the urge to lift the lid every few minutes – each peek drops your grill temp by 25 to 50 degrees Fahrenheit and adds 15 minutes to your cook. Stay patient, stay dialed in, and that bark will build just like it always does.
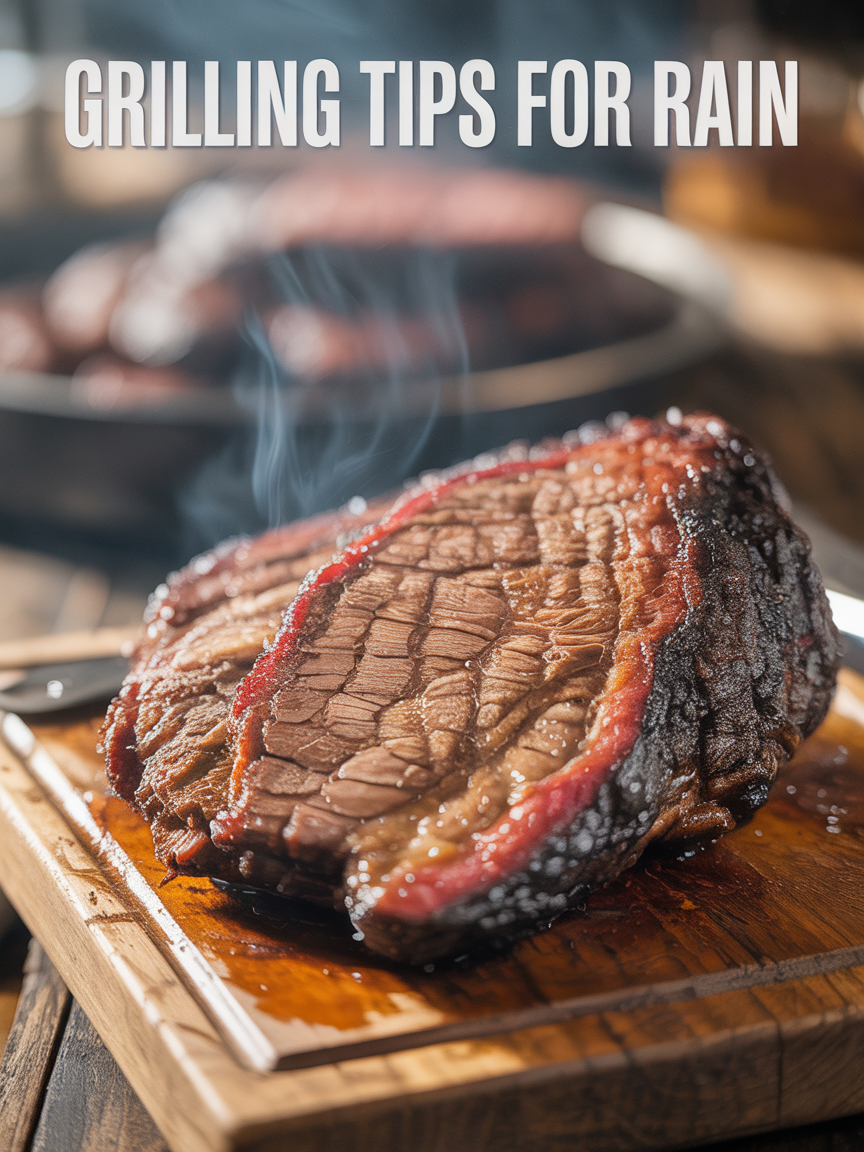
Grilling Tips for Rain: How to BBQ in Any Weather
Rain is not stopping this pitmaster from firing up the grill. With the right grilling tips for rain, you can nail perfect bark, smoke rings, and juicy meat no matter the forecast. Do not let a little water steal your BBQ thunder – fire up the grill today.
Ingredients
| AMOUNT | INGREDIENT | NOTES |
|---|---|---|
| 4 lbs | bone-in beef short ribs | English cut, about 1-inch thick – a forgiving rain-day cut that holds up to longer cook times |
| 3 tablespoons | coarse kosher salt | apply the night before for best bark development |
| 3 tablespoons | coarse black pepper | freshly cracked – the classic Texas-style rub base |
| 1 tablespoon | garlic powder | rounds out the rub without overpowering |
| 1 tablespoon | smoked paprika | adds color and depth to the bark |
| 1 teaspoon | cayenne pepper | optional for heat lovers |
| 2 tablespoons | yellow mustard | used as a binder so the rub sticks – burns off during cooking |
| 4 chunks | post oak or hickory wood | fist-sized chunks, not chips – better for long cooks in wet weather |
| 1 cup | beef broth | for spritzing every 90 minutes to keep bark moist and help smoke absorption |
Instructions

Nutrition (per serving)
The BBQ Story Behind This Recipe
BBQ has never been a fair-weather tradition. The roots of American backyard grilling trace back to Indigenous pit-cooking methods and the smokehouses of the rural South, where pitmasters cooked low and slow for hours regardless of the season or the sky above them. In the Carolinas, whole hog pits were fired through the night – rain, wind, and cold be damned – because feeding a community did not wait for a sunny forecast. These old-school pitmasters built their shelters around their pits, not the other way around, and that mindset is baked into the DNA of serious BBQ culture.
Across every major BBQ region in America – Kansas City, Texas Hill Country, Memphis, and the Carolinas – you will find a shared philosophy that great BBQ is about commitment to the process. Texas brisket joints have been smoking post oak fires through Gulf Coast storms for generations. Kansas City joints never close their pits for weather. The idea of canceling a cookout because of rain is genuinely foreign to the pitmaster tradition. Rain-day grilling is not a workaround or a compromise – it is a badge of honor, a testament to the craft, and frankly, a skill that separates the serious backyard cook from the fair-weather griller.
Hot Off the Grill

A Closer Look
Pitmaster Tips for Best Results
- Always add 20 to 25 percent more charcoal on rainy days – ambient temperature drops and wet air steals heat from your grill walls faster than you think, and running out of fuel mid-cook is the fastest way to ruin a rain-day session.
- Keep your wireless thermometer probe clipped to the cooking grate near your meat at all times during rain cooks – checking the grill lid temperature gauge is not accurate enough when weather is causing temp swings of 20 to 40 degrees Fahrenheit.
- Use wood chunks instead of wood chips in wet weather – chips burn out in under 10 minutes and you need steady smoke production over a long cook without constantly lifting the lid to reload.
- Point your bottom intake vent directly away from the prevailing wind direction so you are controlling oxygen flow to your coals rather than the wind doing it for you – this is the single biggest temperature stability trick for rainy day grilling.
- Never use lighter fluid on a rainy or humid day – use a chimney starter with fire starter cubes every single time, because lighter fluid combustion is unreliable in damp air and you cannot afford a bad light when conditions are already working against you.
🔧 Pitmaster Equipment
Charcoal Grill or Offset Smoker: Provides the heat retention and fuel flexibility needed to manage temperature swings caused by rain and wind.
Pop-Up Canopy or Grill Gazebo: Keeps rain off your cooking setup and fuel supply without blocking ventilation – position at least 3 feet from the grill.
Instant Read Thermometer: Critical for hitting accurate internal temps when rain causes unpredictable heat fluctuations throughout the cook.
Wireless Dual-Probe Thermometer: Monitors both your grill temp and meat internal temp from inside the house so you do not have to stand in the rain constantly.
Long Heavy-Duty Tongs: Keep your hands away from the fire and give you full control when managing coals or flipping meat in slippery conditions.
Waterproof Grill Cover: Protects your grill between uses and keeps moisture out of vents and ash catchers before you fire up.
Chimney Starter: Lights charcoal faster and more reliably than lighter fluid, which is especially important when conditions are damp.
Extra Fuel Supply in Sealed Container: Wet charcoal or wood will not light or burn properly – always keep a dry backup supply sealed and ready on rainy cook days.
🔥 Variations
Pellet Grill Rain Version: Set your pellet grill to 250 degrees Fahrenheit and follow the same cook times and spritzing schedule. Pellet grills actually handle rain quite well because the digital controller compensates for temp drops automatically – just make sure your hopper is full and covered, as wet pellets will jam your auger and kill your cook.
Gas Grill Rain Version: Set your gas grill to indirect heat by turning on the outer burners only and leaving the center burner off. Target 250 degrees Fahrenheit on your lid thermometer. Place a smoker box loaded with hickory or post oak chips over one of the lit burners and follow the same cook and rest steps. Refill the smoker box every 45 minutes to keep smoke going.
Indoor Oven Backup Version: If conditions are truly dangerous – lightning, high winds near open flames – move the operation inside. Sear your rubbed ribs in a cast iron skillet over high heat for 3 minutes per side to build crust, then transfer to a 275 degree Fahrenheit oven on a wire rack over a sheet pan. Finish at the same 200 to 203 degree Fahrenheit internal temp target and rest for 30 minutes. Add a few drops of liquid smoke to your spritz for a nod to outdoor flavor.
Chicken Thighs Rain Day Version: Bone-in skin-on chicken thighs are one of the best rain-day proteins because they are forgiving and cook faster – about 90 minutes at 275 degrees Fahrenheit. Season with the same rub, cook indirect to an internal temp of 175 degrees Fahrenheit for fully rendered skin and juicy meat, and finish with 2 minutes over direct flame to crisp the skin before resting for 10 minutes.
❓ Pitmaster FAQ
Is it safe to grill in the rain?
Yes, grilling in the rain is safe as long as you follow basic precautions. Keep your grill away from the house and never grill in an enclosed space like a garage – carbon monoxide is a real danger. Use a pop-up canopy positioned at least 3 feet from the grill for shelter, and never grill during lightning. Rain is manageable – lightning is not.
How does rain affect my grill temperature?
Rain and cold ambient air can drop your grill temperature by 25 to 75 degrees Fahrenheit compared to a clear day. Expect to use 20 to 25 percent more fuel and plan for 15 to 30 percent longer cook times. A wireless thermometer clipped to your grate is essential for monitoring these fluctuations without constantly opening the lid.
What internal temperature should beef short ribs reach?
Beef short ribs need to reach an internal temp between 200 and 203 degrees Fahrenheit to break down the collagen and become fork-tender. At 195 degrees Fahrenheit they are safe but still a bit firm. Use an instant read thermometer and probe multiple spots – when the probe slides in with zero resistance, you are ready to pull and rest the meat.
Should I use charcoal or gas when grilling in the rain?
Both work, but charcoal requires more active management in rain because temperature swings are harder to control without a digital regulator. Gas grills with built-in thermostats compensate better for rain-induced temp drops. If you use charcoal, add 20 percent more fuel than usual, point your intake vent away from the wind, and use a wireless thermometer to track your grate temp throughout the cook.
Can I leave my grill out in the rain between cooks?
You can leave a covered grill outside in the rain, but always use a waterproof grill cover and make sure vents are closed so water does not pool inside the firebox. Charcoal grills are especially vulnerable to rust if moisture sits in the ash catcher. Dump ash after every cook and give the inside a quick wipe-down before covering to extend the life of your grill significantly.
Why is my smoke thin and blue on a rainy day versus a dry day?
Thin blue smoke is actually ideal smoke – it is what gives you a clean smoke ring and proper flavor. You may notice thicker white smoke on rainy days because moisture in the air is condensing around the smoke particles and making them more visible. Focus on your wood chunk placement and airflow rather than chasing a visual smoke target. Trust your internal temps and your bark development as the real indicators of a great cook.